Moving Old Iron - A Series
Move Report: PDP-8s and PDP-11/34a
Containing methods and hints
by
Megan Gentry
Updated May 05, 1999
See also: ks10s
Abstract
This paper is one of a series which document the tools, techniques and procedures which have been successfully employed to move old computer systems for collection and restoration. It is also used to document the restoration process.
Background
Sometime near the end of last year (1998), I saw a posting on a DEC-internal notesfile from someone who had some old computer systems that they wanted to get rid of. Since some of the systems were pdp-8s, something that I had dreamed of owning for many years, I jumped at the chance.
It turns out that I was the first person to show any interest. I made arrangements with the owner to view the machines. I needed to see how much room they actually took up so that I could figure out if they would fit in my home.
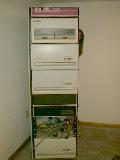
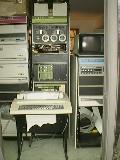
 What I found were four pdp-8s of varying types and a pdp-11/34a in two DEC 'corporate tall cabs' and one 'short cab'. Also in the racks were various disk and tape drives as well as some laboratory hardware. External to the racks was an LA36 (an old 300baud printing terminal) and a VR14 (a 14" display for a graphics coprocessor for UNIBUS pdp-11s).
I figured I could shoe-horn the machines into my home, so I told the owner that I would take them. With a trip to Canada already scheduled, and needing time to make room at home, I told him that it would take a little while to effect the move. He also told me that he had vacation time coming, so it would be awhile before he could help too. Well, with one thing and another, and another... several large snowstorms and lots of rain later, we finally were able to connect for the weekend of March 28, 1999. It just so happens that he was selling his house, and in fact moved out of it on the 27th, leaving only the computers behind.
Planning and equipment needed
The first step was to determine the 'footprint' of the machines in square feet so as to figure out how much room I needed to make at home. This could also be used, for much larger configurations, for figuring out the size of the truck required to accomodate the hardware to be moved.
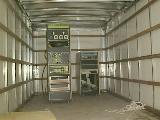
Because of the size and weight of the tall cabs (and even the short one), I wanted a truck large enough to accomodate a standing rack (6'), and which had a lift gate so that we wouldn't have to tip things over on their sides and push them up a ramp (which most consumer trucks have). I finally arranged for one, a 15-footer with 7' inside clearance. Allison, a friend of mine, would help with the load and unload. The owner was going to help load, and offerred to help unload.
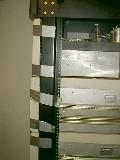
The two tall racks were attached, so tools were required to first disconnect them. There was also some cabling between the racks, so tape (masking or duct tape) and markers were needed. In addition, I took a digital camera along with me so that I could take pictures of the move, but also so I could take pictures of cabling that would be too hard to label. The pictures would provide a clear visual cue when it came time to reconnect everything and get it running.
Since we were going to transport the racks standing up, we needed rope and webbing to attach them to the tie-down points in the truck. I brought mostly rope and tools, and Allison brought some tools and some webbing material with ratchets. In addition, I brought some foam pads for items which weren't in racks, couldn't be tied to the truck walls, and needed some protection.
Some items we needed to move didn't have wheels and were either too heavy or too bulky, so we would need some dollies.
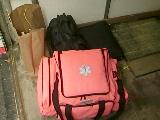 Being an EMT, I included my jump kit so that I would be prepared in case anything untoward happened. In the same way that washing a car ensures it will rain, or taking an umbrella ensures it won't, having the jump kit seems to have ensured that we didn't need it... :-)
Everything was arranged.
Loading
 I decided we should tackle the short rack first, partially due to size and weight, but also due to the fact that there were no cables tethering it to the tall racks. The pdp-8/f and the Diablo disk drives were not bolted into the rack, so they were removed and placed to the side for later.
Beneath all the racks are screw-down steadying feet which are adjusted then the unit is in position. They needed to be retracted so that the rack could roll freely. These racks also can have a set of forward-extending legs which also have steadying feet. These are installed when there are items in the rack which can slide out. They prevent the rack from toppling forward. So these feet would also have to be either retracted or removed. This rack didn't have any of the front feet, and the bottom feet had either already been retracted or never extended. The rack rolled easily.
It turned out that we had some problems rolling the racks over the wall-to-wall carpeting. It didn't seem well anchored and would bunch up as we rolled the racks across it.
 Anyway, we loaded the short rack into the truck. We didn't bother with tying it off at this point, deciding to wait until all the heavy stuff was loaded before doing that.
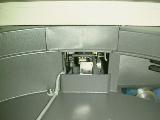
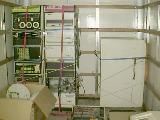
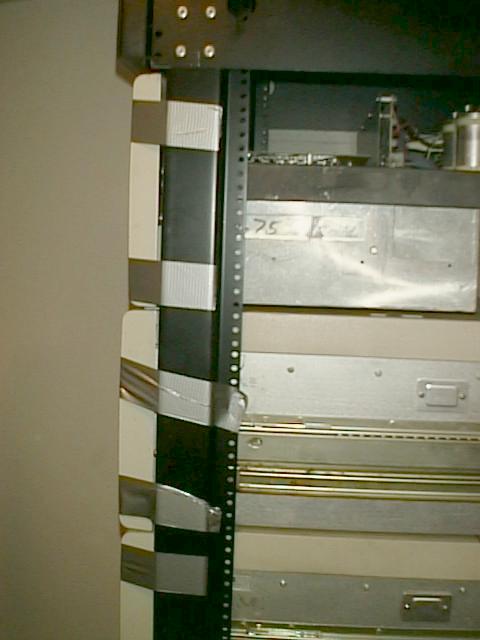
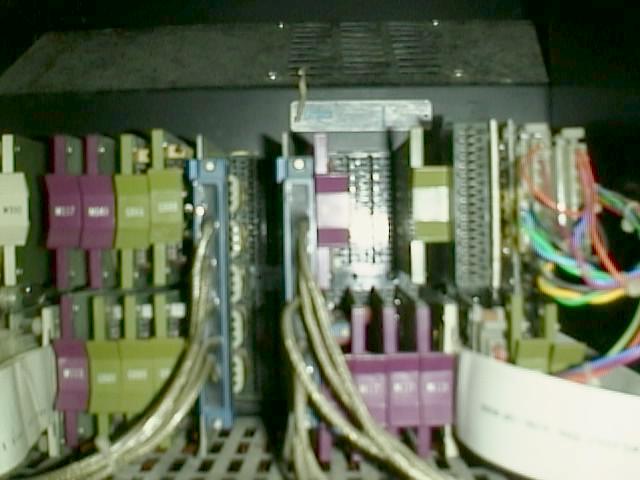
Preparing the second rack, the first of the two tall ones, required more work since there were cables which ran between the racks to connect machines to disks. In addition, it was bolted to the first rack. Each cable had to be traced, and one end labelled and disconnected. Most of the cables were easy to label. I marked both sides of a connection with the same code. One of the cables actually ended in some paddle-boards which were plugged into a backplane. So I took out the camera and took
before and
after photos.
They may not be clear, but they are sufficient for me to tell what went where.
 The second rack had a front foot which had to be removed. This was because the basement where the machines had been kept had become damp from time to time, and the screw post was rusted in place (WD40 will be in my kit for the next move from a home). The bottom feet also could not be retracted. The second rack was isolated and ready to move. We rolled it as best as we could over the carpet and loaded it into the truck.
 Since we had already isolated the cabling while working on the first of the two tall cabs, it was mostly ready to go. But we had disks (RL01s) which we knew needed to have their read/write heads locked down. With the power off, the interlocks prevent opening of the disk drive covers. There is a side-panel on some RL drives which, when removed, allows access to the interlock. With the disk opened, we reached in and locked the heads. This was done on all three RL01s. (The observant reader may remember the pictures of the first and second racks and note that there were Diablo disk drives in them. I was told that there were no head lock-downs on these... but one of them still had a disk in it, a fact which wasn't discovered until we unloaded the hardware at my place. I hope the disk and/or drive did not suffer from this ... live and learn.) Also, the second tall cab had a pdp-8/e which, like the pdp-8/f and Diablo drive in the short cab, was not bolted into the rack. We removed it and placed it aside as well.
 With the disk heads locked down, we taped all the drives into the rack. This was done because the RL01s are on slides which roll very easily, and we didn't want them sliding out of the rack either while we rolled it or while it was in the truck in transit. DEC always cautioned customers not to slide more than one drive out of the rack at a time because it can seriously shift the center-of-gravity (CG) and the whole rack can topple forward onto someone.
 At this point, the third rack was ready to move. Well, the feet were just as rusted as those on the second rack but we couldn't remove the front feet. Luckily, they were not entirely extended, so with some effort we could still roll the rack. Finally, the third rack was loaded into the truck.
 We used the webbing, securing it at the top and bottom of the racks, to hold in all the rack contents. This ensured that the RL02s would not slide out in the event that the duct tape which held them in let go. We then used ropes to tie the racks to the walls of the truck.
 The foam pads were placed on the floor of the truck and the VR14, a Diablo drive, the pdp-8/e and the pdp-8/f were placed on them. The LA36 was loaded and tied to the wall. An extra Diablo power supply was simply placed on the floor, as was a pdp-12 backplane. I don't need the pdp-12 backplane, but I took it with the plans that it would go to the RetroComputing Society of Rhode Island as a spare for their pdp-12. A Remix paper tape reader/punch was loaded and also placed on the floor.
The final things to go into the truck were a couple of panels for the 11/34, and a door for one of the tall cabs.
We closed the truck and were ready to leave just as some prospective buyers arrived to view the house.
Unloading
 With few pictures left in the digital camera, I didn't take pictures of the unloading. Heck, it's just like loading, only in reverse... :-)
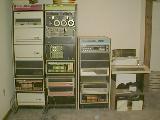
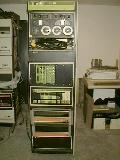
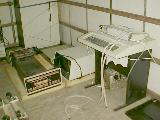
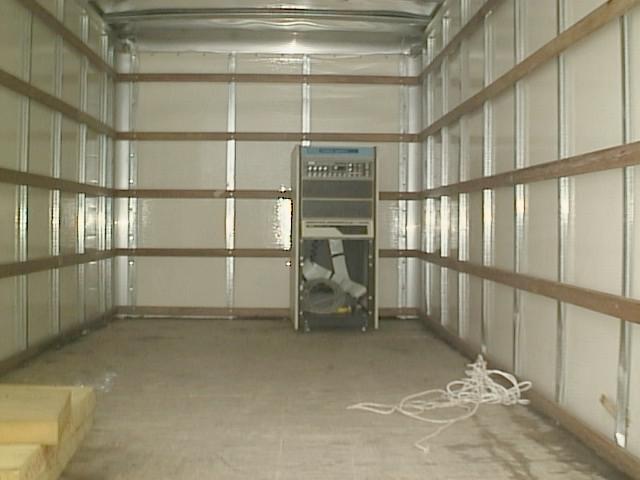
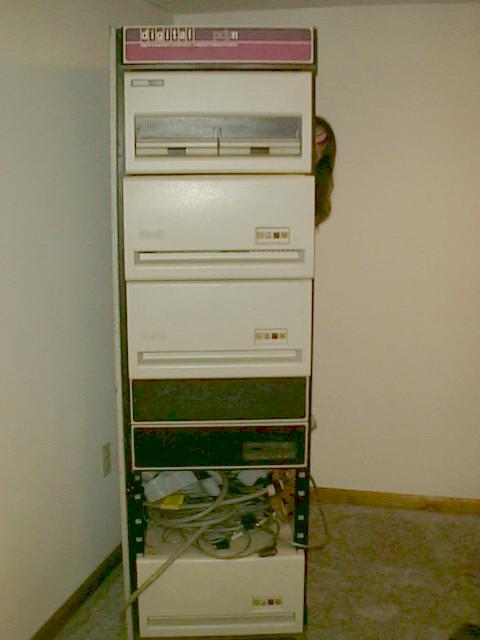
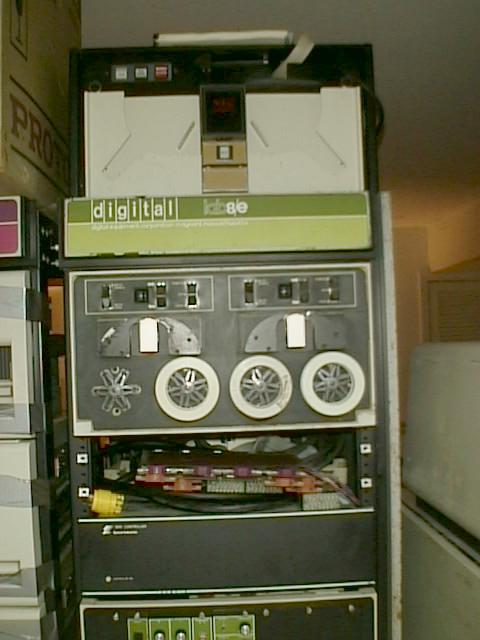
I only took a picture of the machines once they had been unloaded and were in place in my home. This picture was taken from the patio through the open back sliding door.
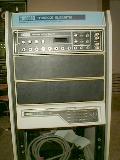
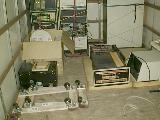
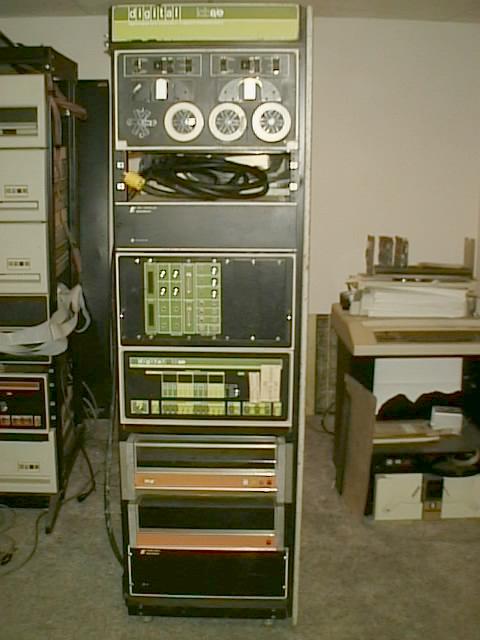
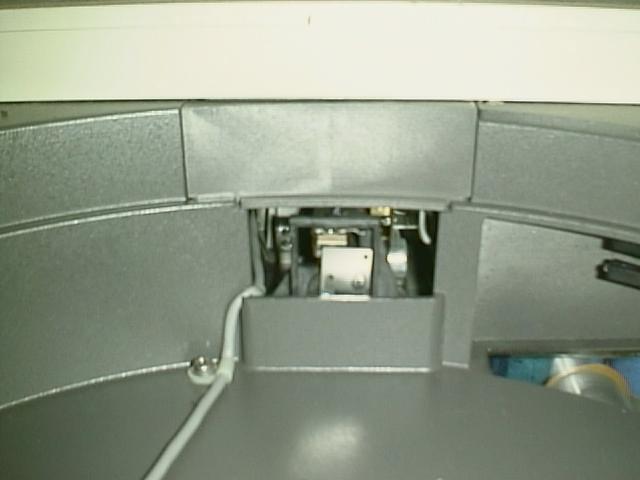
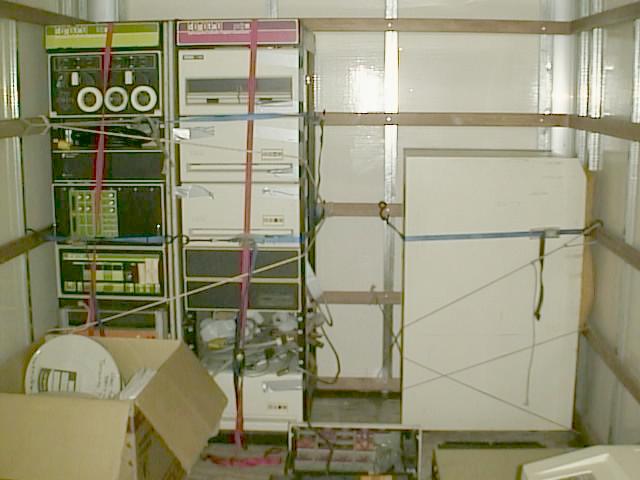
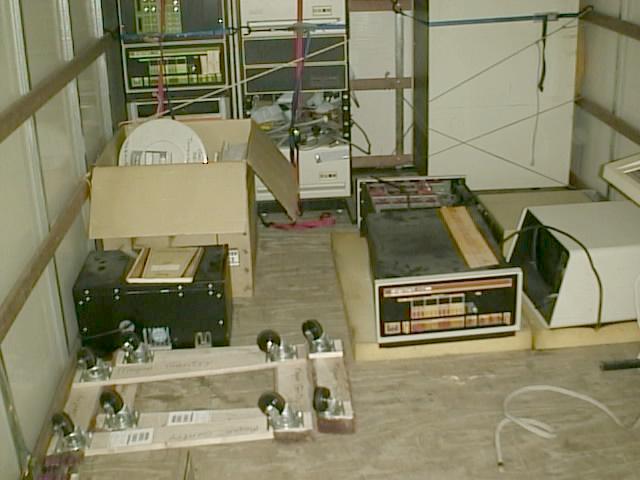
The final pictures I got are closeups of:
All in all, it was fun.
 Validate Now!
Return to [ HOME ] page.
This page developed and Copyright © 1999 by
Megan Gentry, All Rights Reserved.
 What I found were four pdp-8s of varying types and a pdp-11/34a in two DEC 'corporate tall cabs' and one 'short cab'. Also in the racks were various disk and tape drives as well as some laboratory hardware. External to the racks was an LA36 (an old 300baud printing terminal) and a VR14 (a 14" display for a graphics coprocessor for UNIBUS pdp-11s).


