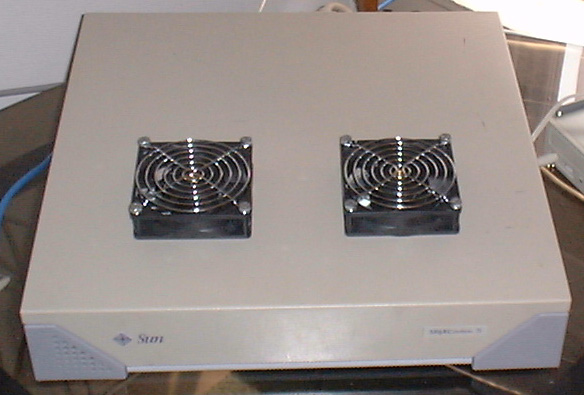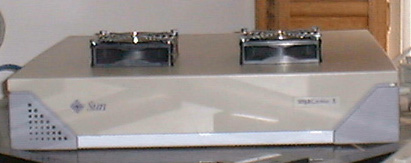
Sparc 5's came in 4 "flavors", 70Mhz, 85Mhz, 110Mhz, and 170Mhz. The first 3 are exactly the same machine, just with a faster CPU -- the 170Mhz used a different CPU type, and thus, actually has some compatibility problems with Linux.
If you're having problems installing Linux on a 170Mhz Sparc 5, there's a good reason. Most of the major Linux distributions don't actually support the 170, (Redhat in particular). One of the better workarounds however, has been to install Linux on a 70, 80 or 110Mhz Sparc 5 and then physically move the harddrive into the 170 after the install is done. Apparently, Redhat's installer doesn't like the 170, but after the install is done, RHLinux should work okay (there have been some reports of unstability). Also, I've been hearing that Mandrake Linux is supposed to work with the 170.
The 70, 80 and 110's use a microSparc processor made by Texas Instruments, but the 170 uses a Fujitsu TurboSparc, a completely diffent CPU. Of course, all the models work just fine with Solaris.
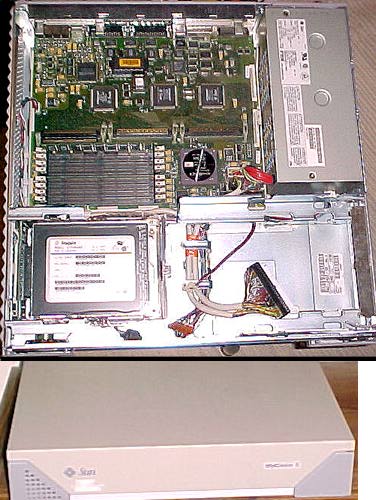 All Sparc 5's share the same "Aurora" Chassis, which was also used for the Sparc 20, and Sparc 4 machines. These machines are identified by the purple triangular ends where the "feet" are. Between the rightmost purple foot and the top of the case is a power light. The left purple foot has holes in it for the internal speaker, which is mounted just behind that side of the machine.
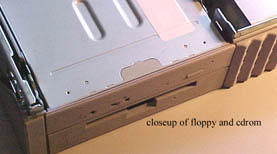 Note that, like the Sparc10, the Aurora chassis also has the power supply fans working "opposite" what would be normally expected. Rather than draw hot air out of the machine, the fans are mounted facing the component side of the motherboard. So the fans draw cool air from the right side of the machine across the power supply itself, and then blow the air out, over the CPU and motherboard, which is supposed to keep everything cool enough, and then out through the other side of the machine. As a result, you should be careful to provide space around the sides of the machine so that it doesn't overheat. If you have 2 HD's in the machine, you should probably figure out how to get an extra fan in there as the HD's are furthest from the fans and getting the least cool air.
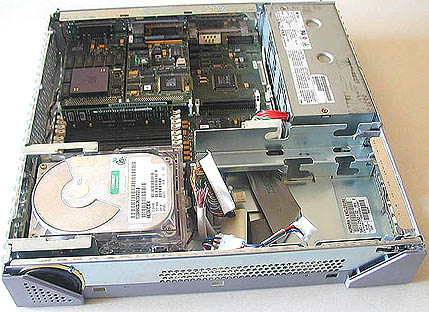 All Sparcstation 5's came with 3 SBUS slots, and a higher-speed bus known as AFX, which shared it's connection with SBUS slot 3, which also placed it furthest from the power supply. This bus seems to have been exclusively created for higher-speed graphics cards, a "sort-of AGP" that allowed the use of signifigantly faster and higher capability framebuffers, including a 24-bit model. While I've never actually seen or used an AFX card, they are rumored to exist. The AFX bus seems to have ONLY existed for the Sparc 5 series, no other Sparcstation or server of any model (that I know of) seems to have this connection.
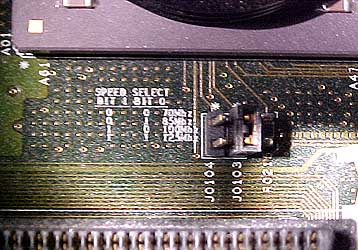 Some SparcStation 5's come with socketed CPUs rather than the soldered-on CPU. As a result, these can be upgraded by changing the CPU, and then moving two jumpers on the motherboard which control the RAM timing. Simply changing these jumpers will NOT overclock the CPU, so don't bother trying (or, go ahead - prove me wrong!). Specifically, these jumpers control the memory controller wait states. Wait states are used to maintain the memory timing requirements of 60ns DRAM.
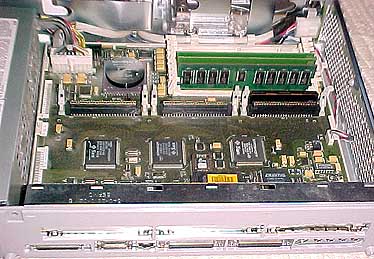 Interestingly, I don't think the Sun manufactured 170Mhz machines use either of these sets of jumpers. What you set for the 165Mhz "upgrade" for the 70-110Mhz machines is unknown to me at this time.
