Network booting DOS from a NetWare Server (RPL)
This page covers how to network boot a DOS workstation with an AMD PCnet NIC from a NetWare server using a NetWare RPL Boot ROM. Network booting other operating systems is covered elsewhere: Windows 95, OS/2 Warp 3 (warp 4 should be the same).
I'm assuming an AMD PCnet NIC for this because:
- AMD made a suitable Boot ROM available for free download from their website
- VirtualBox emulates this card and is able to use the netware boot ROM making for an easy test environment
If you want to use a different NIC you'll need to source an appropriate boot ROM for it as well as suitable 16bit DOS ODI drivers for the VLM client. You can find a selection of Boot ROMs on the RPL ROMs page. If you're using an "old" NetWare Boot ROM the process is a bit different from what is described here. LanWorks BootWare ROMs also behave a bit differently - click here if you're using BootWare. The process may be slightly different for IBM RPL boot ROMs too - check the manual (Further Reading) for more information in these cases.
Contents
- Tools
- Configuring the Server
- Creating the Remote Boot Disk Image File
- Network booting a VirtualBox VM
- Bonus points: Multiple Remote Boot Disk Image Files
- Further Reading
Tools
Things you'll need to follow along:
- A NetWare 4.11 server setup and working (3.12 should be pretty similar/the same)
- A DOS workstation that:
- Is running the version of MS-DOS you want to network boot
- Has the VLM Client installed (network booting with Client32 is not officially supported)
- Has a 1.44MB floppy drive
- Has an AMD PCnet Network interface
Configuring the Server
First up RPL needs to be loaded to the server and bound to a network interface. My server
is using an AMD PCnet card with the driver PCNTNW:
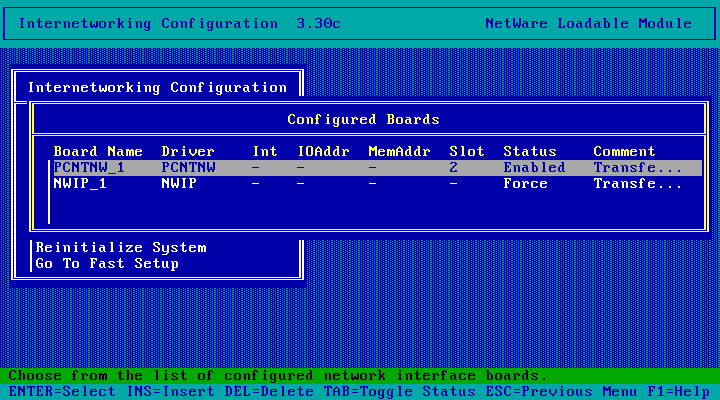
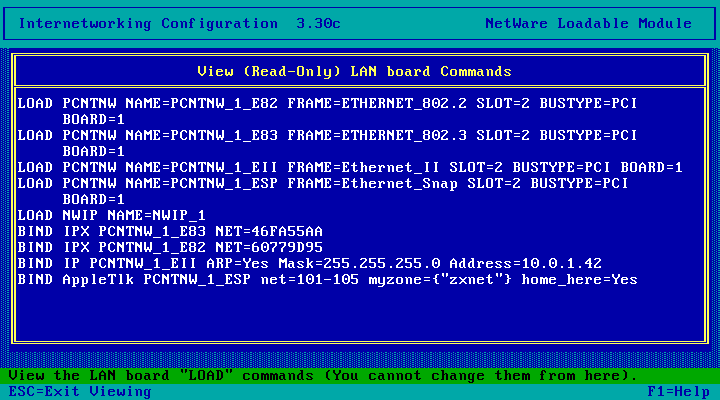
The driver has been loaded multiple times with different frame types. RPL needs to run over
ETHERNET_802.2 so PCNTNW_1_E82 is the interface I need to bind it to on my server:
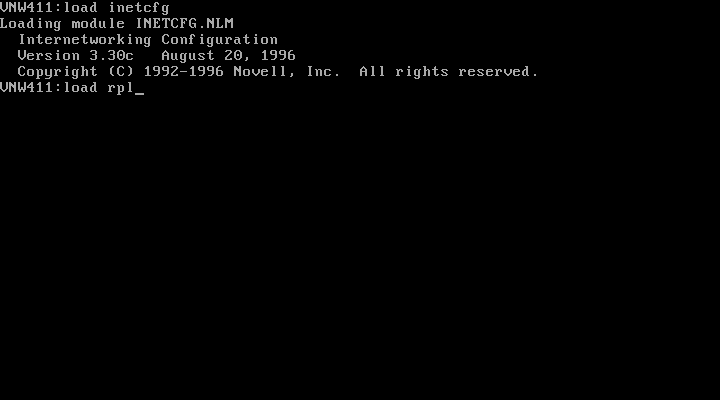
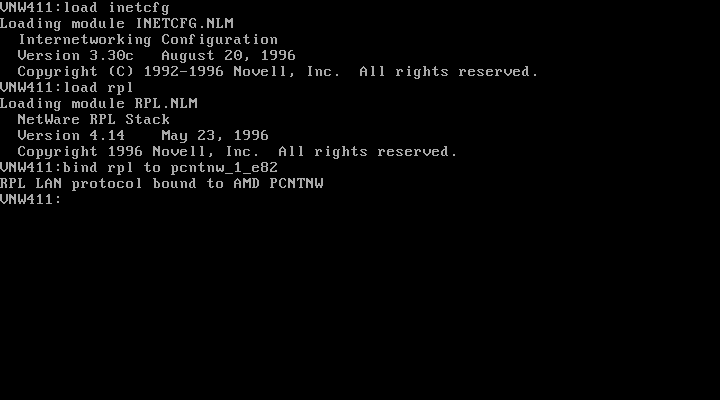
On the NetWare server console (I'm doing this remotely with RConsole), run LOAD RPL
RPL Loaded! Now bind it to NIC. For my server the command is: BIND RPL TO PCNTNW_1_E82

Server configuration done! You'll probably want to add these two commands to AUTOEXEC.NCF now
so you don't have to run them yourself whenever you reboot the server.
Creating the Remote Boot Disk Image File
The next step involves creating a bootable floppy disk containing the NetWare client. Client32 isn't officially supported for network booting so you've either got to use NETX or the VLM client. The VLM client is the better choice here.
Insert a blank floppy disk (or mount a blank image in the VM) and format it as a
system disk with FORMAT A:/S
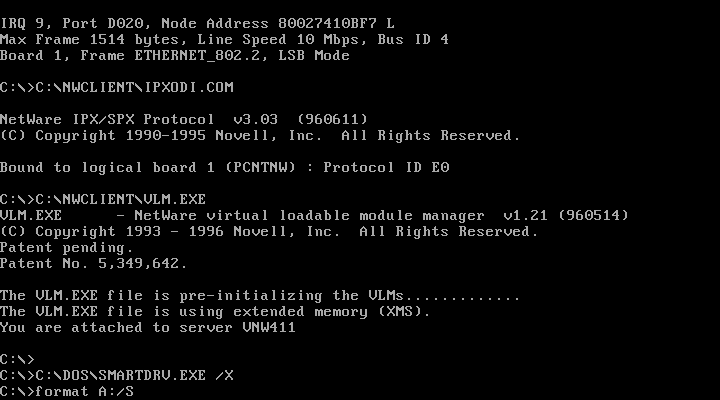
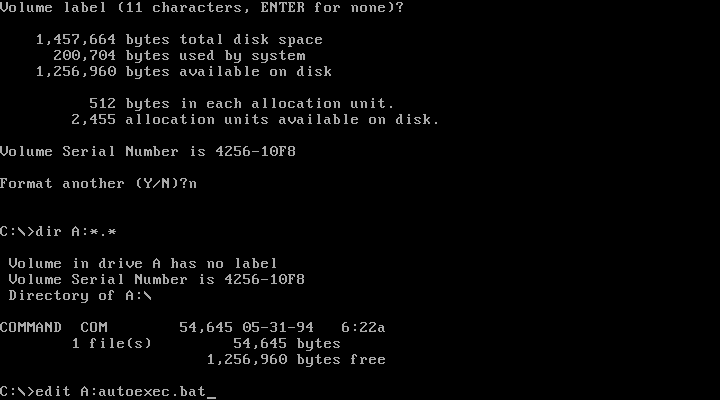
Run dir A:*.* to confirm command.com is present
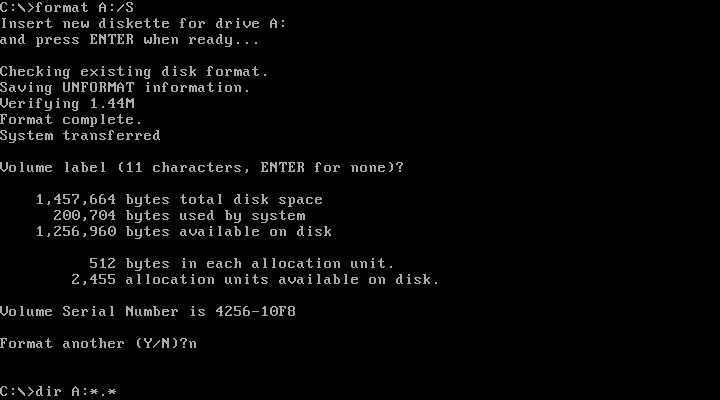
Looks good! Now create an autoexec.bat with edit A:AUTOEXEC.BAT
AUTOEXEC.BAT should contain:
        @echo off
        set comspec = f:\command.com
        lsl
        pcntnw.com
        ipxodi
        vlm
If you're using a network card other than an AMD PCnet, replace pcntnw.com with the appropriate
16bit ODI driver for your NIC.

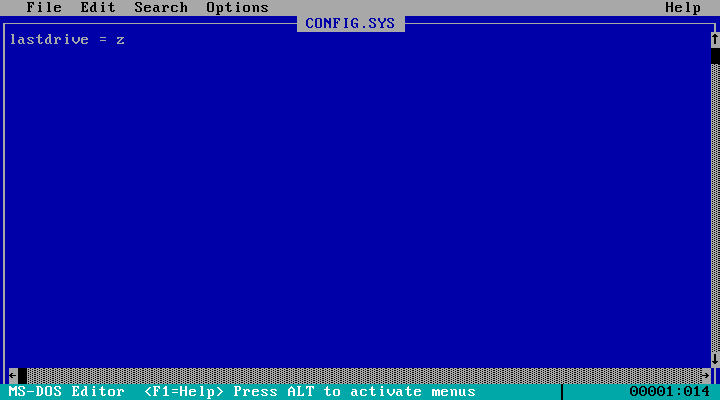
Also create A:config.sys containing lastdrive=z
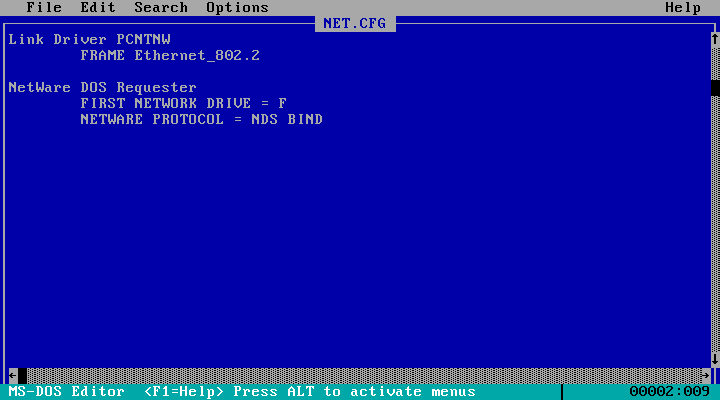
Also create A:net.cfg. You should be able to just copy C:\NWCLIENT\NET.CFG to the floppy
disk. If this DOS workstation isn't using the same type of NIC as the one you'll be network
booting you'll need to edit A:NET.CFG to configure the driver as required.
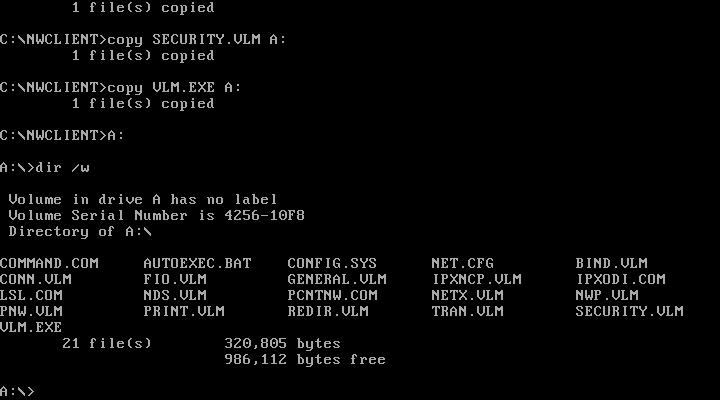
Copy the following files from C:\NWCLIENT to the floppy disk:
- BIND.VLM (you can omit this if you don't have any NetWare 2.x or 3.x servers
- CONN.VLM
- FIO.VLM
- GENERAL.VLM
- IPXNCP.VLM
- IPXODI.COM
- LSL.COM
- NDS.VLM (you can omit this if you only have NetWare 2.x and 3.x servers)
- PCNTNW.COM (or the appropriate ODI driver for your NIC if you're not using an AMD PCNet card)
- NETX.VLM
- NWP.VLM
- PNW.VLM
- PRINT.VLM
- REDIR.VLM
- TRAN.VLM
- SECURITY.VLM
- VLM.EXE
The contents of your floppy disk should now look like this:
Now is a good time to test the floppy disk works. With the floppy drive still in
the machine/VM, reboot the machine/VM:
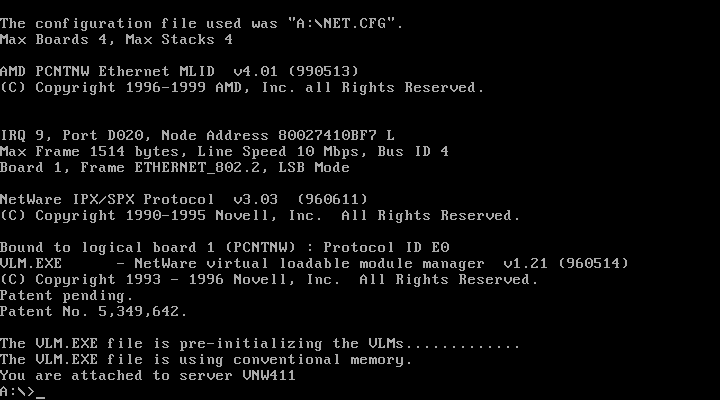
The disk worked! Now we need to put an image of the disk on the server. So remove the disk,
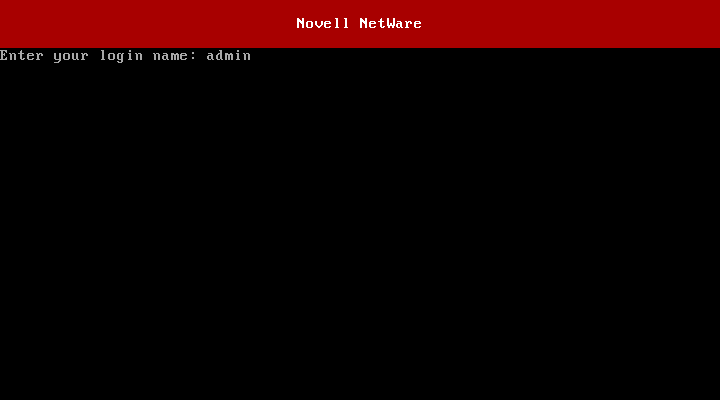
reboot, and put the disk back in and run login
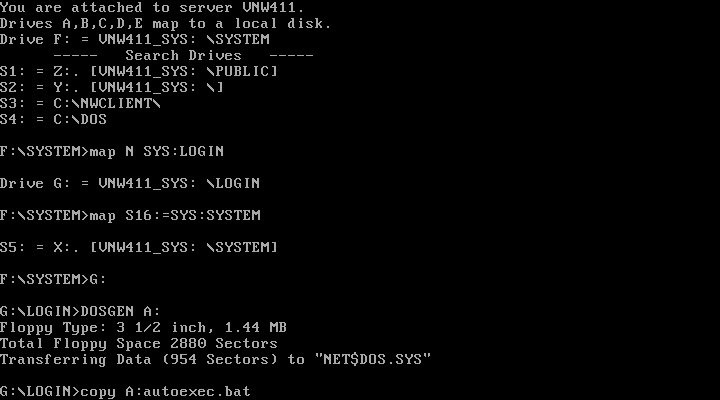
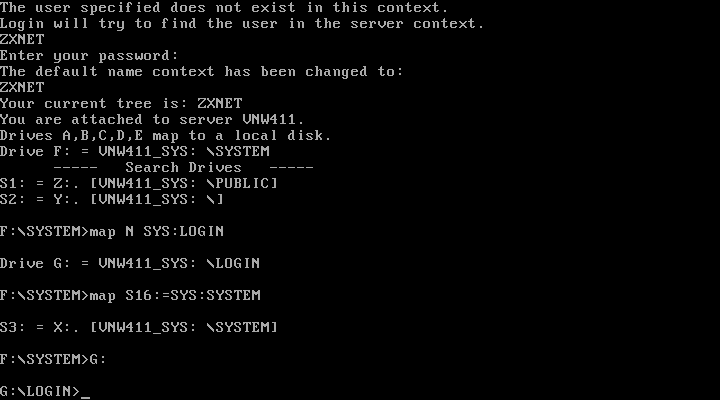
Login to the server you loaded RPL on as the admin user
Map SYS:LOGIN to a network drive with MAP N SYS:LOGIN
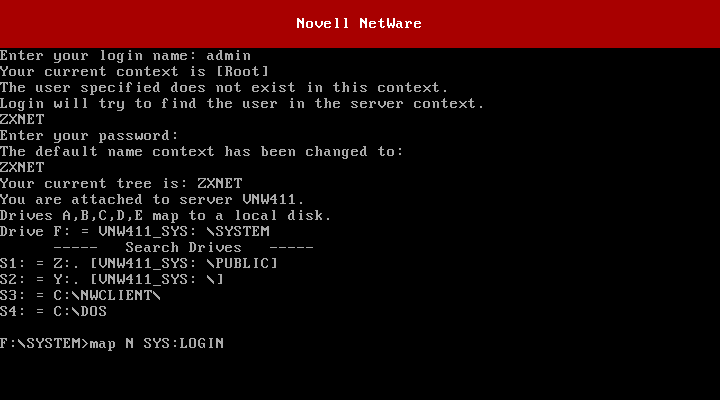
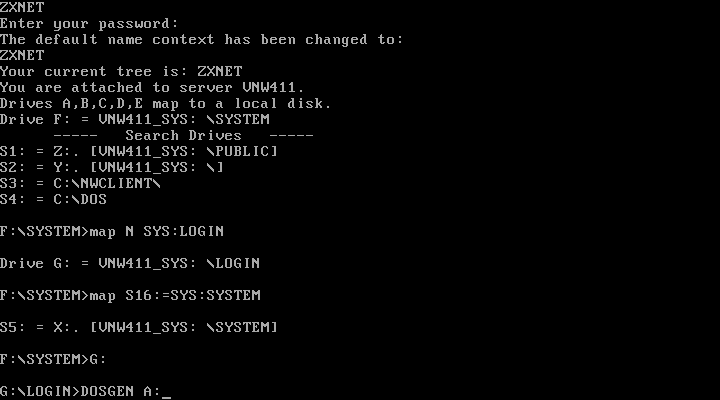
And map a search drive to SYS:SYSTEM with MAP S16:=SYS:SYSTEM
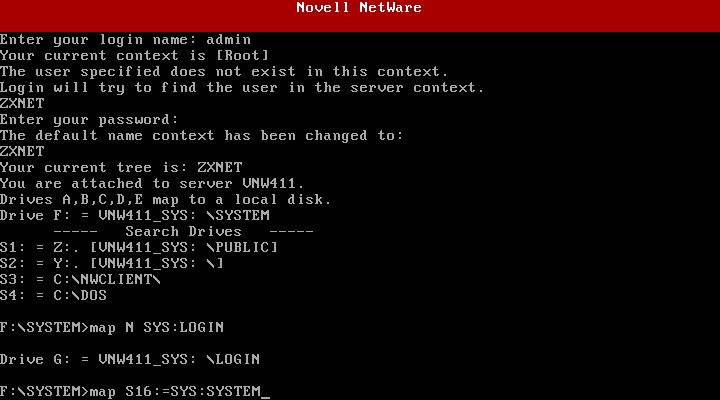
Now switch over to the drive that was mapped to SYS:LOGIN. Make sure the
floppy you created earlier is in the drive and run DOSGEN A:
Disk image created! The file has been saved as NET$DOS.SYS in SYS:LOGIN. Now copy autoexec.bat
from the floppy disk to SYS:LOGIN by running COPY A:AUTOEXEC.BAT
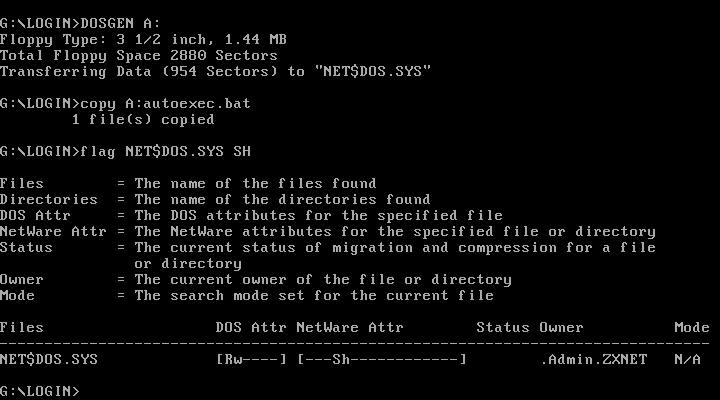
And flag NET$DOS.SYS as shareable by running FLAG NET$DOS.SYS SH
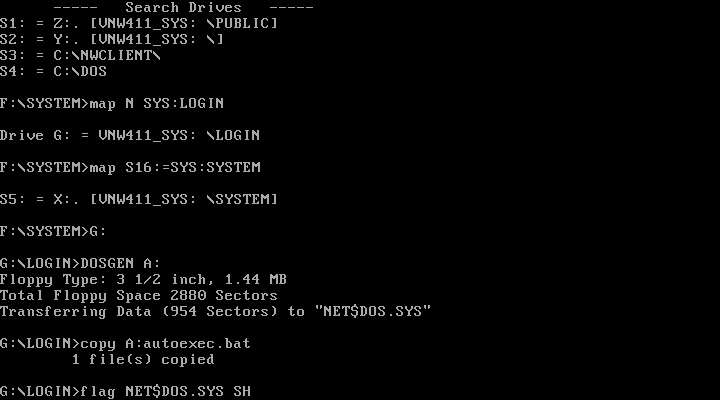
Done! (thats the first time I've ever used the flag command before)
Network booting a VirtualBox VM
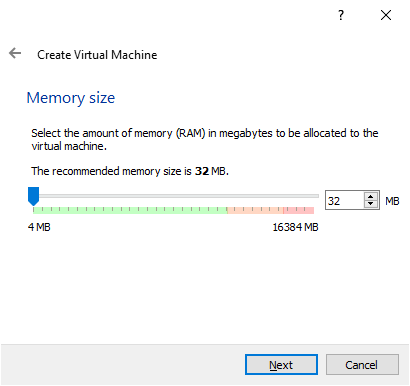
Create a new VM in VirtualBox. I'm using 6.1.26 for this.
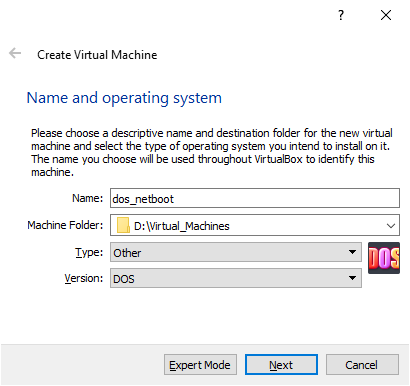
Give it some RAM. 32MB should be plenty.
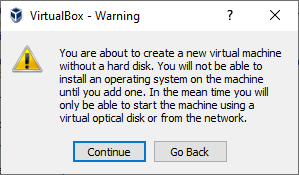
Don't give it a hard disk - we're network booting!
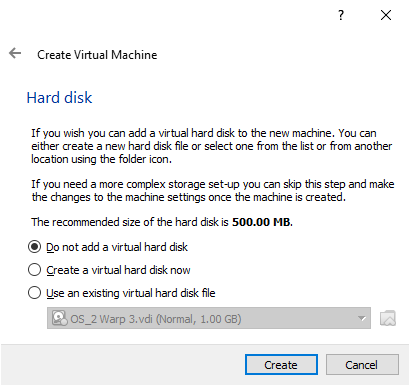
Click Continue.
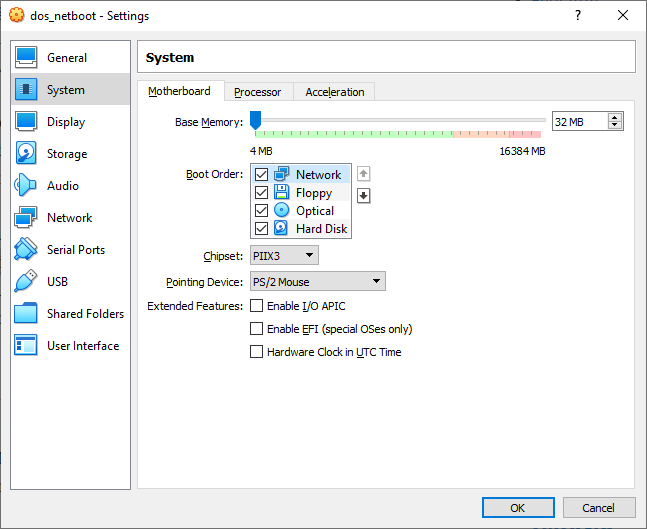
Open the VMs settings and go to the System tab
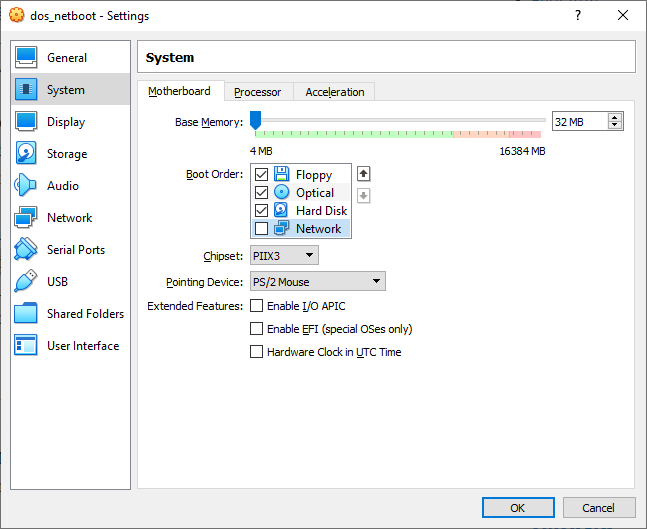
Enable booting from the Network and move it up to top priority
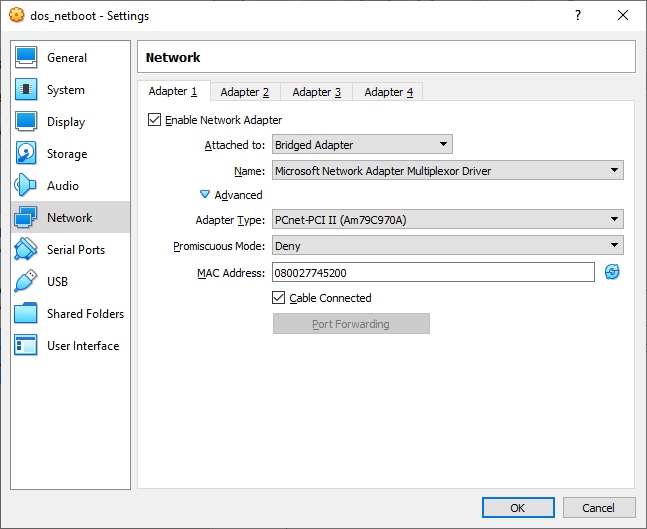
Then on the Network tab, set the Adapter Type to AMD PCnet-PCI II and set Attached to to Bridged and pick your wired ethernet interface.
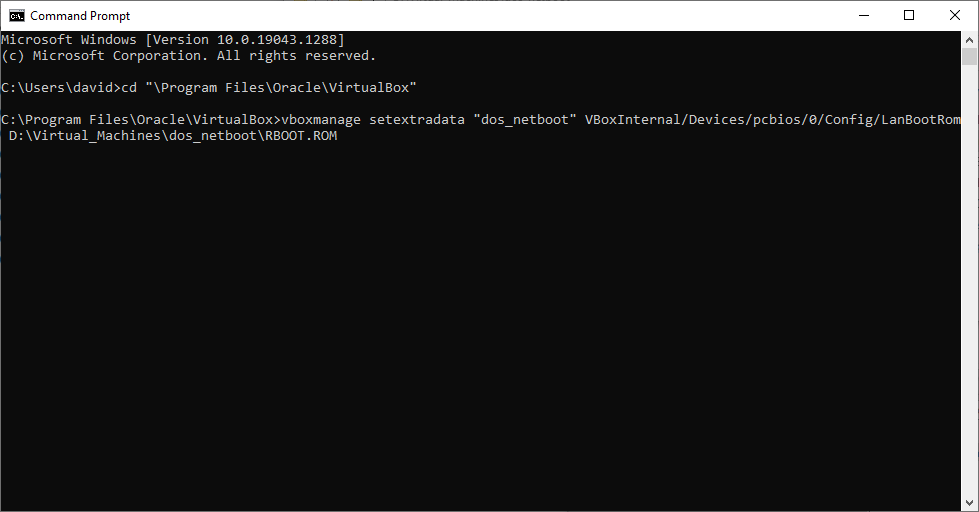
Download http://ftp.zx.net.nz/pub/drivers/AMD/pcnet/util/util_boot.exe and extract its contents into the folder where the VM lives:

Open a command prompt, change into the directory where VirtualBox is installed and run boxmanage setextradata "dos_netboot" VBoxInternal/Devices/pcbios/0/Config/LanBootRom D:\Virtual_Machines\dos_netboot\RBOOT.ROM (alter the VM name from dos_netboot to whatever you called your VM and set the path to RBOOT.ROM to where ever your VM lives)
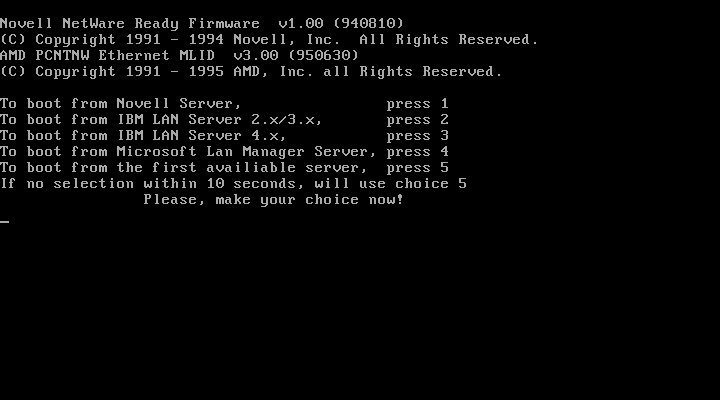
Boot the VM to confirm it worked. You should see a NetWare Ready Firmware message after POST
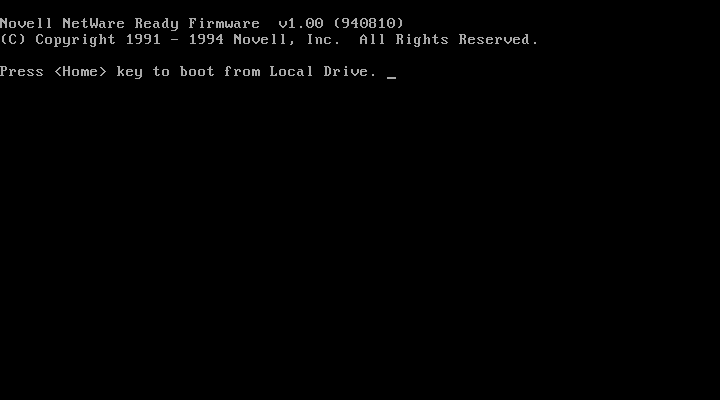
This will progress to a menu where you can select a boot server type. After 10 seconds it
should start booting.
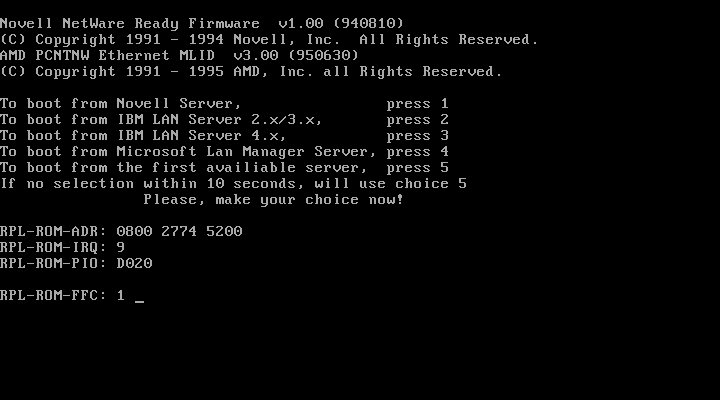
Network boot starting...
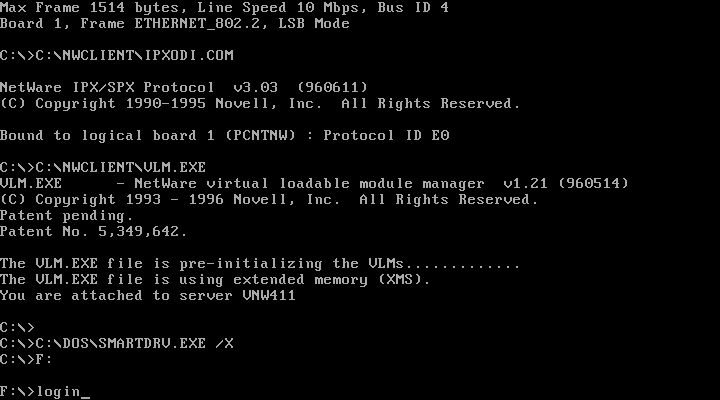
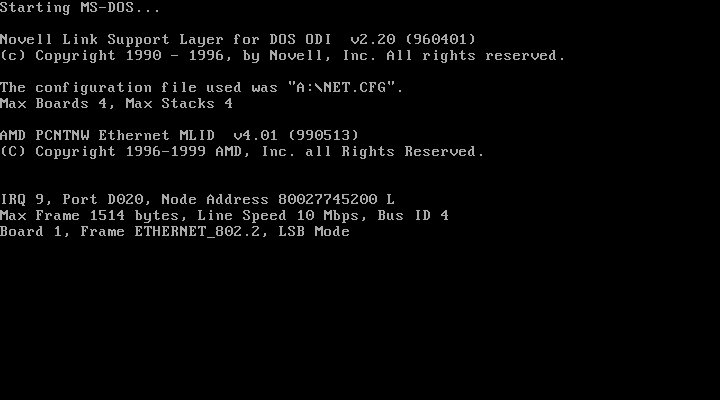
Success! DOS has started loading!
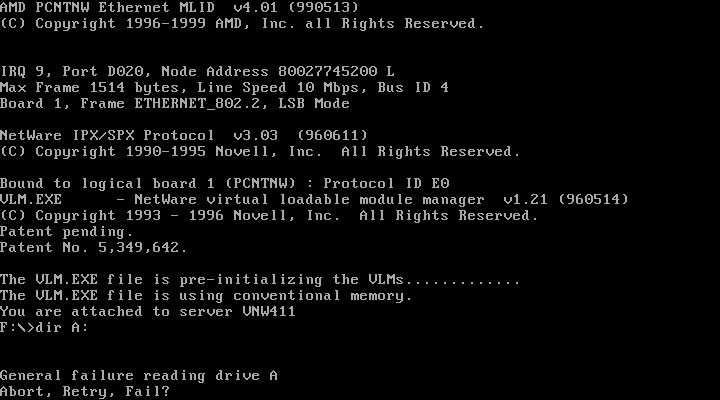
Done! DOS is now running completely diskless.

See! no A drive. I guess the virtual disk image is thrown away once the DOS network stack
is started. This is why anything that needs to run after VLM.EXE in autoexec.bat needs to be
copied to SYS:LOGIN.
Bonus points: Multiple Remote Boot Disk Image Files
If you want to boot multiple different workstations with different network interfaces or you want multiple different configurations you can boot in this covers what you need to do to support multiple different remote boot disk images on the server.
Note that this doesn't work for "old" Novell IPX Remote Boot PROMs - only RPL Boot PROMs (including the Novell Enhanced Boot PROM) are supported. The old IPX Remote Boot PROMs are limited to booting the single NET$DOS.SYS image created earlier.
This process is pretty similar to the single boot image process described earlier. The key differences are:
- Each boot image needs a unique name (obviously). For example: DOS1.SYS, DOS2.SYS FANCYDOS.SYS, etc. The name doesn't matter.
- Each boot image needs a unique autoexec.bat file on SYS:LOGIN. Calling them all AUTOEXEC.BAT won't do so you'll end up with DOS1.BAT, DOS2.BAT, FANCYDOS.BAT, etc, too.
- On the boot image itself you'll need to rename AUTOEXEC.BAT to DOS1.BAT (for example) and create a new AUTOEXEC.BAT that just runs DOS1.BAT.
- On SYS:LOGIN you'll need to create a blank AUTOEXEC.BAT that just contains 12 spaces
- A BOOTCONF.SYS text file has to be created that tells workstations which boot image to use
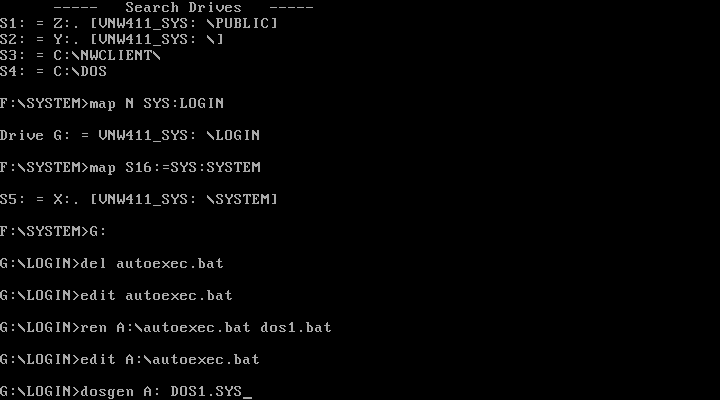
We're starting off at the point where we ran DOSGEN last time - logged in as admin with
a drive mapped to SYS:LOGIN and a search drive mapped to SYS:SYSTEM
Delete the autoexec.bat you created earlier during the single boot disk process (you only need to do this once)
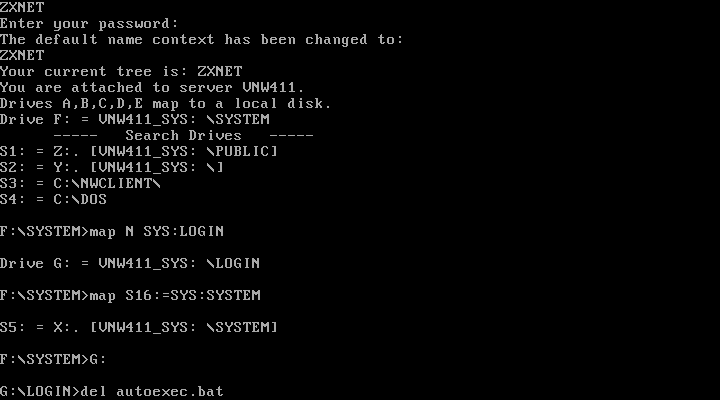
And run edit autoexec.bat to create a new one. Press the space bar twelve times
so that your autoexec file consists of a single line containing twelve spaces. Save and exit. You also only need to do this once.

Insert the DOS network boot disk created earlier and rename its autoexec.bat to
something unique (eg DOS1.BAT) with: REN A:\AUTOEXEC.BAT DOS1.BAT
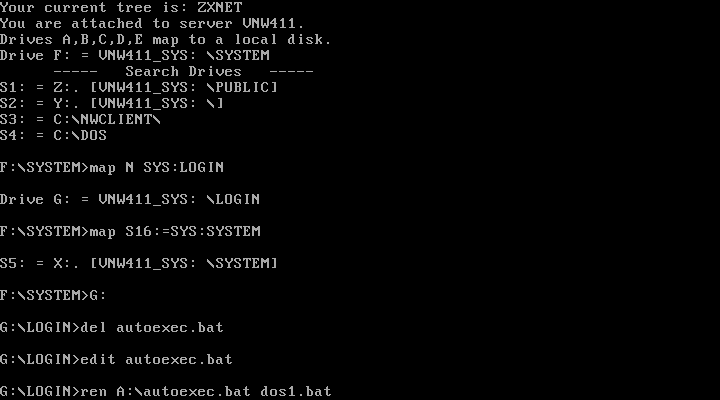
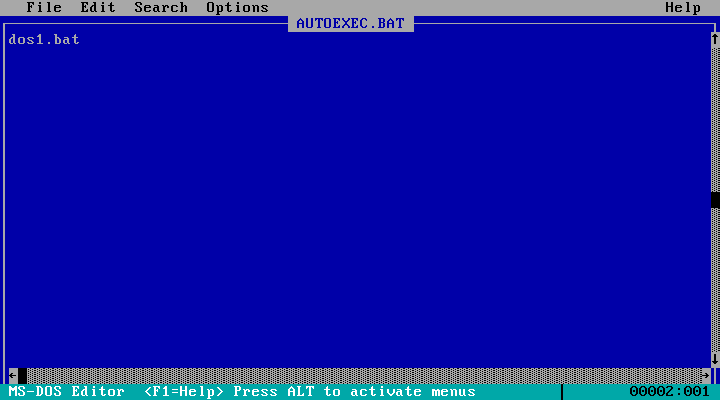
Run edit A:\autoexec.bat to create a new file. The new autoexec.bat
should just run whatever you renamed the old one to (DOS1.BAT).
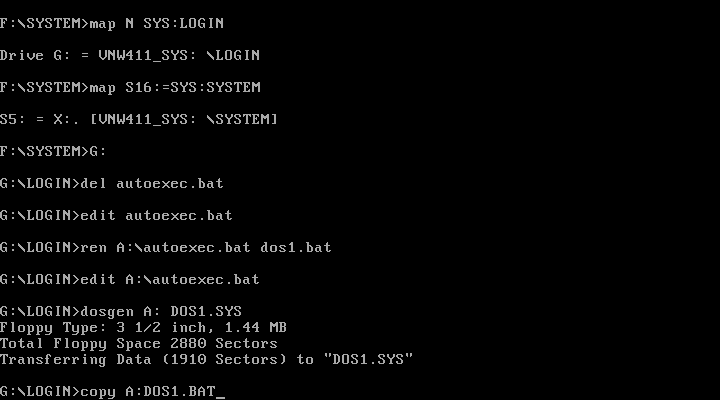
Run the dosgen command this time telling it the name of the file to save the
disk image to: DOSGEN A: DOS1.SYS
done! Now copy the unique autoexec.bat file (DOS1.BAT) from the disk to SYS:LOGIN with copy A:DOS1.BAT
You should now have DOS1.SYS and DOS1.BAT in SYS:LOGIN
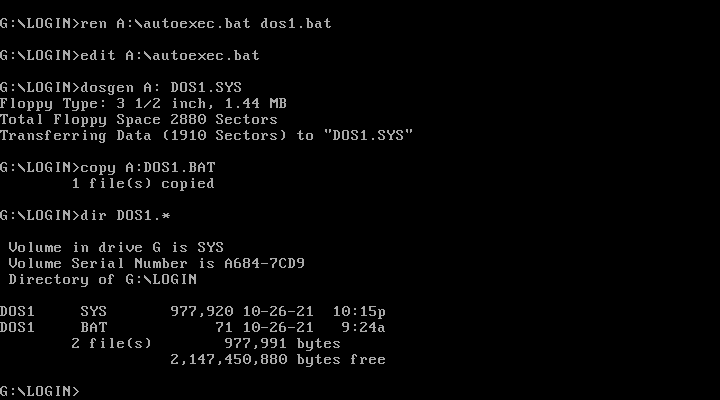
Flag both files as shareable by running FLAG DOS1.SYS SH and FLAG DOS1.BAT SH.
Repeat the process for each unique boot image you want. Create your desired network boot disk but move the contents of AUTOEXEC.BAT into a another BAT file with a unique name, make autoexec.bat call that file and copy that file into SYS:LOGIN. Run DOSGEN to create an image. Simple!
I've repeated the process creating a second disk image - one with himem and emm386. So I've got a second disk image and batch file: DOSXMS.SYS and DOSXMS.BAT
For each boot image make a note of the IPX Network Number and Node Address (MAC address) of the workstation(s) that will use each image
Now create (or edit) BOOTCONF.SYS on SYS:LOGIN. This is just an ascii text file so you can run edit BOOTCONF.SYS:
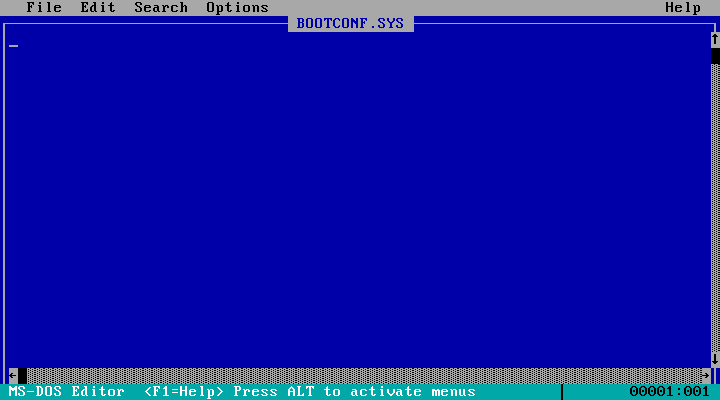
Each line of the file consists of the network number (in hex starting with 0x) and
MAC address (also in hex but no leading 0x) separated by a comma followed by '=' and the boot image to use. For example:
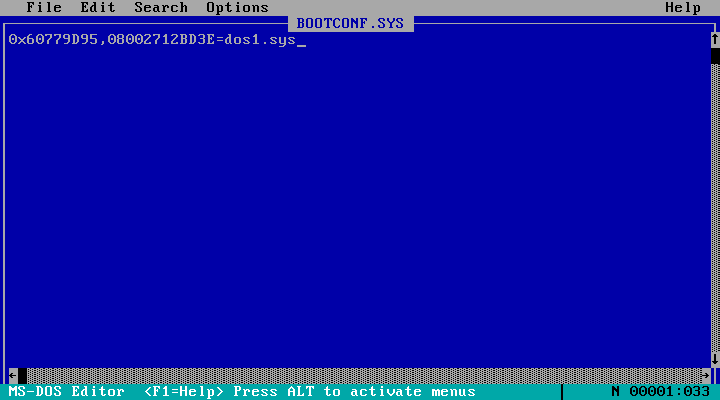
You can also use wildcards in the MAC address field. For example, VirtualBox 6.1 is using the OUI 080027 so you could catch all VirtualBox VMs with the line: 0x60779D95,080027*=dos1.sys (where 0x60779D95 is your IPX Network number).
The * wildcard can only appear once in the MAC address field. You an also use ? to match any single digit. For example: 0x60779D95,080027??????=dos1.sys
You can also use a wildcard to sepcify a default boot image for machines that don't match any other line in the file. To do this, place something like 0x* = dos1.sys as the last line in the file.
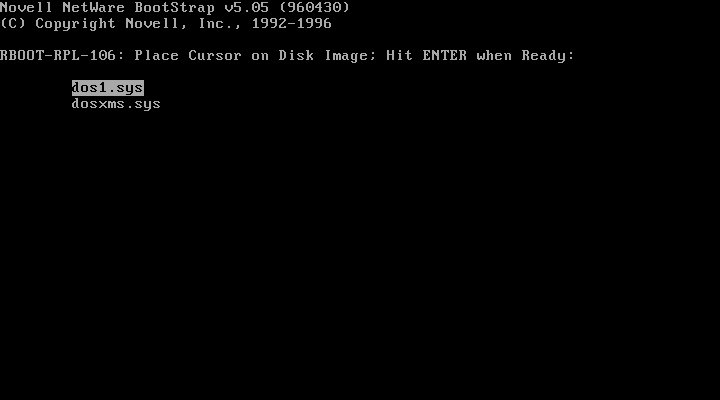
If your NIC has a Novell Enhanced Boot PROM you can specify up to ten disk image files for a single workstation (separated by a space, all on one line):
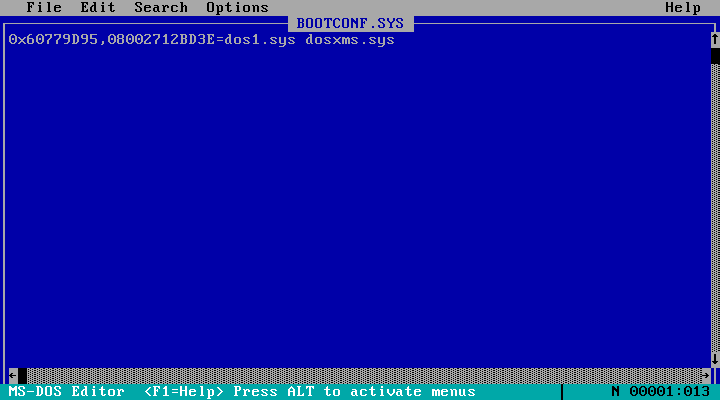
When you do this on boot the workstation will ask you which image to boot. Just select it with the arrow keys and hit enter!
The RPL server can also perform a find&replace on the disk image before serving it up to the client. This allows you to, for example, alter autoexec.bat for different workstations. This is discussed on Page 128 of the NetWare Workstation for DOS and Windows manual.
Further Reading
Chapter 6 of the NetWare Client for DOS and Windows Users Guide on the NetWare 4.11 documentation CD (sadly no PDF available) is the proper documentation for network booting DOS workstations and the one you should read for more information. This manual should be correct for NetWare 4.11 and the NetWare DOS Requester (VLM) v1.21.
If Dynatext is a too painful, Chapter 9 of NetWare Workstation for DOS and Windows (page 53 in the manual, page 57 in the PDF) also covers the subject. Note that this manual is for NetWare 3.12 and likely covers version 1.02 of the VLM client so some details may not be correct for NetWare 4.11 or the latest version of the VLM client.
- Novell RPL Boot under VirtualBox
- TID 2927546: A workaround for remote booting with DOS/Windows Client32
- Using BootWare with NetWare Client32
- TID 2930738: Remote Boot will not load with NetWare 4.11 Support Pack 4 or higher applied
- RPLKT5.EXE, Readme - contains updated RPL files which should fix the issue for RPL Boot ROMs
Other Operating Systems
OS/2 Warp 3.0 can be network booted quite easily and I expect Warp 4.0 is probably the same. This page covers netbooting Warp 3.0. I tried OS/2 2.1 but ran into problems - possibly doing it on real hardware would work better. OS/2 2.0 and earlier appear to require an NE1000, NE2000 or NE2 network card for network booting so I've not attempted these.
Network Booting Windows 95 also works though it can be a bit tricky and likely works best using the Microsoft client for NetWare. This page covers the whole process. Network booted Windows 95 comes with some significant limitations though and a lot of things probably won't like installing on it.
Disclaimer & Comments
I'm not a netware expert, don't have any of those fancy novell certifications and have never administred a netware network; I've just played with it at home occasionally since 2004 or so. Email me if you've got any suggestions or corrections for this page or any extra information you think is worth including here. My address is david at this websites domain name (without the www bit of course).