DSMerge: Merging NetWare 4.1 into an existing 4.11 tree
This page covers merging two NDS trees: One hosted by a NetWare 4.10 server into a tree hosted by a NetWare 4.11 server.
I'm doing this simply because I want the NetWare 4.1 server (VNW41) in the same tree as the NetWare 4.11 server (VNW411). VNW41 came over a year after VNW411 so Ideally I would have just added VNW41 into the existing tree at install time. But because NetWare 4.10 ships with a version of DS.NLM that is incompatible with the one shipped with NetWare 4.11 this simply isn't possible (though if the NetWare 4.10 server had come first it may have been possible to install NetWare 4.11 into the existing 4.10 tree)
So the only way to do this I can find is to install NetWare 4.10 into its own tree with a unique name, bring it fully up-to-date so its DS.NLM is compatible with NetWare 4.11, then merge the two trees together. Thats what we'll be doing here.
TID 2912750 documents this process. If you're going to attempt this, you should probably read this.
Contents
- Requirements
- Initial Configuration
- Preparation - dsrepair
- Preparation - Time Synchronisation
- Preparation - Schema update, Source server (VNW41)
- Preparation - Schema update, Destination server (VNW411)
- Preparation - Schema update, again!
- The Merge!
- New Configuration
- Tidying up
Requirements
Requirements for merging NDS trees:
- All NetWare 4.11 servers must be running DS 5.73 (but not 5.81 or 5.89) or newer. My server, VNW411, is running 6.11 (dated 1 August 2000).
- All NetWare 4.10 servers must be running DS 5.01 or higher. My server, VNW41, is running 5.18 (dated 29 September 1999)
- Each tree must have a unique name. My source tree is called ZXNET2 and my destination tree is called ZXNET. If both trees had the same name then you'd use DSMERGE to rename the source tree.
- Each O= (organisation container) in each tree must be unique. Both of my servers were created via the simple install which creates only one organisation container with the same name as the tree so no problems there
- You should be using the latest version of DSMERGE.NLM (from the latest DS410x.EXE or DS411x.EXE). Both of my servers have all the latest patches installed so I should be fine here.
- Probably wise to backup all servers
Initial Configuration
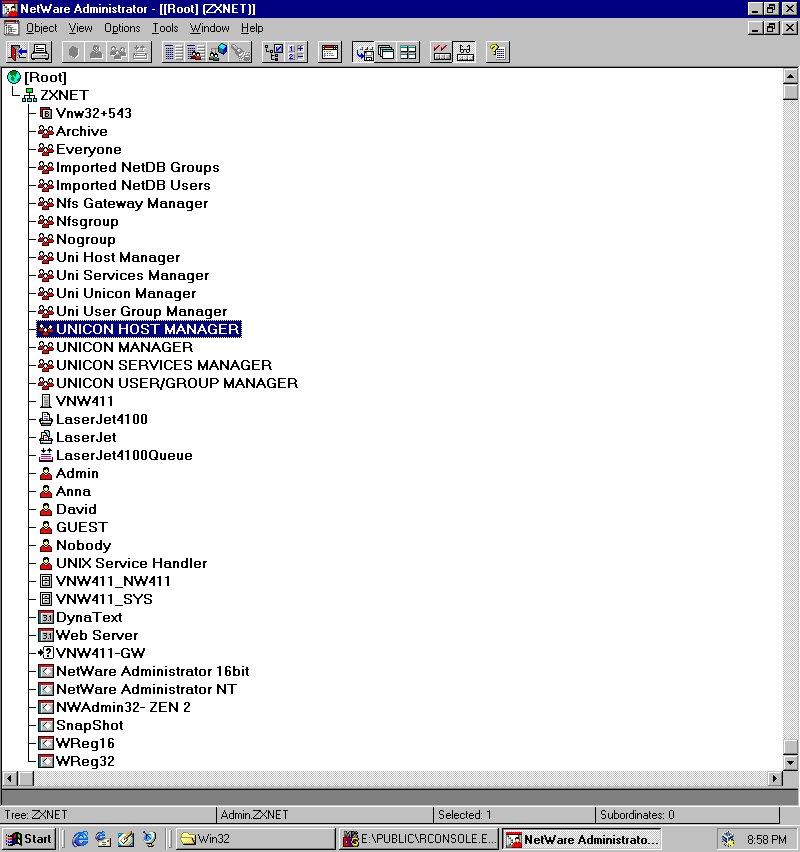
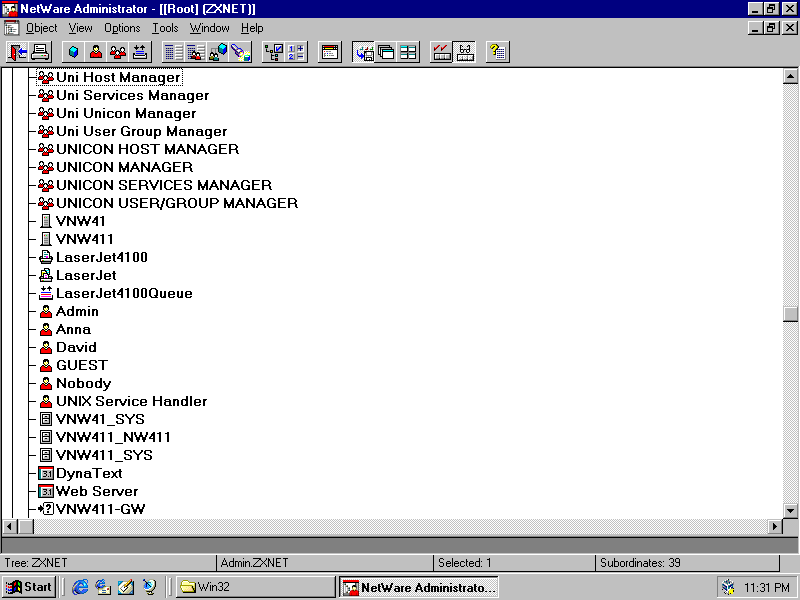
This is the initial contents of my main NDS tree, the tree I'll be merging into.
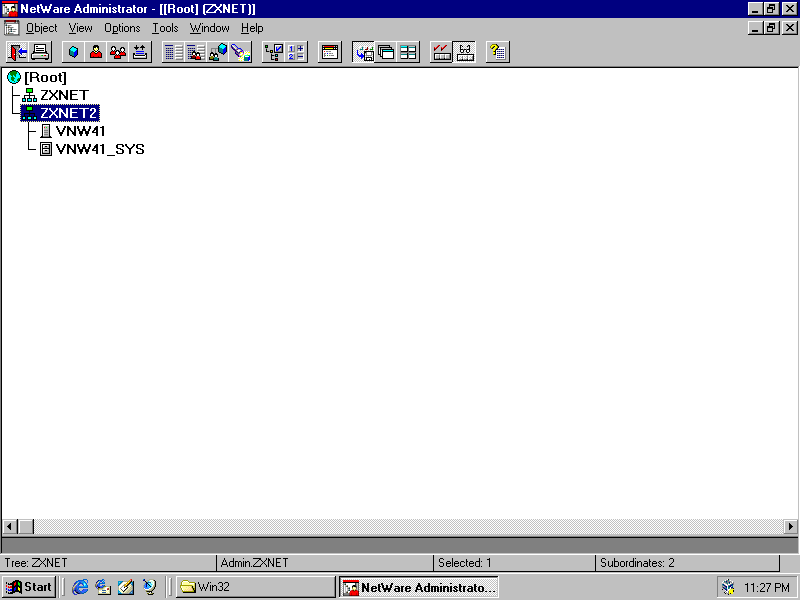
NetWare Administrator showing all objects
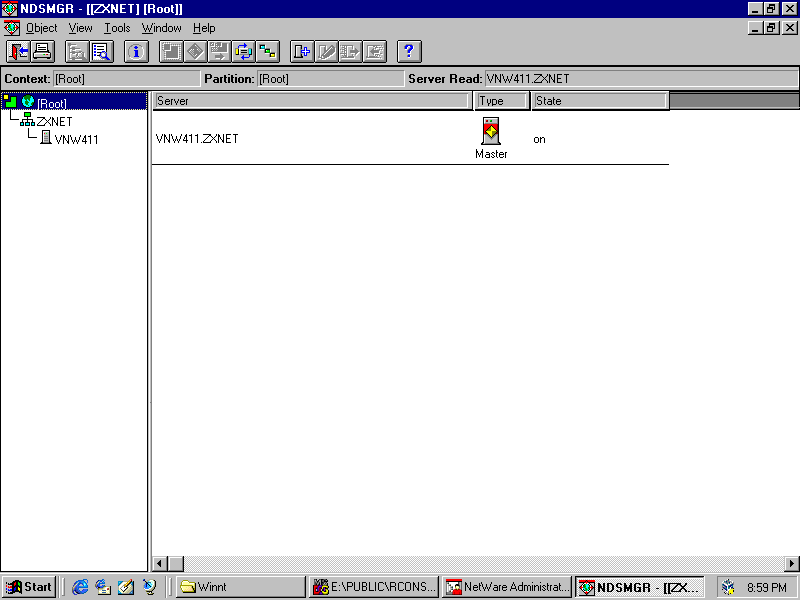
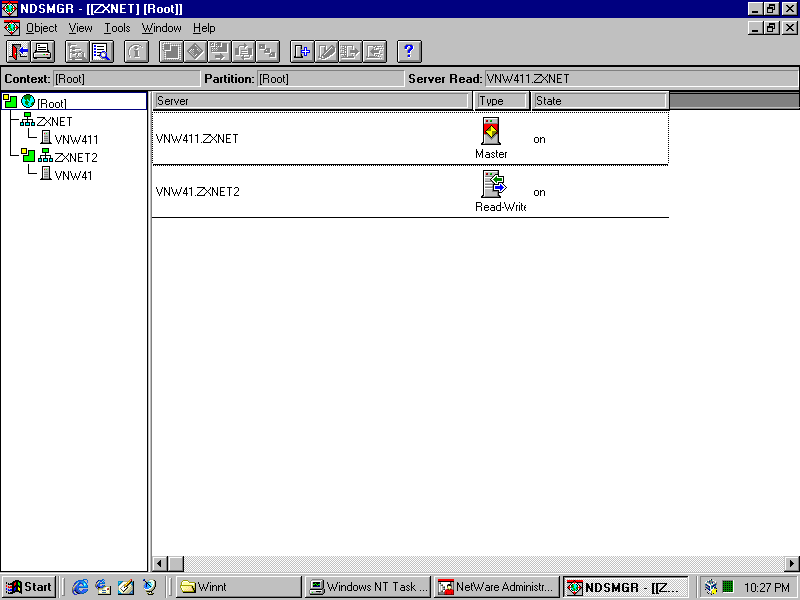
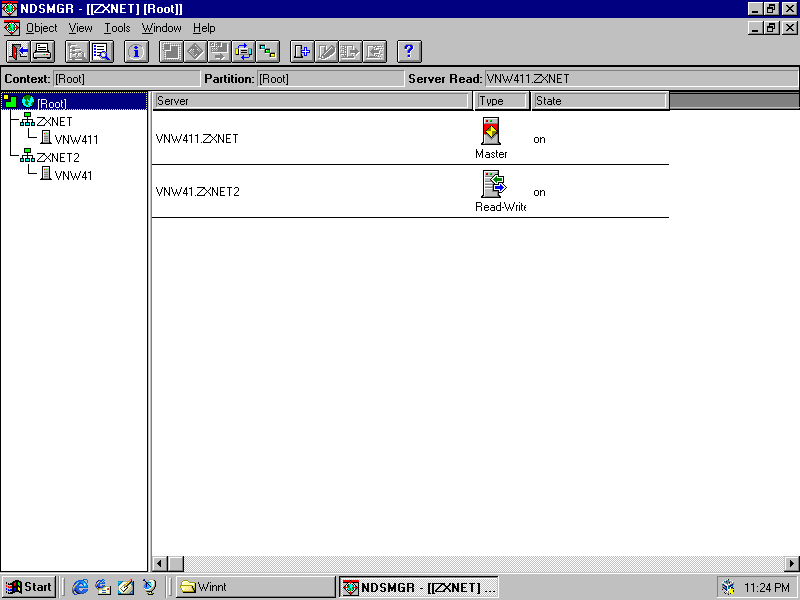
And NDSMGR showing the one server in my tree
Preparation - dsrepair
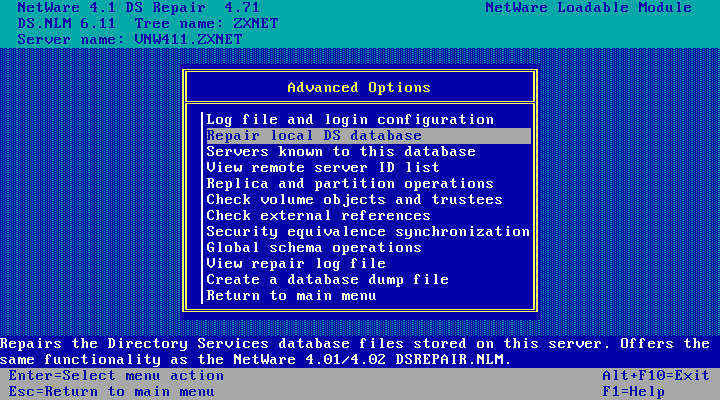
First up, we need to rebuild the oeprational schema on the master replica of both trees. On the server console of
the destination tree (VNW411) run load dsrepair

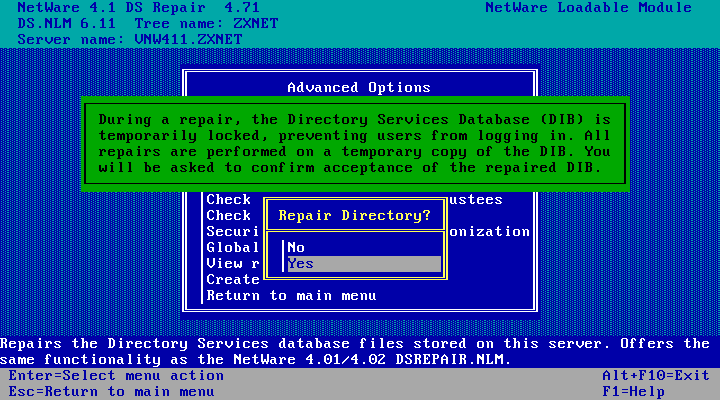
Choose Advanced options menu

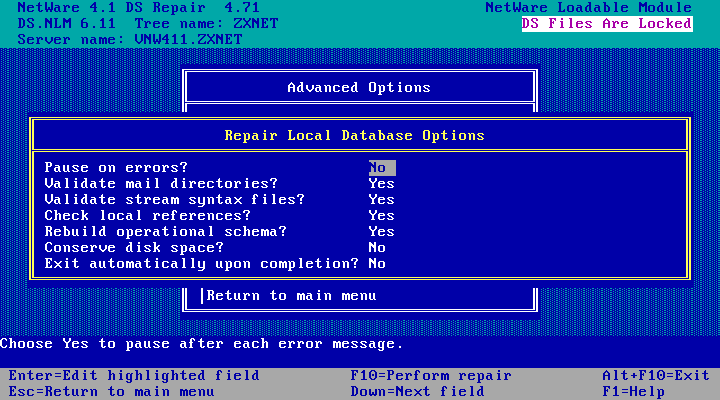
Choose Repair local DS database
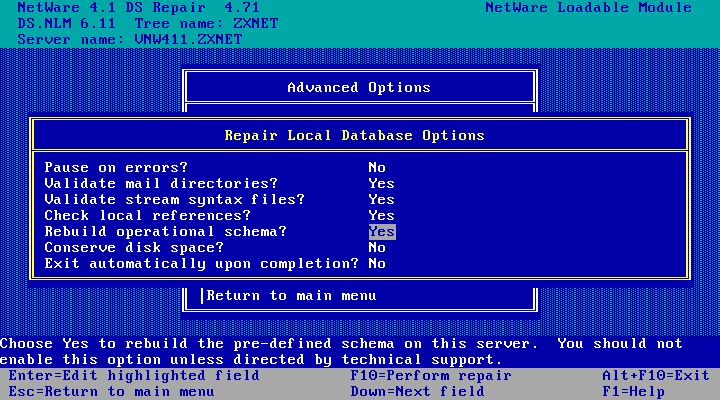
Change Rebuild operational schema? to Yes

Then hit F10 to perform repair
Choose Yes
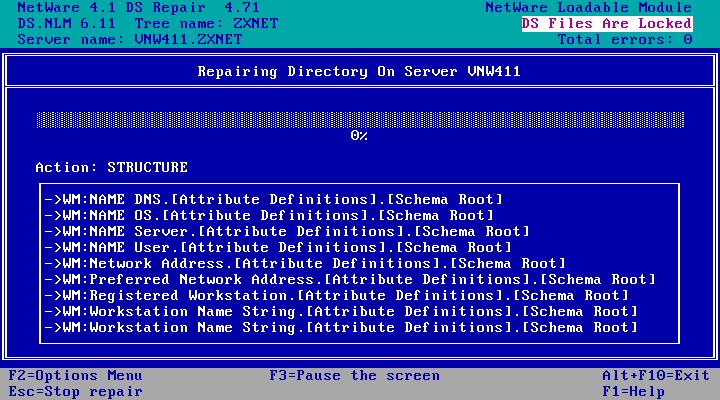
Repairing...
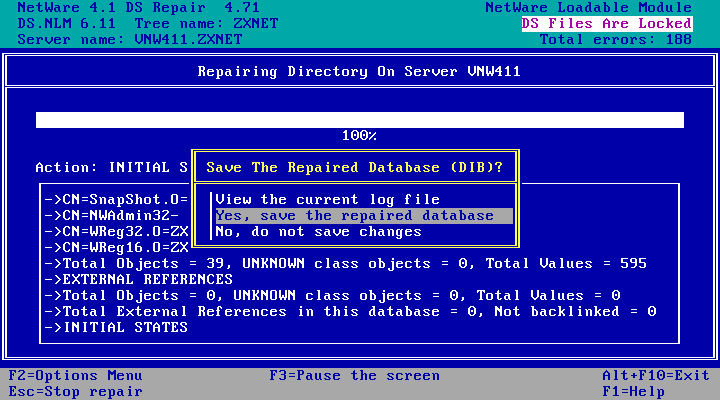
Choose Yes, save the repaired database
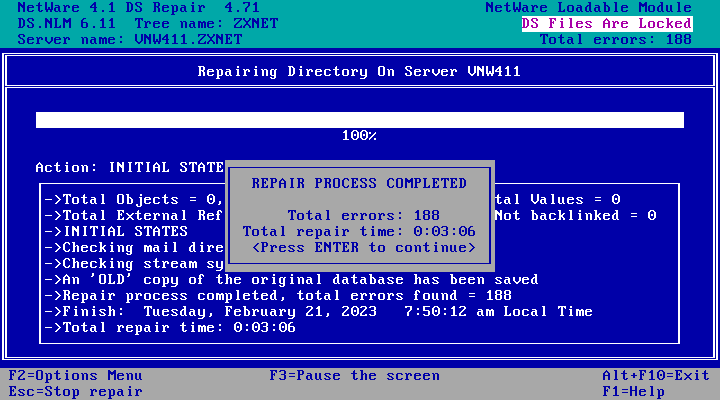
Repair completed! Only 188 errors! Hit enter to continue.
Hit Esc twice to go back to the main menu
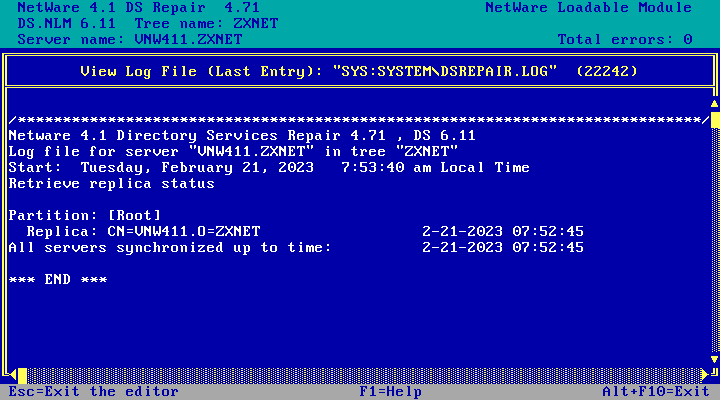
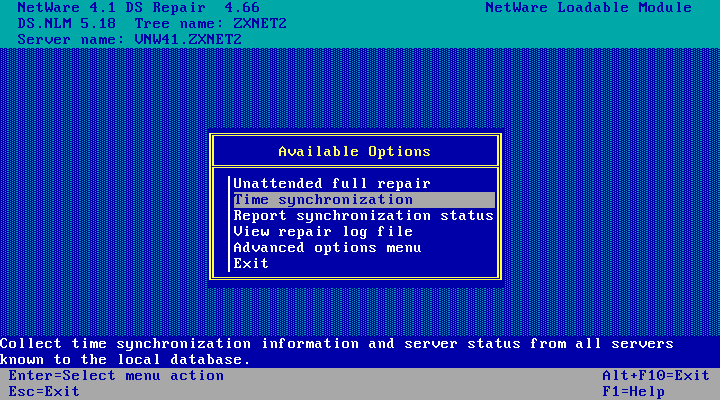
Then choose Report synchronization status
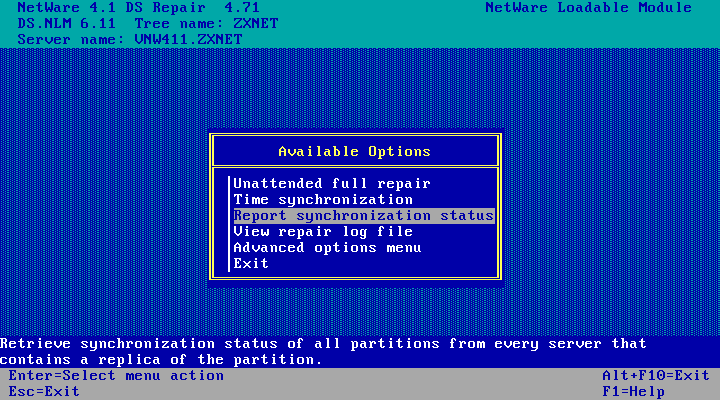
And here is the result! Note the top right corner: Total errors: 0. If there were any errors at all
they would have to be repaired before going any further. Hit Esc to leave the editor, and Esc again to leave DSREPAIR.
Choose Yes to exit back to the server console.
Thats the first server done! VNW411, the target NDS tree, is now ready for the merge. Next the above steps need to be performed on the source (4.10) server, VNW41. The process looks identical - only real visible difference is a different verison number in the title bar and different DS repair results (because its a different server), so I'm not bothering to include screenshots of that here.
Preparation - Time Synchronisation
Next up we need to make sure the clock on the source server, VNW41, is in sync with the destination server, VNW411.
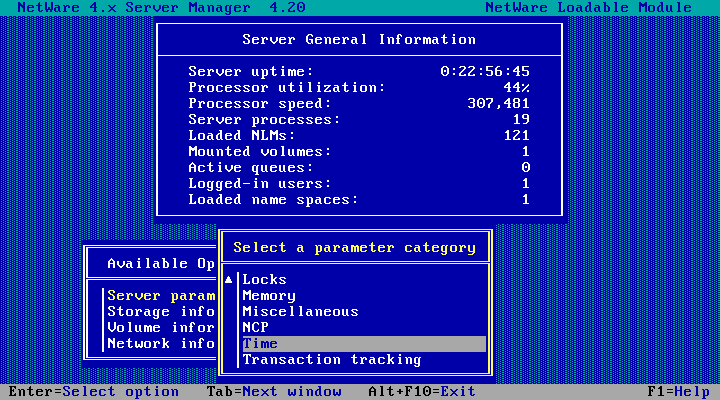
To do this, load servman

Then choose Server parameters
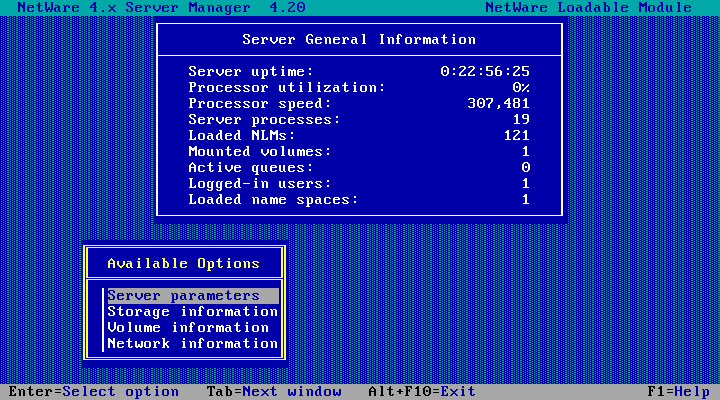
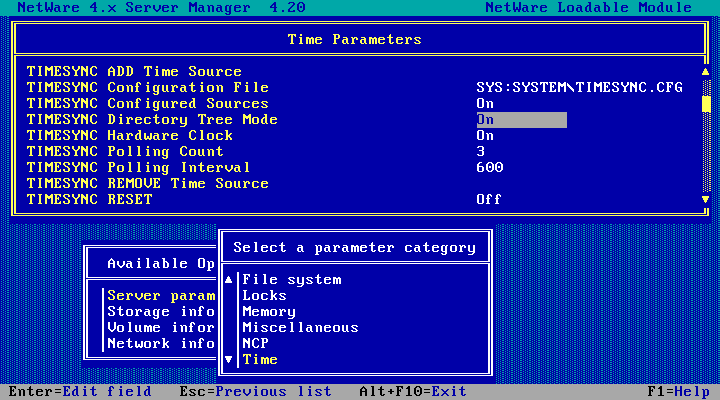
Scroll down and choose Time
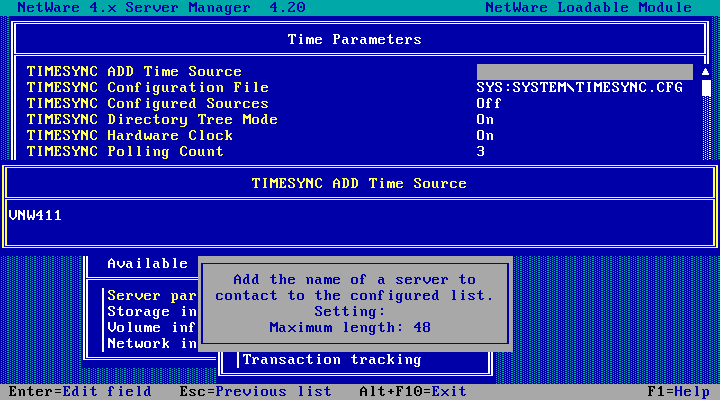
Hit Enter on TIMESYNC ADD Time Source
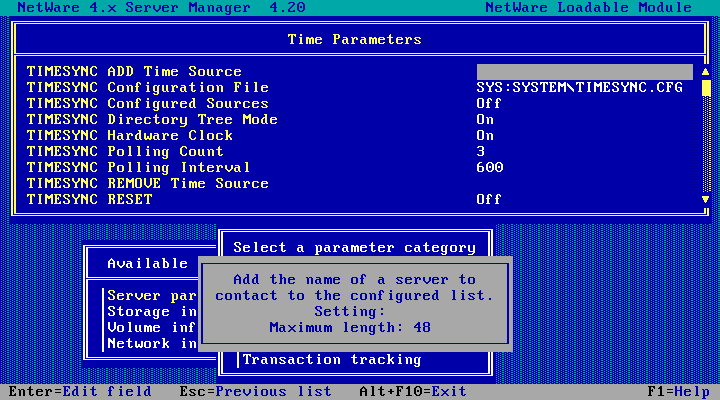
And enter the name of the server to synchronise time with - the server we'll be merging into, VNW411 in this case.
Hit enter when done. This doesn't seem to update the field visibly which is confusing.
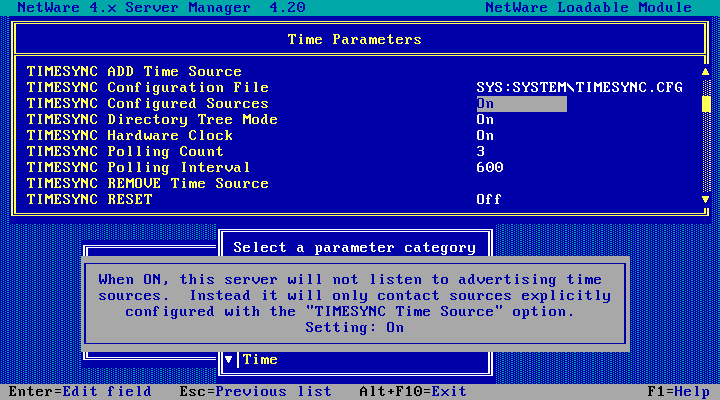
Change TIMESYNC Configured Sources to On (select the field and hit enter)
Change TIMESYNC Directory Tree Mode to Off
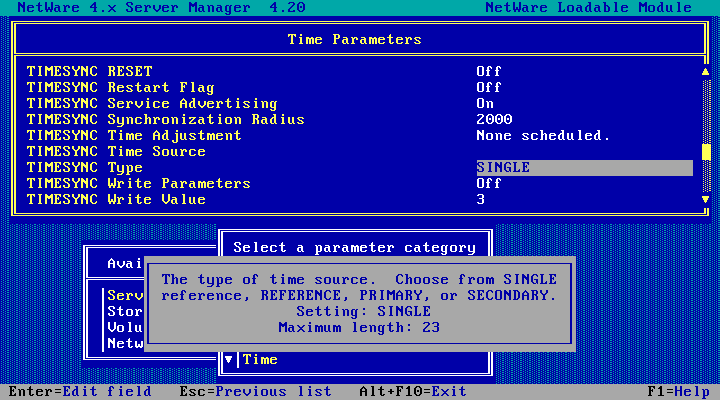
Scroll down and change TIMESYNC Type from SINGLE to SECONDARY
(or from REFERENCE to SECONDARY). Select the field, hit enter, type in the new
value, and hit enter again to save (similar sort of UI to the time source field but this one actually updates)
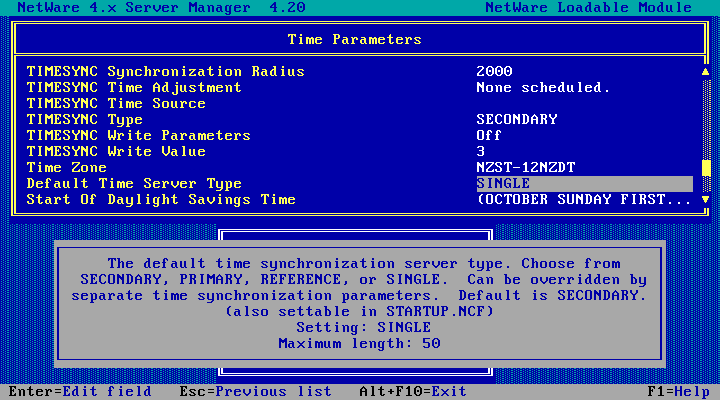
Scroll down some more and change the Default Time Server Type from SINGLE to SECONDARY
(or from REFERENCE to SECONDARY). Same sort of UI as the previous one.
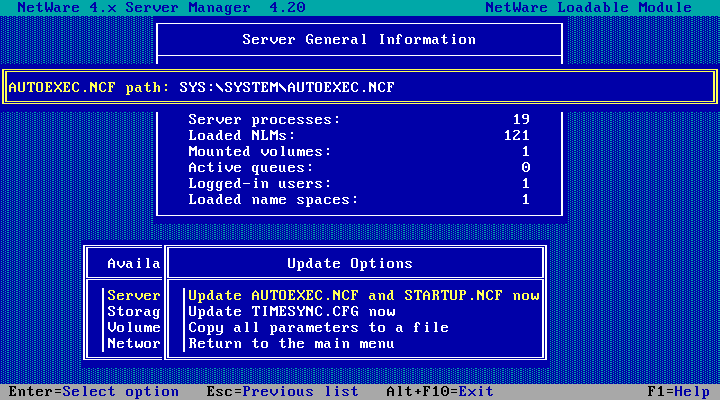
Hit Esc twice and you'll be asked which files to update. Choose Update AUTOEXEC.NCF and STARTUP.NCF now
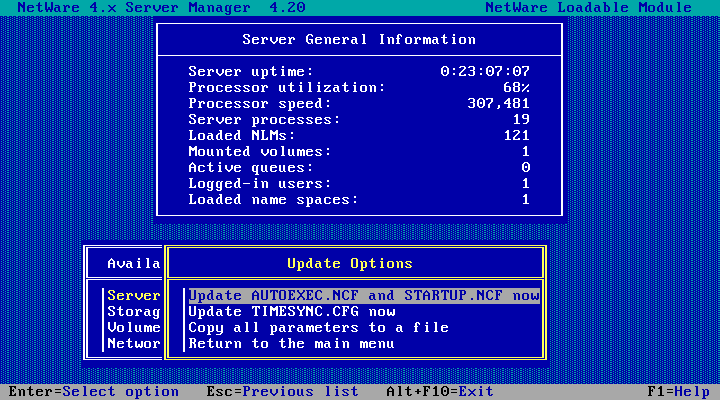
Accept the default value
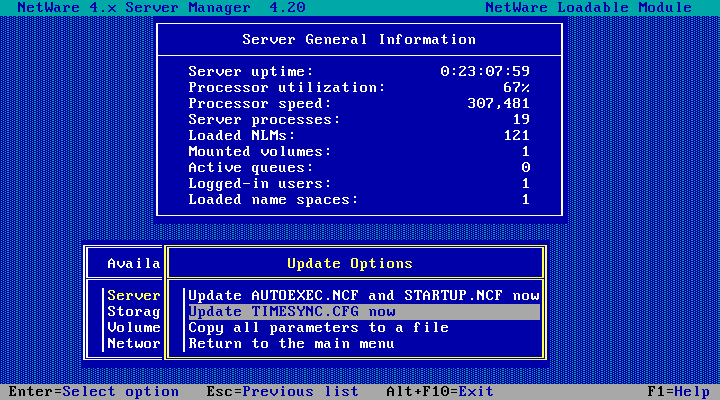
Then choose Update TIMESYNC.CFG now
Done! Hit enter.

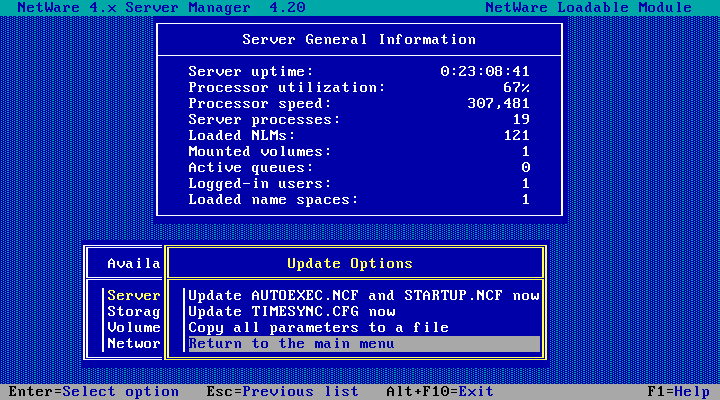
Then choose Return to the main menu, hit Esc and choose Yes to exit servman.
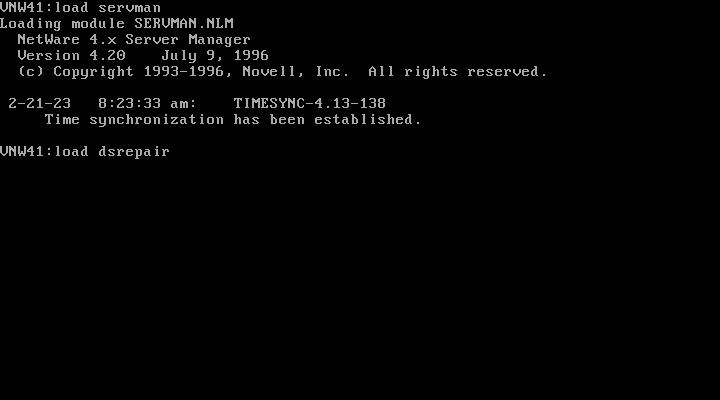
That message looks promising! Run load dsrepair on both servers now.
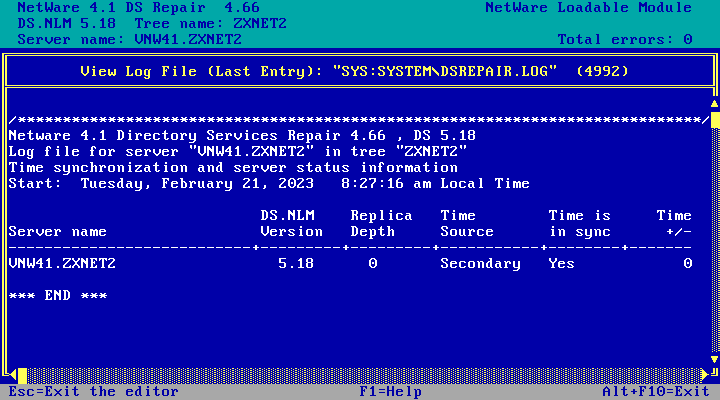
Choose Time synchronization on both servers
And here is the result from VNW41. Settings look good - its secondary and in sync. Hit Esc, but leave DSREPAIR open.
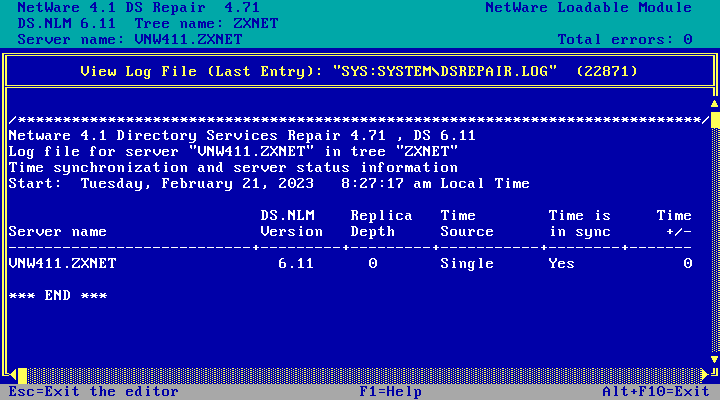
And the result from VNW411. Looks good I guess! Hit Esc, but leave DSREPAIR open.
Preparation - Schema update, Source server (VNW41)
Before the trees can be merged they both need to have the same schema. So we're going to import the schema from the destination server (VNW411) into the source server (VNW41), then we're going to do it in reverse - import from VNW41 to VNW411. Then we'll do it again in both directions just to be sure.
In DSREPAIR, choose Advanced options menu
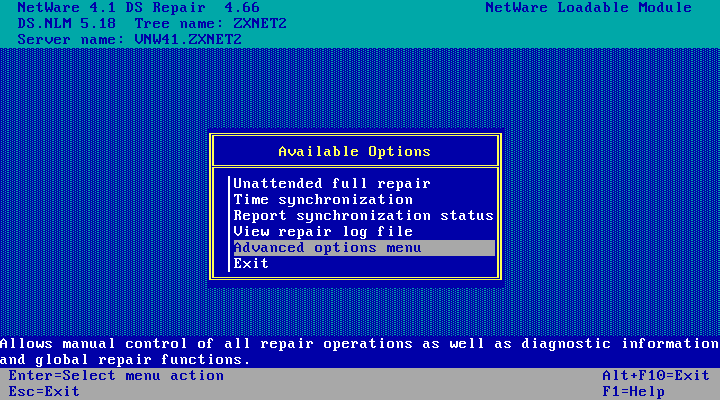
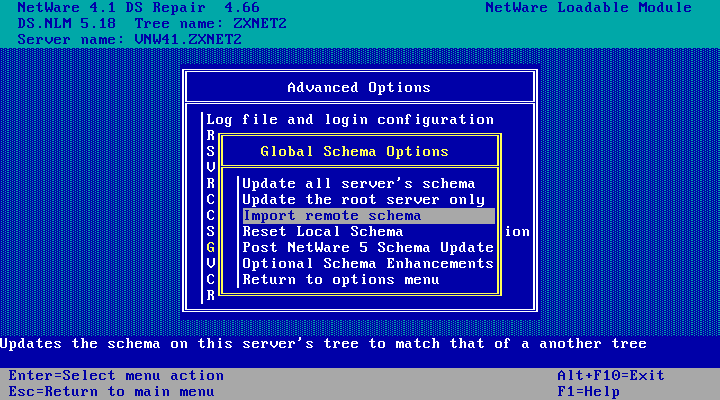
Choose Global schema operations

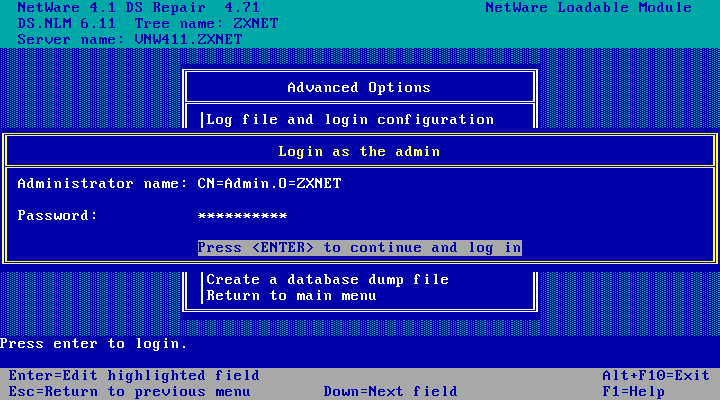
And login as the admin user. You'll have to type in the fully qualified name, eg CN=Admin.O=ZXNET2

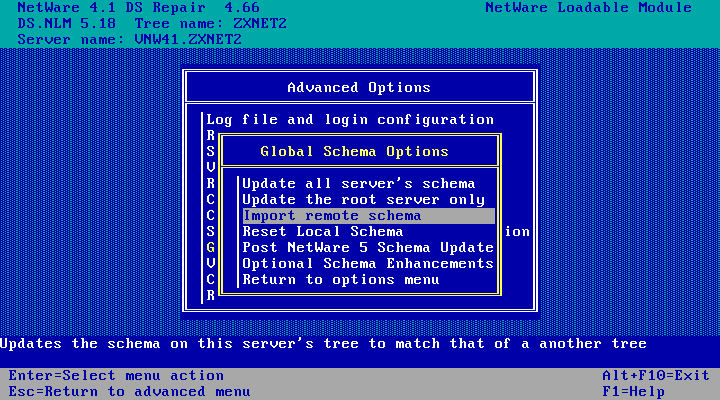
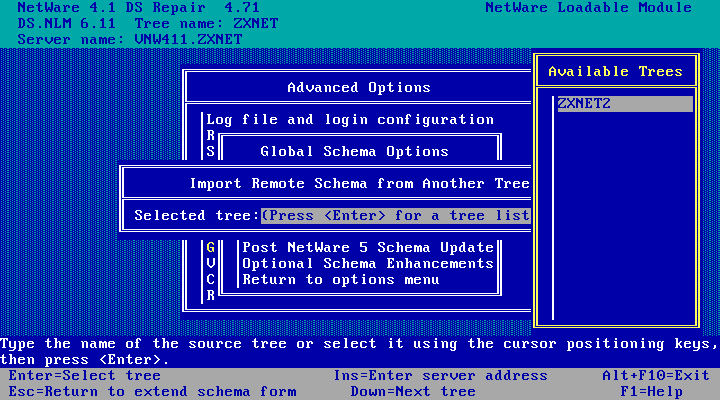
Then choose Import remote schema
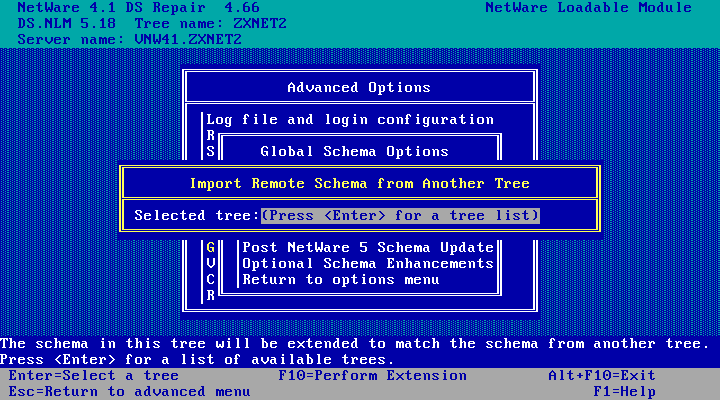
Press Enter to see a list of available trees we can import from
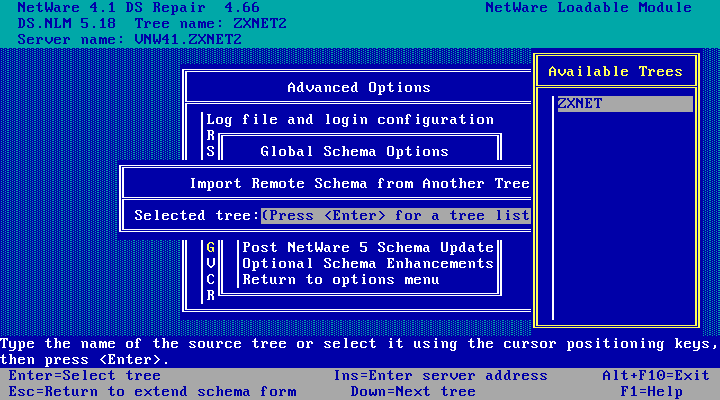
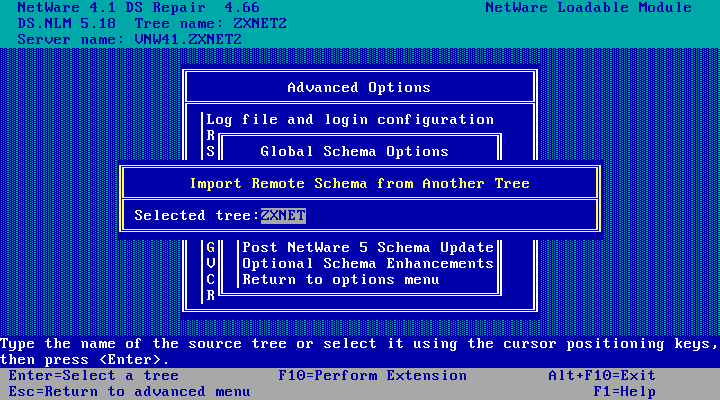
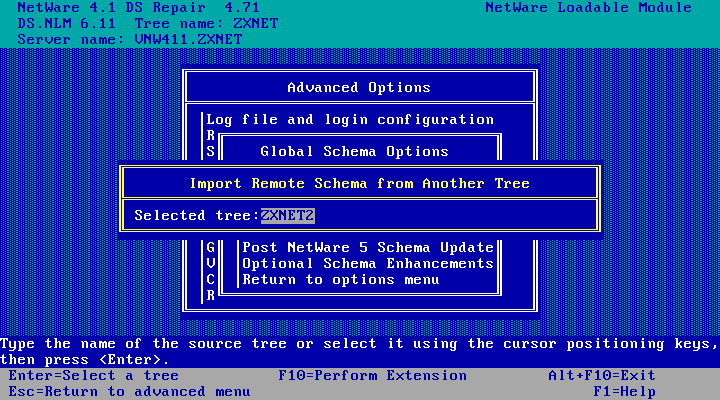
And choose the tree to import from and hit enter.. As we're on the source (NetWare 4.10) server,
we're picking the tree on the destination (NetWare 4.11) server.
And then hit F10 to extend the schema.
Importing...
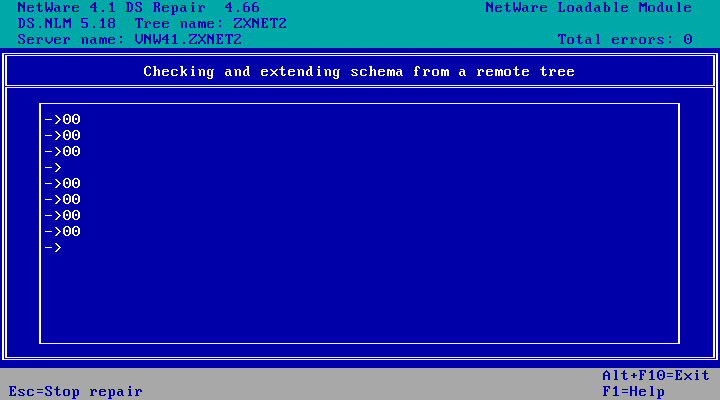
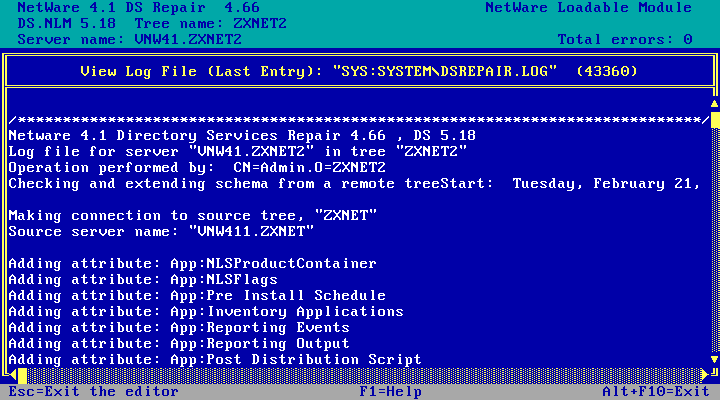
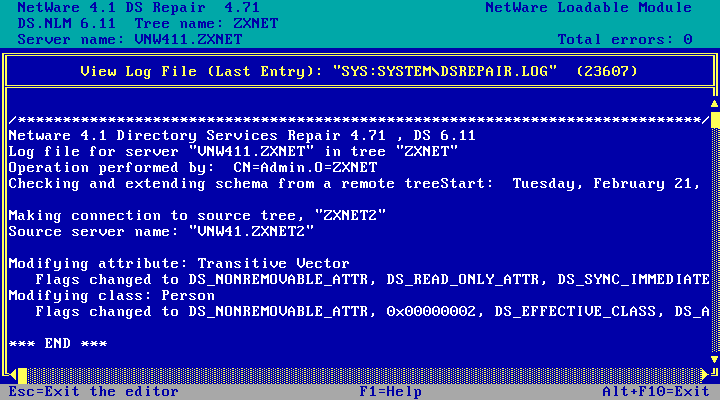
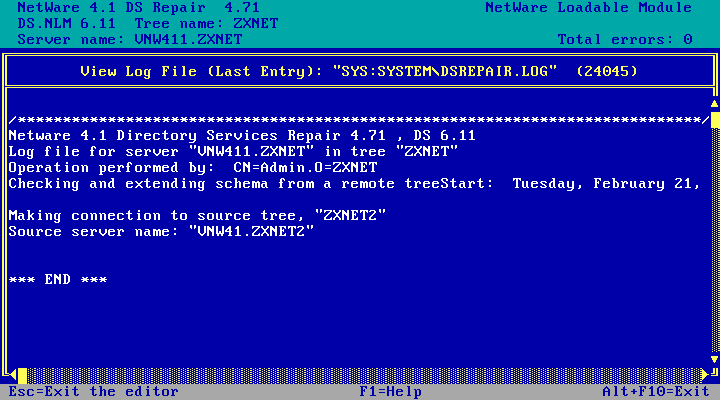
And when its done we get a log file. In the top right corner we see Total errors: 0 which is good! Once you've
finished exploring the log, hit Esc to close it.
Back at the Global Schema Options Menu. Leave it here for now as we'll want to repeat that import later.
Preparation - Schema update, Destination server (VNW411)
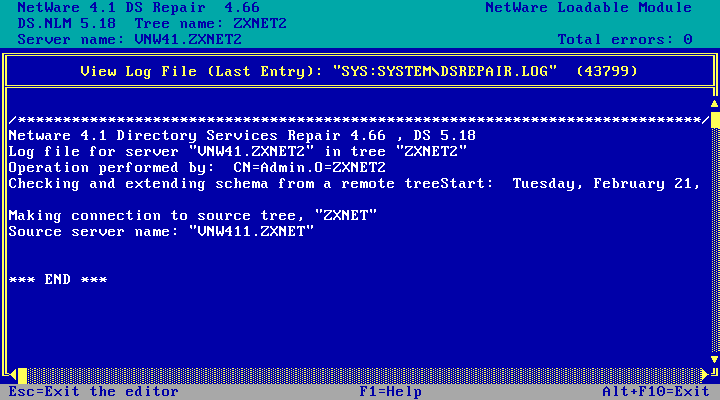
Now we're doing the same schema import, but we're importing from the source server (4.10) to the destination server (4.11). The process looks identical, just with the source and destination swapped
So in DSREPAIR, choose Advanced options menu, then Global schema operations, and we've
got to login as the admin user. Again this must be the fully qualified name, eg CN=Admin.O=ZXNET
Then as before choose Import remote schema, hit enter to choose a tree, select the source other tree and hit enter.
Hit F10 to perform extension!
And the schema extension completes without problems. Not much imported from NetWare 4.10! Hit esc when done looking at the logs
Preparation - Schema update, again!
Now do the schema import a second time, starting with The Source server (VNW41).
Running the import again on the NetWare 4.10 server shows no errors and nothing imported.
And the same when running the import again on the NetWare 4.11 server. No errors and nothing imported. Schemas are in sync!
You can now exit DSREPAIR on both servers - we don't need that any further
The Merge!
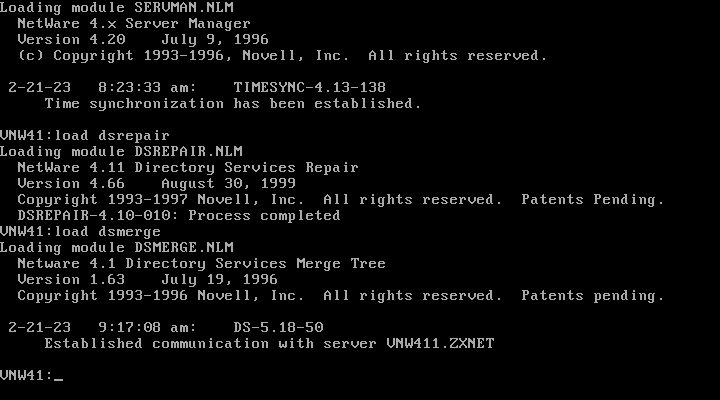
On the source (NetWare 4.10) server, run load dsmerge
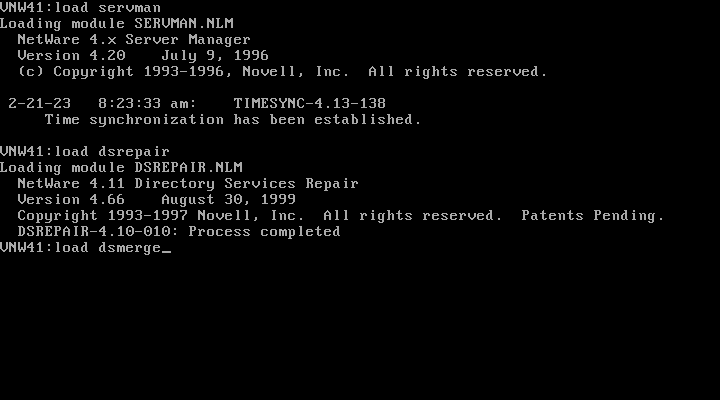
Choose Merge two trees

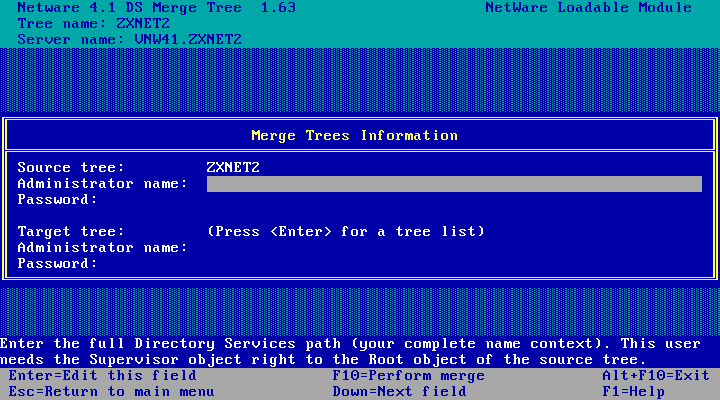
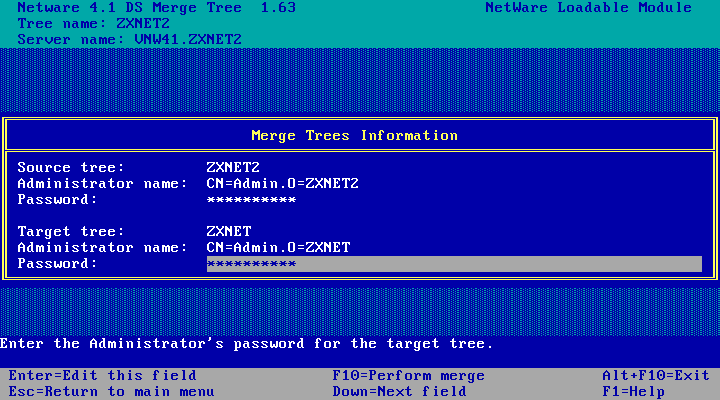
And now we've got to enter the details for the source and target trees!
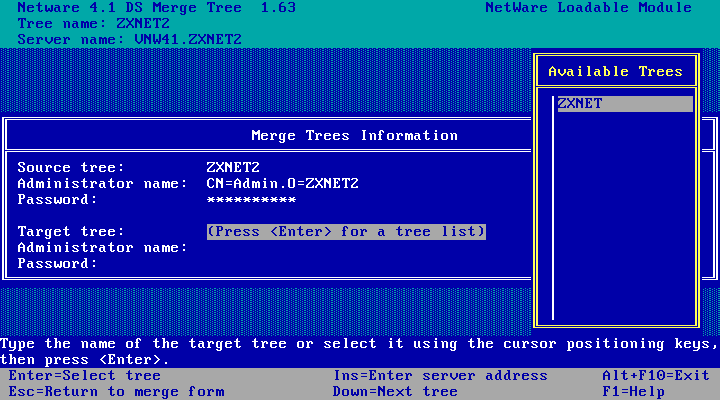
We get to pick the target tree from a list!
Once the form is filled out, hit F10 to perform the merge. Note that you must enter the full name for the admin
user, eg CN=Admin.O=ZXNET
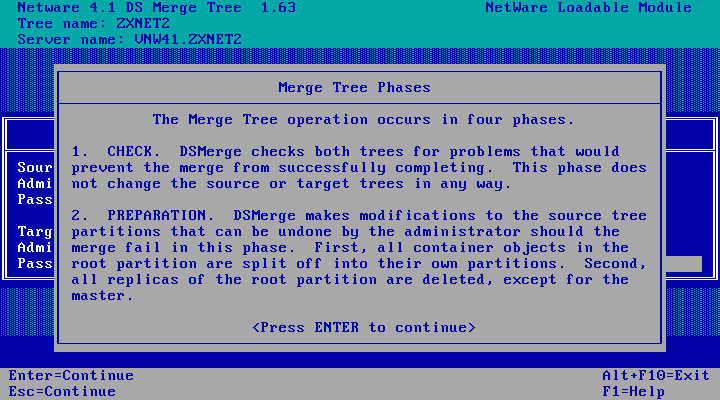
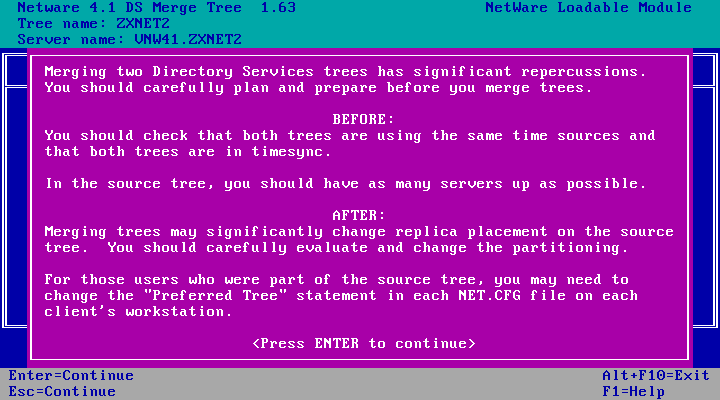
Some information about whats going to happen. Hit enter.
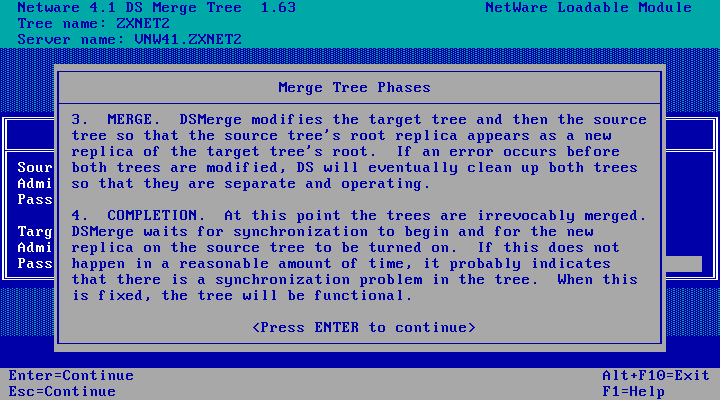
More information. Hit enter.
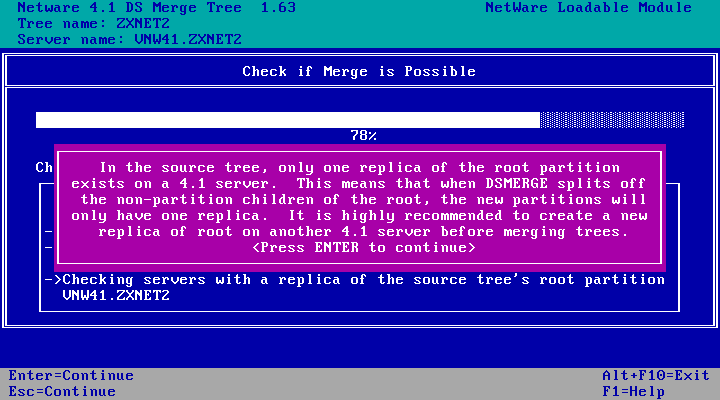
DSMERGE thinks we ought to have at least one replica of the source tree before merging. I'm not setting up a second
NetWare 4.10 server just to satisfy the merge (these are VMs, I can always revert to a good snapshot). So I'm just going
to hit enter here.
More warnings! We've already checked time sources, the schema and everything else. And there aren't any other replicas
or partitions - we're just merging two trees containing one server each into one tree containing two servers. So hit enter.
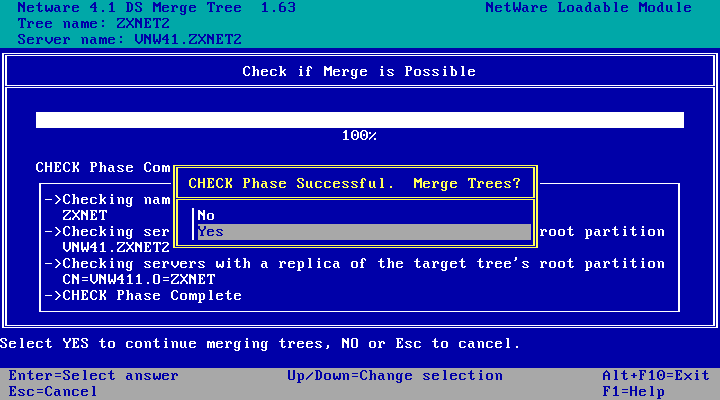
Check successful! We can proceed with the merge. Now is the time to back out if you don't want to merge, otherwise
choose Yes to perform the merge.
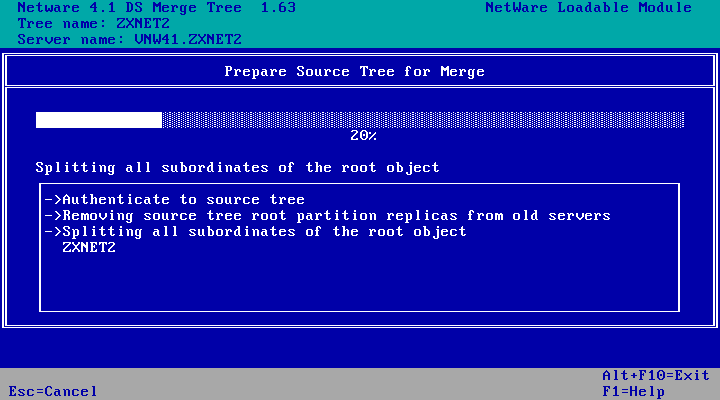
Preparing source tree...
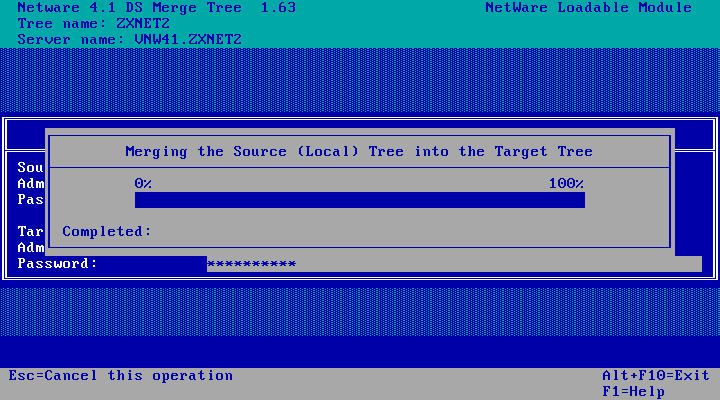
Merging... It will pause just after this to wait for the replica to sync. This could take up to two minutes but for me it
was done within a few seconds.
Merge complete! Press enter to continue.
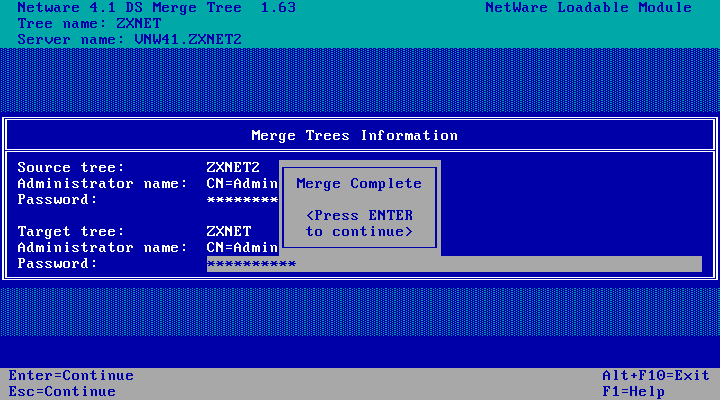
And we're back here. Tree name in the title bar is updated, but the server is still known as VNW41.ZXNET2. You can
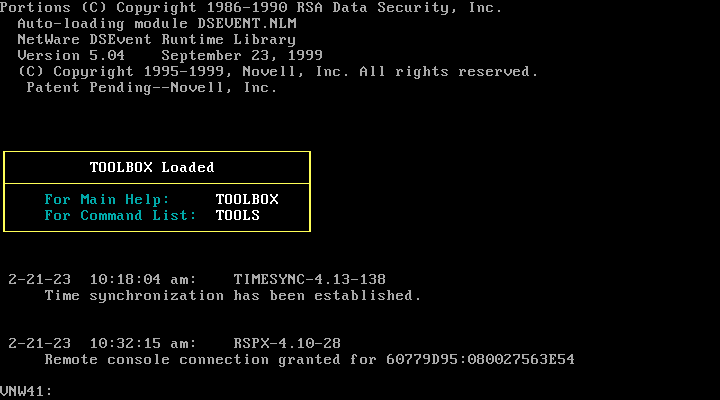
now exit DSMERGE.

DS says its established communications with the primary server!
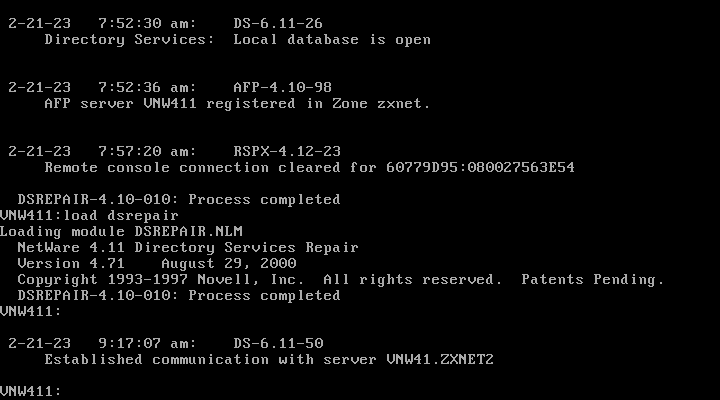
And NetWare 4.11 says it can see the NetWare 4.10 box.
New Configuration
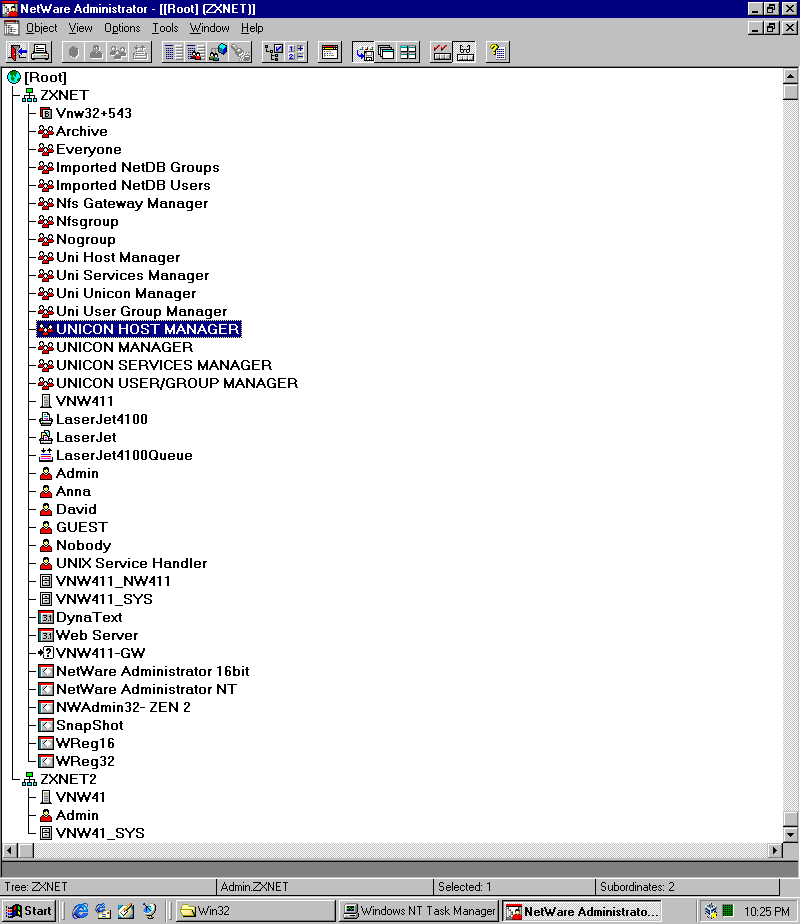
and here is what NetWare Administrator and NDSMGR look like on the target server now.
NetWare Administrator showing two organisations within the one tree, and two admin users. We'll want to delete that
second admin user to tidy things up.
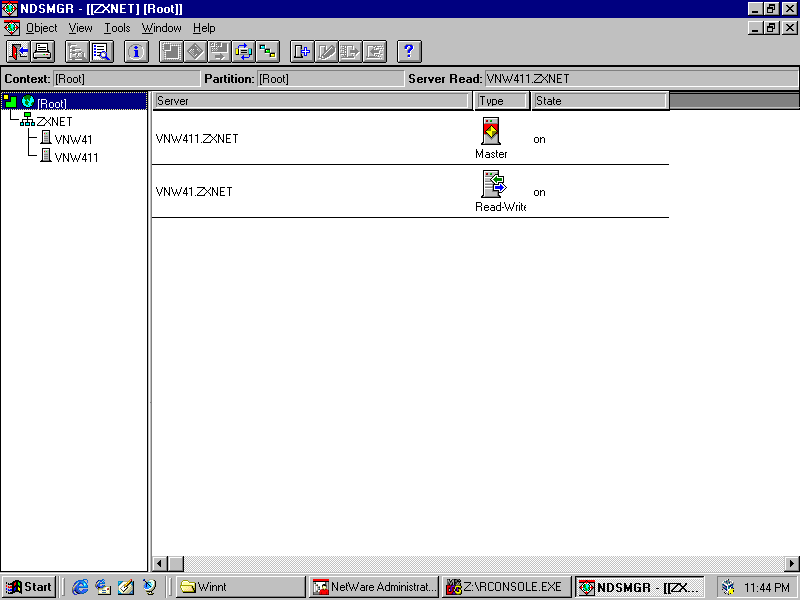
And NDSMGR showing the two organisations and servers. ZXNET2 appears to be a partition which we don't really want.
Infact I don't really want ZXNET2 at all.
Tidying up
Now that the trees are merged, I'm going to tidy things up a bit. I don't need two admin users, and I don't need two containers.
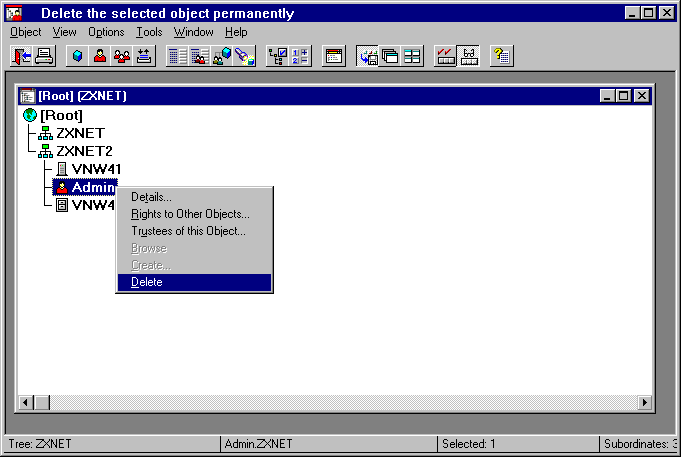
First up, the redundant admin user that got merged in from the NetWare 4.10 box. In NetWare Administrator, just delete it!
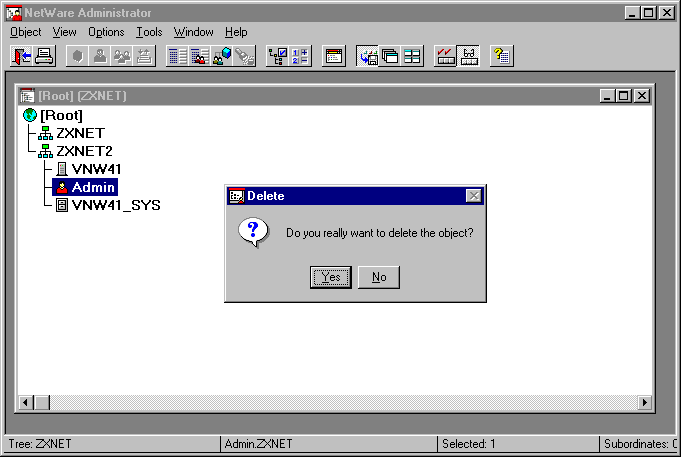
Choose Yes.
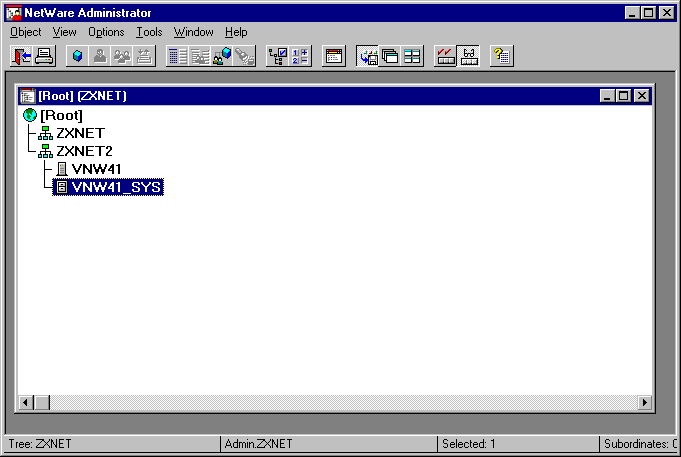
Redundant admin user is gone!
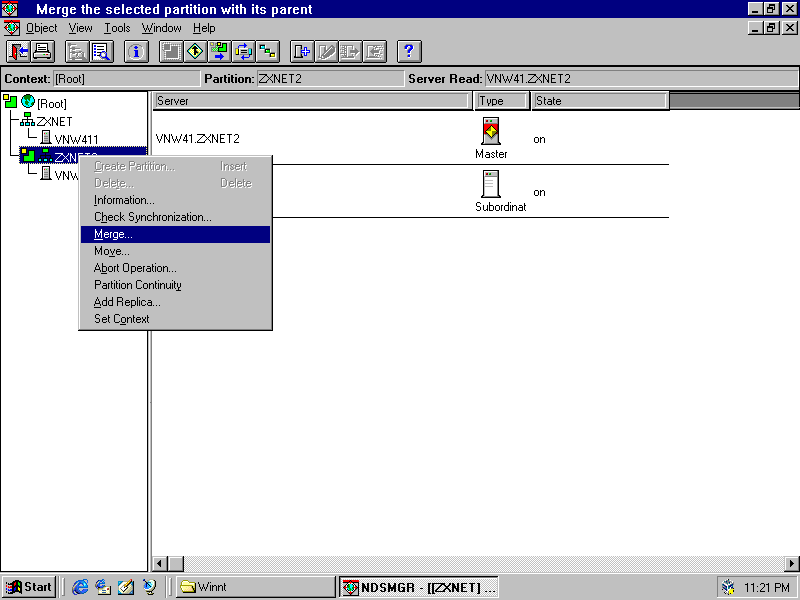
Next up, NDSMGR (SYS:\public\winnt\ndsmgr.exe on the NetWare 4.11 box). The organisation that was merged in (ZXNET2)
appears to be sitting in its own partition. I don't want that - my LAN isn't fancy enough to need my tree to be
partitioned.
Right-click on the partition and choose Merge
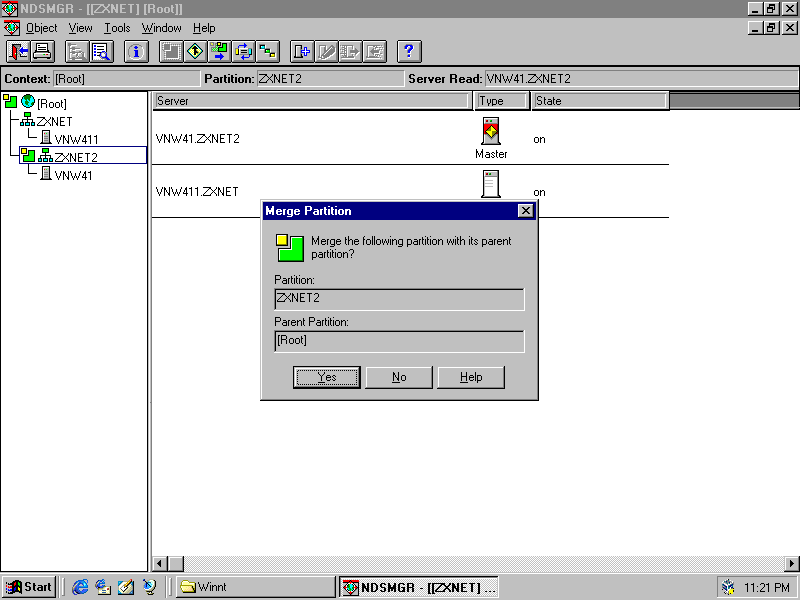
And choose Yes to merge it with its parent
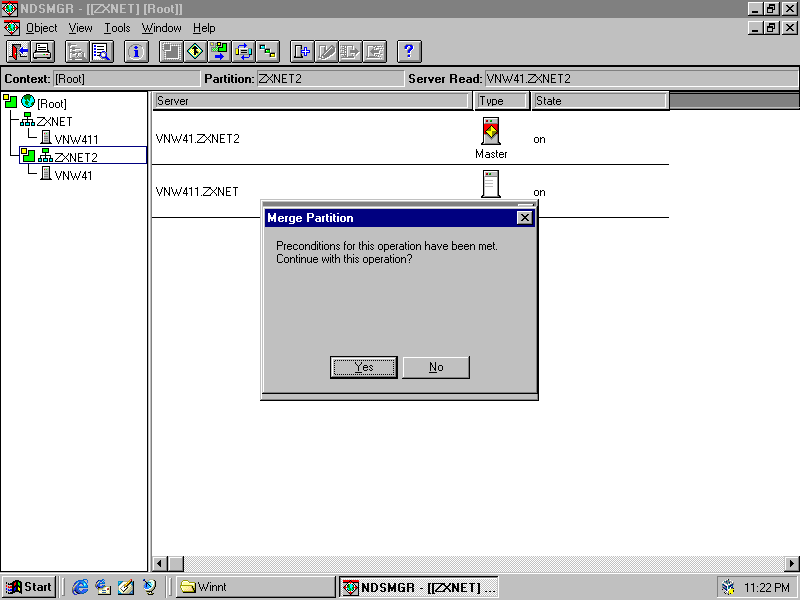
Preconditions have been met, so click Yes to merge!
Processing...
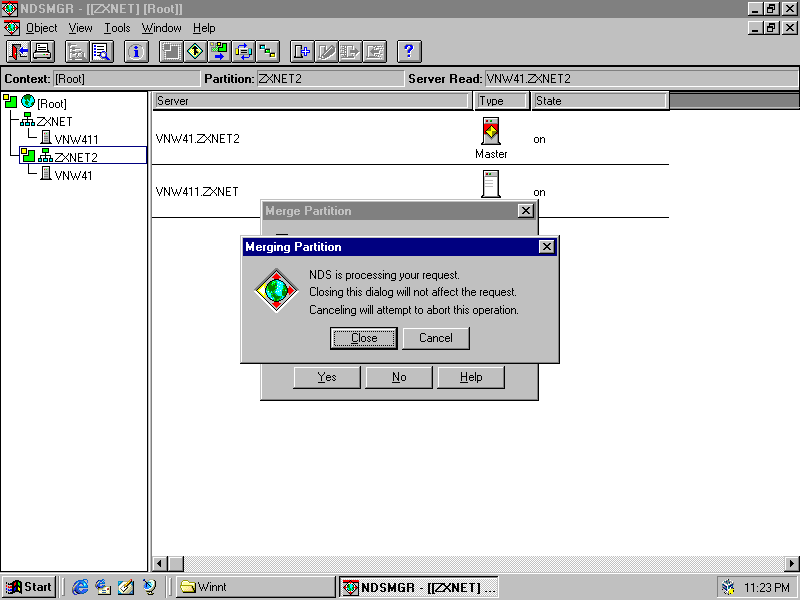
Merged! We're back to only one partition - the root partition.
Next up, I'm going to tidy up that unnecessary ZXNET2 container by moving the server. How to do this is covered
by TID 1003008.
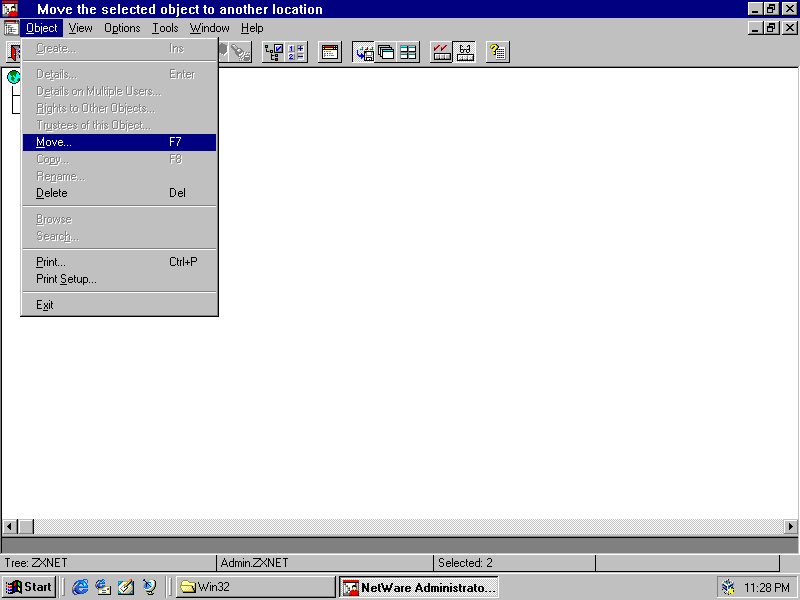
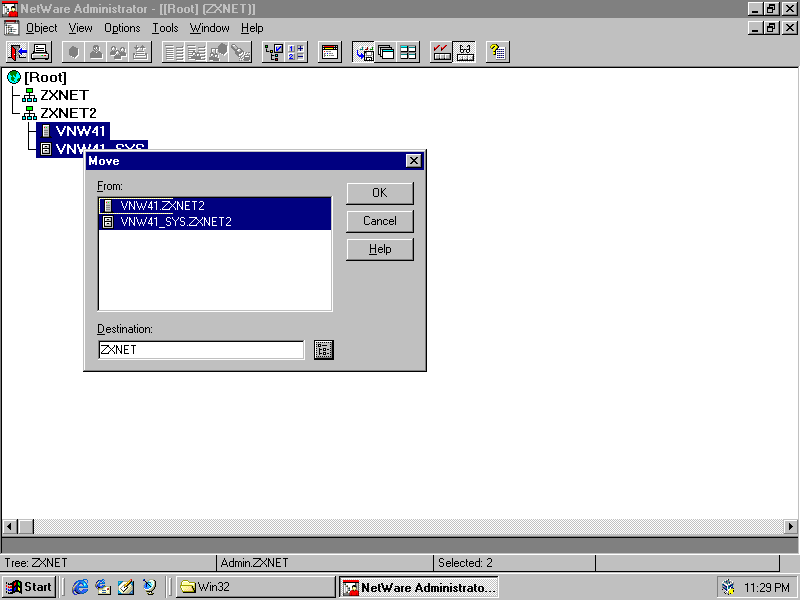
Select the server to move, as well as its filesystem.

Then choose Move from the Object menu
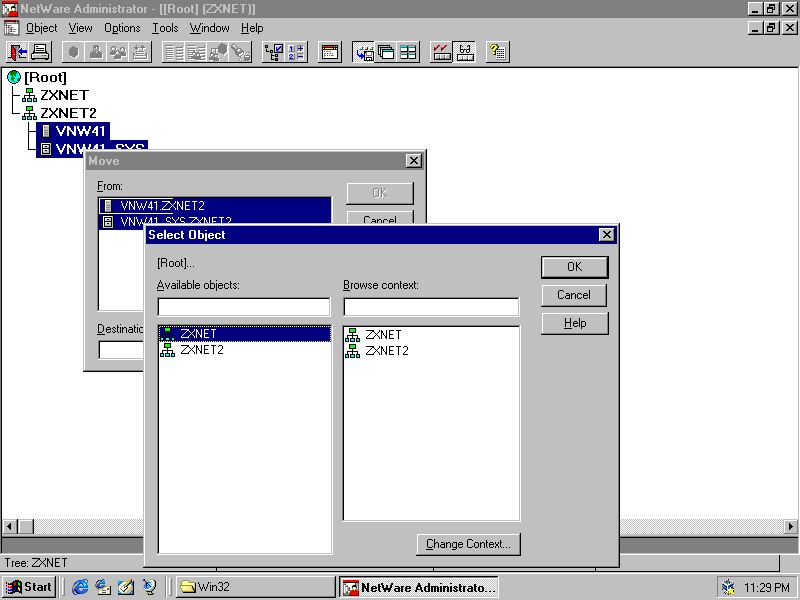
Click on the destination browse button

Go up a level to the root
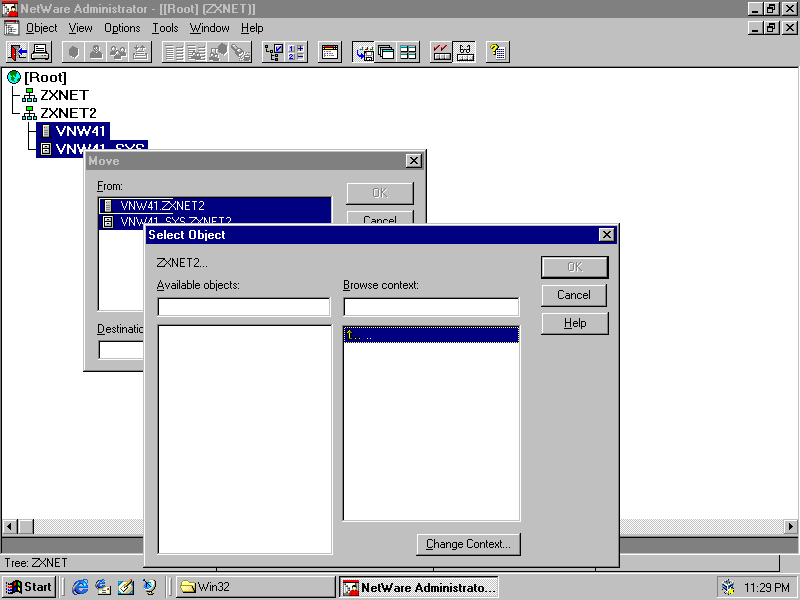
Then pick the object to move the server into (ZXNET in this case) and click OK.
Then click OK!
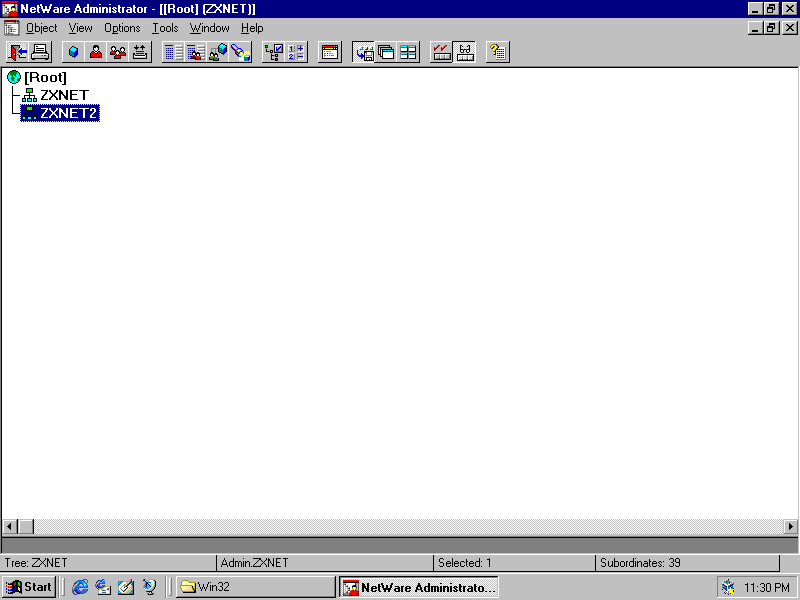
ZXNET2 is now empty
And the server now appears in the ZXNET container alongside the existing one.
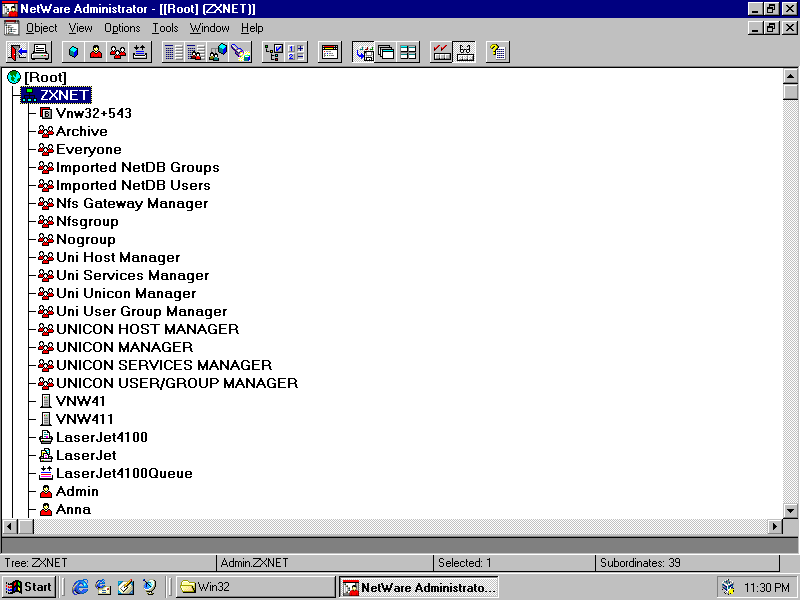
And the filesystem is there too.
No errors on the server console for the server that was moved.
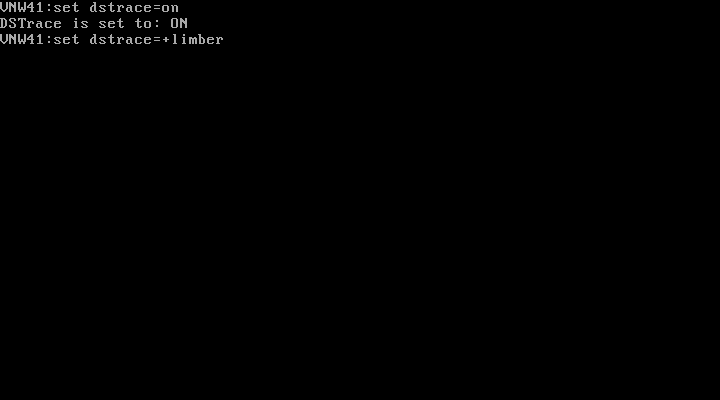
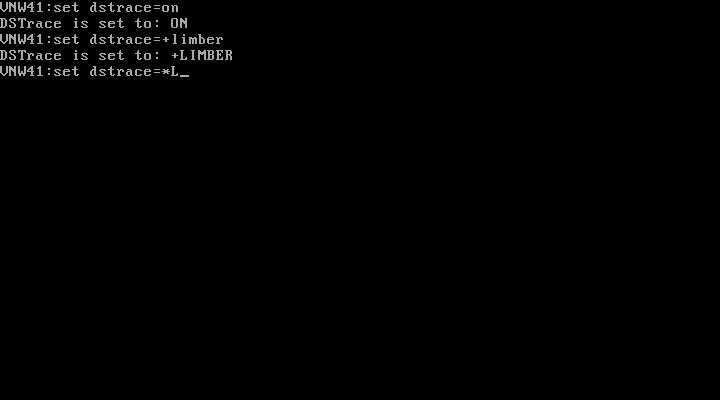
Now run set dstrace=on

Then run set dstrace=+limber
Then run set dstrace=*L
Now switch to the Directory Services to check for errors.
We can see "Limber : start connectivity check" and "Limber: end connectivity check" - everything is ok!

Next, run load install and choose NCF files options
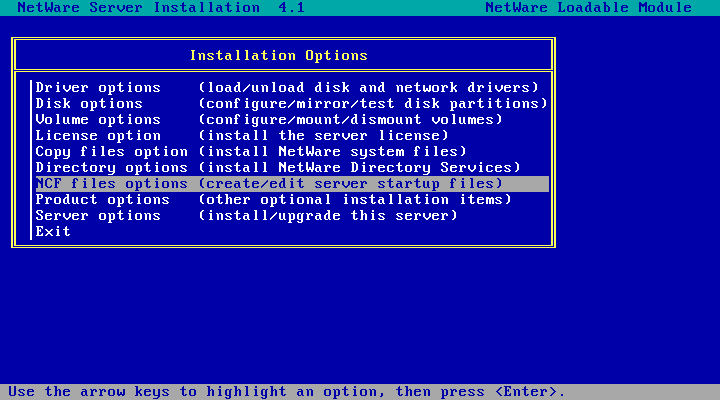
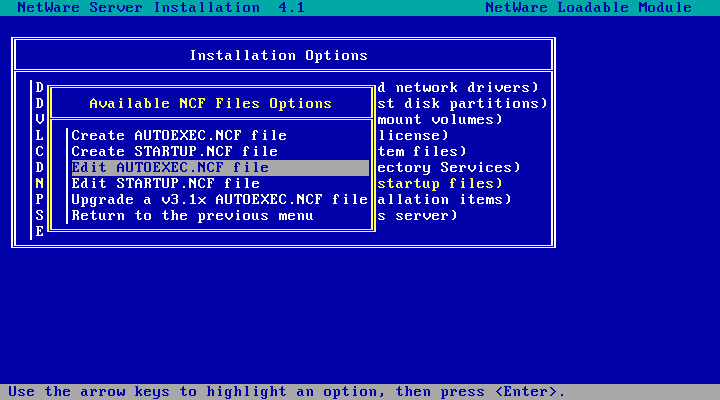
Choose Edit AUTOEXEC.NCF file
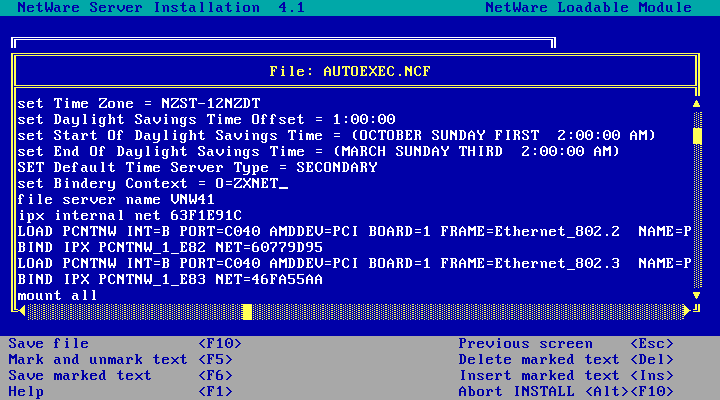
And change the "set bindery context" to point to where you moved the server to
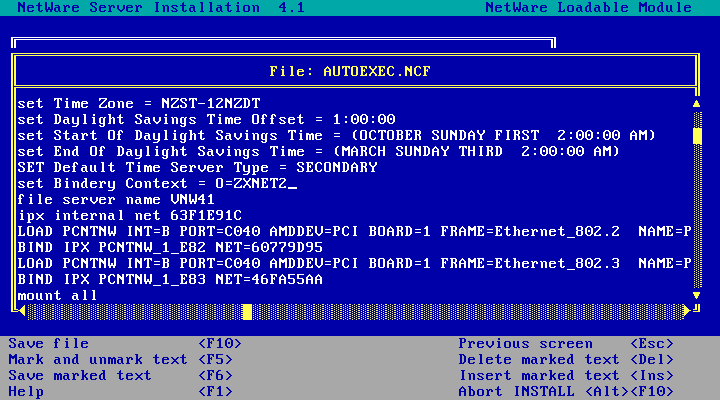
I moved it from zxnet2 to zxnet so thats what my new bindery context will be. Hit F10 to save, choose Yes.
Hit Esc twice, choose Yes again to get back to the server console.
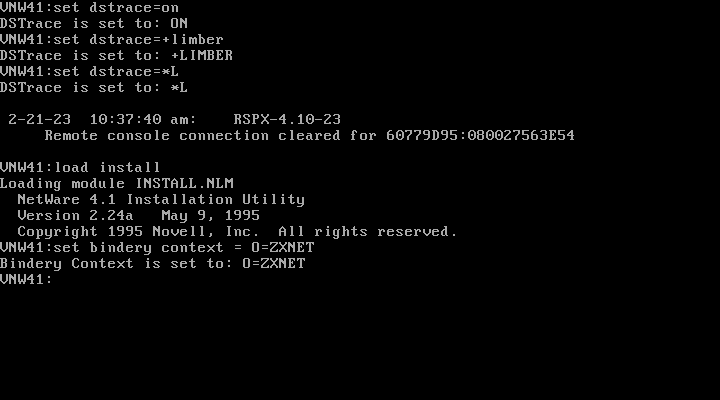
Then run that set bindery context again. For me, its set bindery context = O=ZXNET
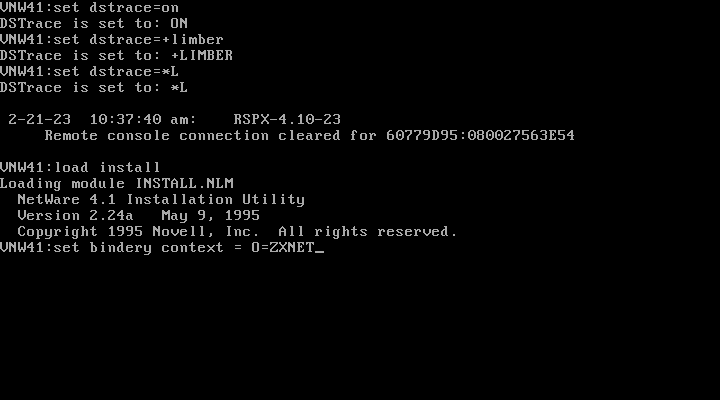
Done!
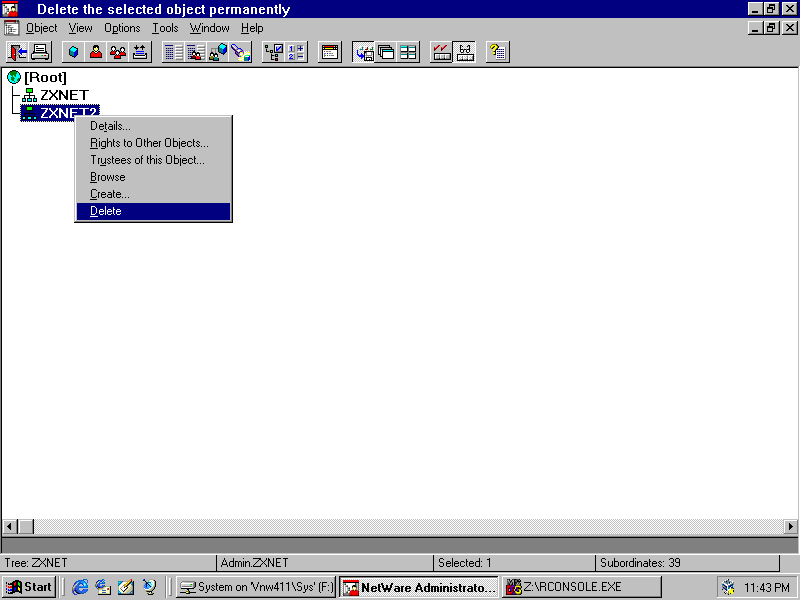
Back in NetWare Administrator, we can now delete that empty container (organisation). Right click on it, choose Delete,
click Yes and its gone!
And NDSMGR now shows just the one organisation too.
And that is all! The NetWare 4.10 server has been moved into the NetWare 4.11 tree almost as if we'd placed it there at the time NetWare was installed. Back to NetWare 4.10 on KVM/QEMU Next Steps
Disclaimer & Comments
I'm not a netware expert, don't have any of those fancy novell certifications and have never administred a netware network; I've just played with it at home occasionally since 2004 or so. Email me if you've got any suggestions or corrections for this page or any extra information you think is worth including here. My address is david at this websites domain name (without the www bit of course).