Installing NetWare 4.10 in Linux-KVM
This is the basic procedure I used to get Netware 4.10 up and running in Linux-KVM. Its documented with an annoying large number of often fairly obvious and unnecessary screenshots to leave no doubt about whats going on.
Contents
Tools
Things you'll need to complete this:
- A Linux server with KVM setup
- Knowledge of how to hook up a VM directly to your network (bridge)
- A copy of NetWare 4.10 with a valid license disk
- A licensed copy of MS-DOS 6.22
I've tried FreeDOS in the past with NetWare 4.11 but had a lot of trouble getting the installer to run at all let alone actually complete
You may also find the manuals useful. If you don't have a hard copy they should all be available on the Documentation CD that came with your copy of NetWare 4.1 though you'll need a 32bit version of Windows to run the document viewer
Virtual Machine Configuration
This is the VM I'm creating. You can tweak these settings if necessary.
- Created with virt-manager
- 64MB RAM
- 2 CPUs
- IDE disk, 10GB
- IDE CD-ROM drive
- Floppy Drive
- AMD pcnet NIC
- Display type VNC (Spice does not work with 4.11 and probably doesn't with 4.10 either)
- Sound hardware removed
- Video type VGA
Quick Summary
Because the number of screenshots is a little absurd, here is a quick rundown:
- Create a VM
- Use the VNC display type, not spice
- Pick a NIC thats got a suitable NetWare driver available. pcnet seems to be a good choice.
- Install MS-DOS 6.22.
- DR-DOS 6/Novell DOS 7 will probably work too (given they were owned by Novell at the time).
- FreeDOS does not seem to work (installer won't run or won't complete
- If you don't have a copy of MS-DOS 6.22 your license disk might be a DR-DOS boot disk - you can probably use that to format C drive and make it bootable.
- Don't give the DOS the entire disk - just give it a single small partition (100MB is plenty) and leave the rest of the disk unpartitioned.
- You'll need a CD-ROM driver
- Run the netware installer
- If you created a VM with multiple CPUs and you're asked about installing SMP, choose yes
Creating the VM
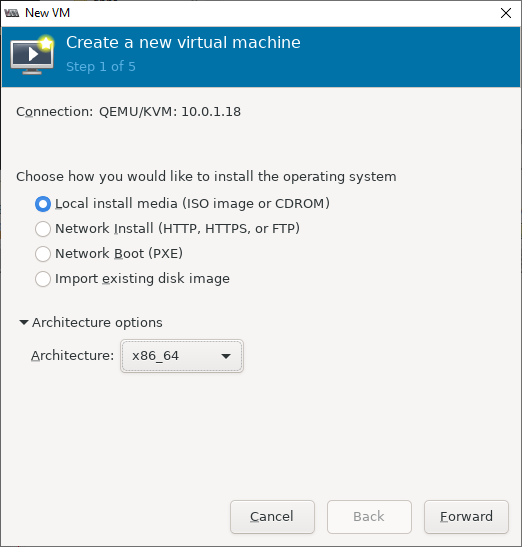
New VM! Choose local install media. x86_64 architecture should be fine (not that we need 64bit)
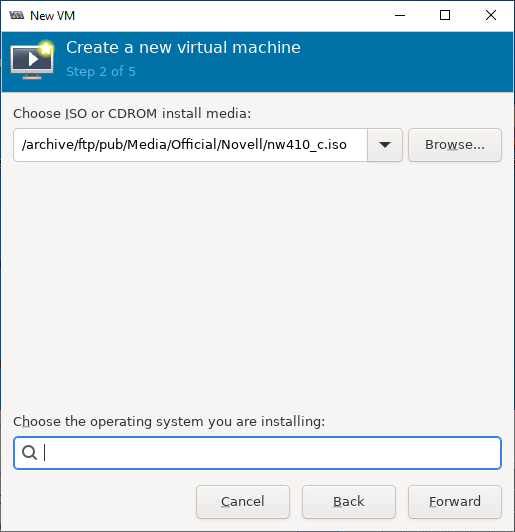
Select the NetWare 4.10 Install CD image.
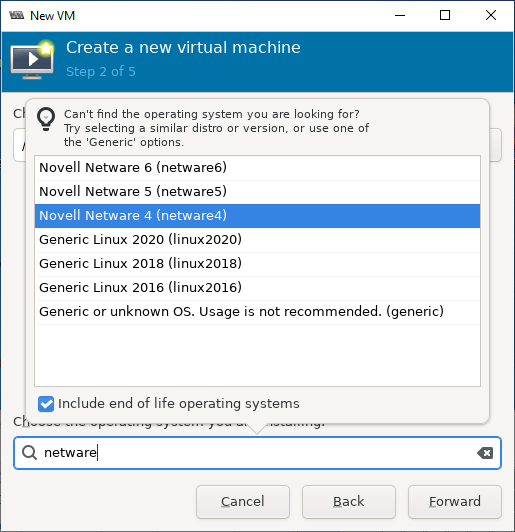
Type netware into the "Choose the operating system you are installing" box and select
Novell Netware 4 from the list of options. You will likely have to check the
Include end of life operating systems checkbox for this option to appear.
Then click Next to continue
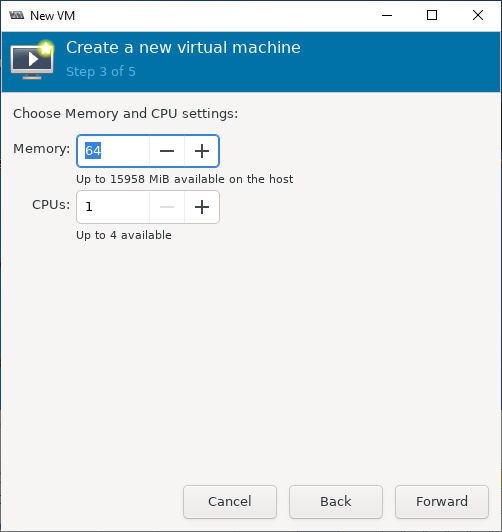
Choose one CPU and a sensible amount of RAM (this OS was released in 1994!). 64MB should
be more than enough.
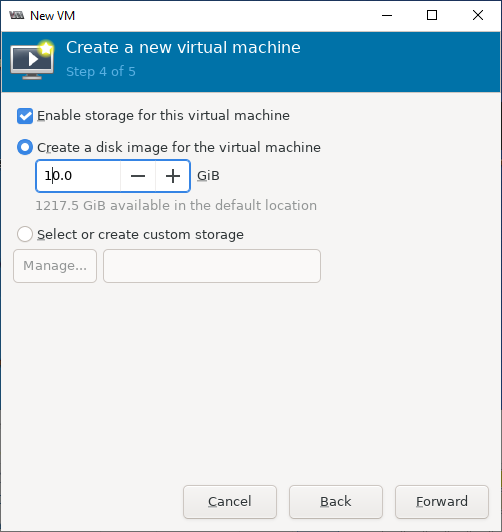
Give the VM some disk. While NetWare 4.1 will probably handle larger disks OK, 10GB is a
safe choice.
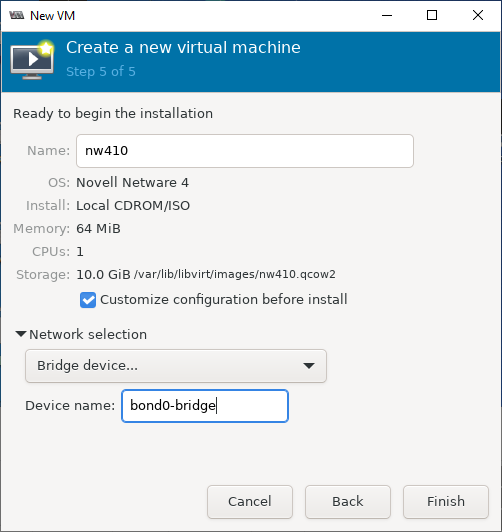
Give it a name. No spaces allowed. Also check customise configuration before install as
there are a few more changes to make. You might also want to pick a network - what you
do here is out of scope. I'm assuming you've networked other VMs before - this VM should
be no different. Just don't rely on IP routing as NetWare uses IPX.
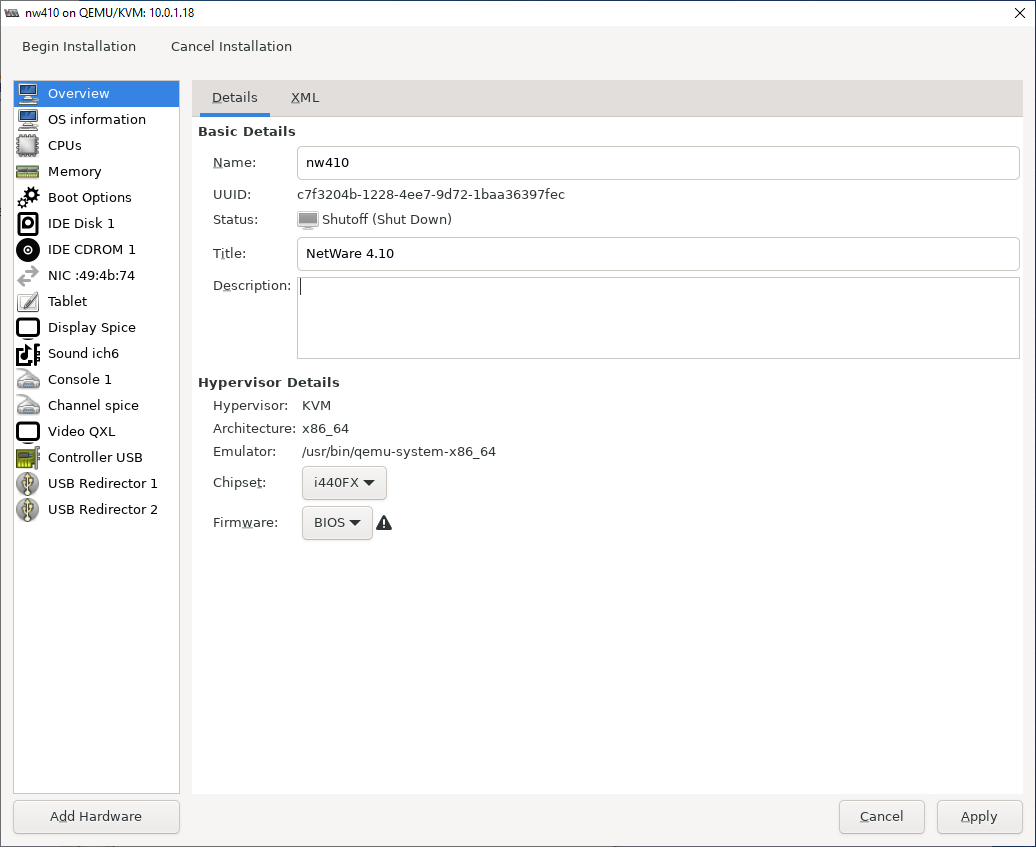
Here you can give it a friendlier display name and description. The default chipset and
firmware are fine. Hit "Apply" to save the changes - you've got to apply your changes
separately for each tab
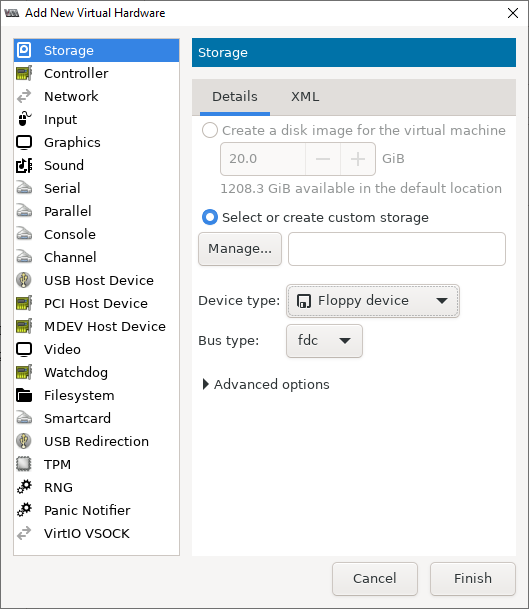
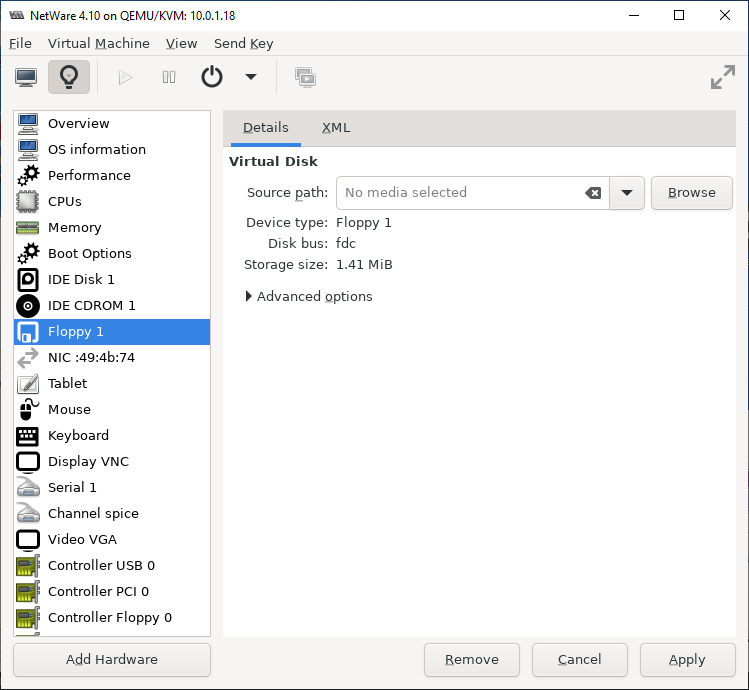
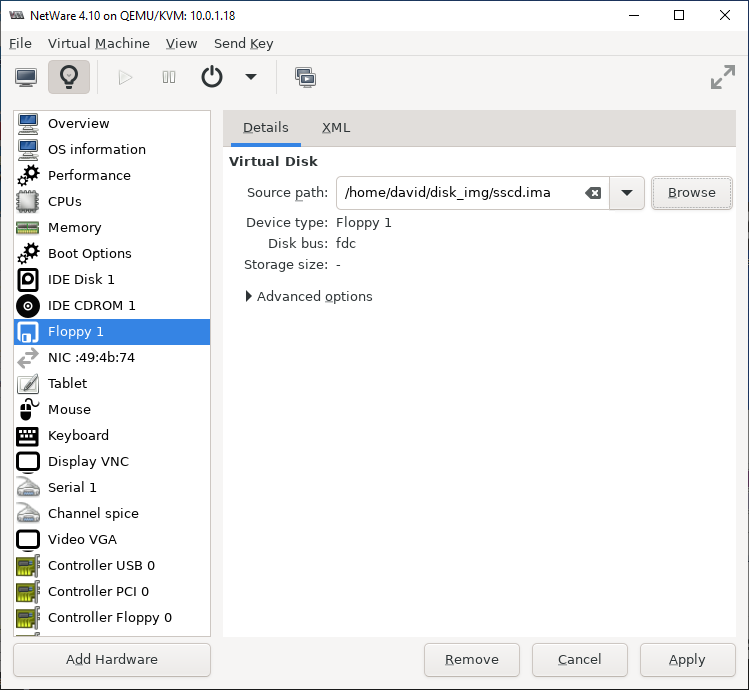
Hit the "Add Hardware" button - we're going to need a floppy drive! Choose select or
create custom storage. You can leave the storage itself blank. Choose "Floppy device"
as the device type, bus "fdc".
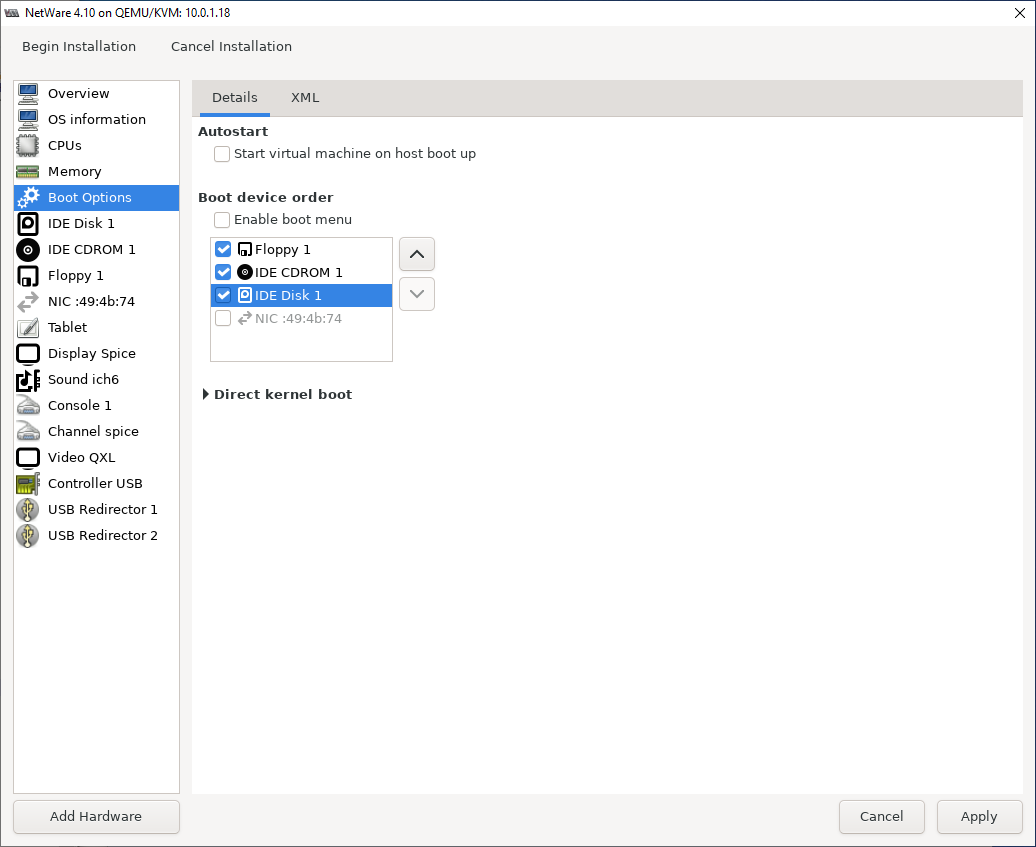
Enable Floppy and CD booting and put them both ahead of booting from the IDE disk.
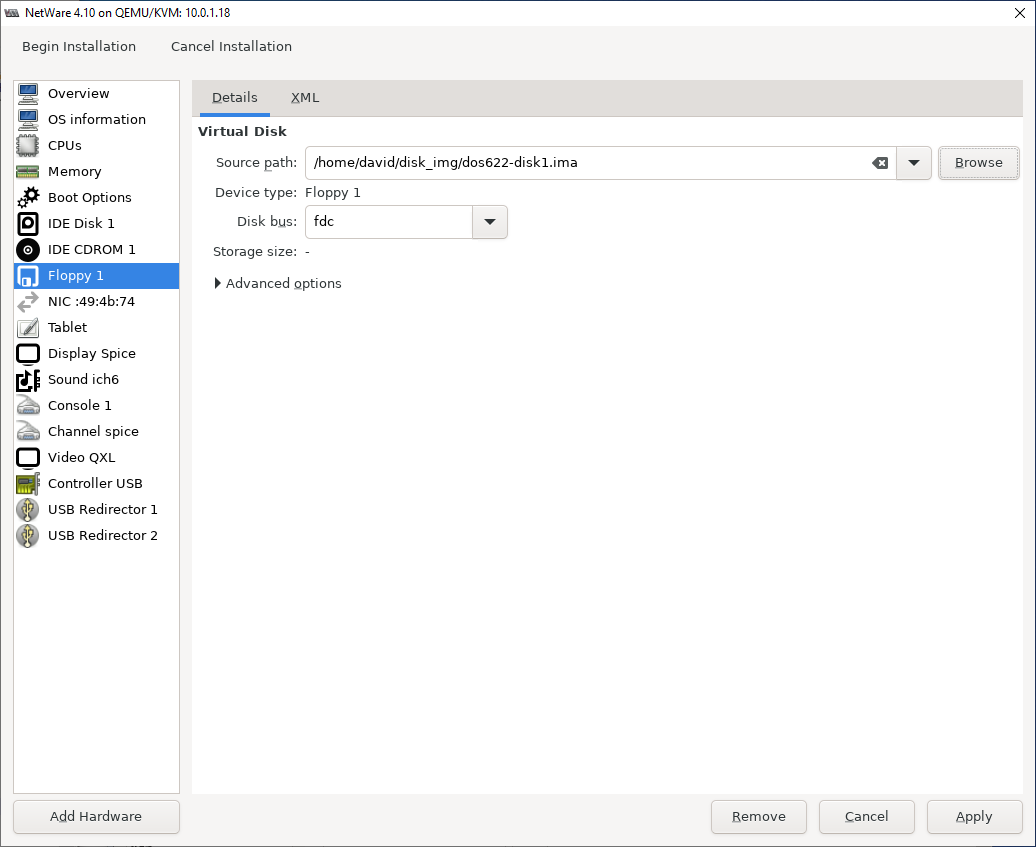
Attach an image of MS-DOS 6.22 Setup Disk 1 to the floppy drive
Change the virtual NIC device model. While the option doesn't appear in the drop-down, you
should be able to just type in pcnet - finding pcnet dirvers for vintage operating
systems tends to be quite easy. If virt-manager doesn't like you typing in pcnet you can get a list
of all available device models by SSHing into your server and running
qemu-system-i386 -net nic,model=?

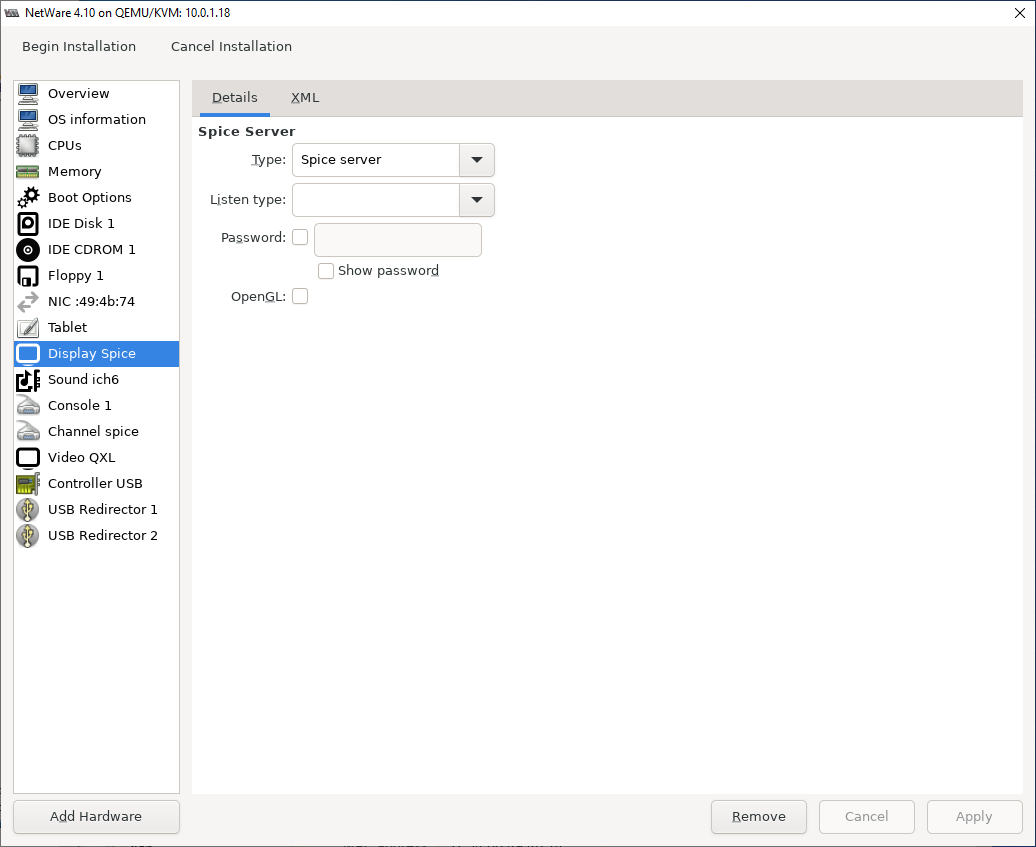
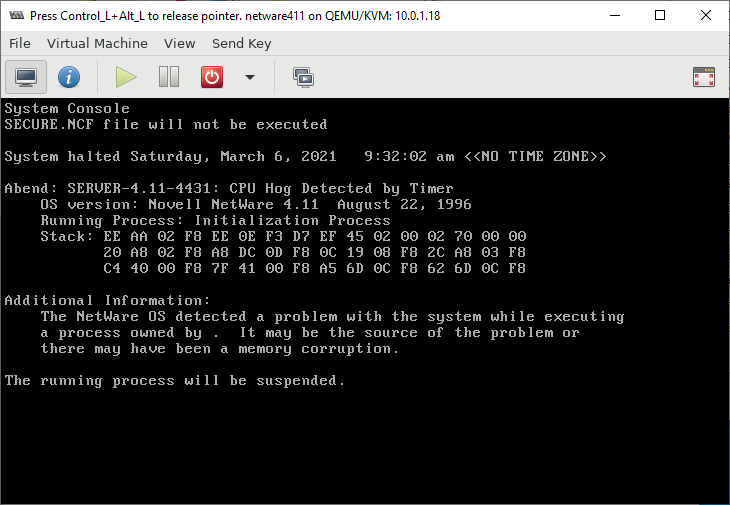
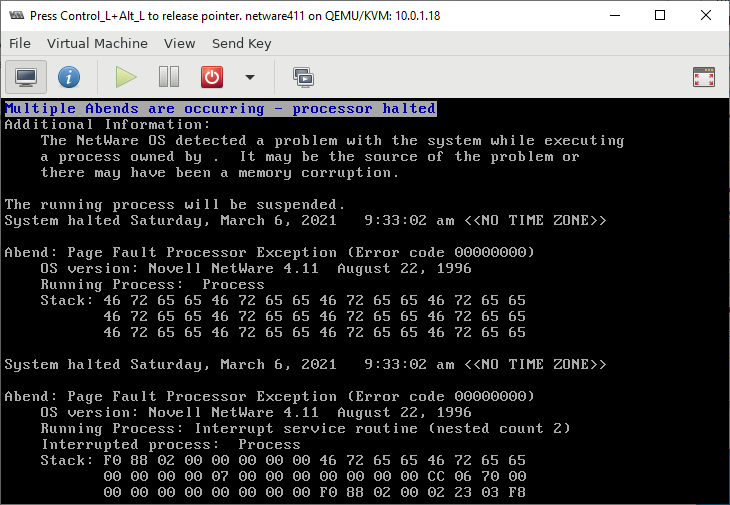
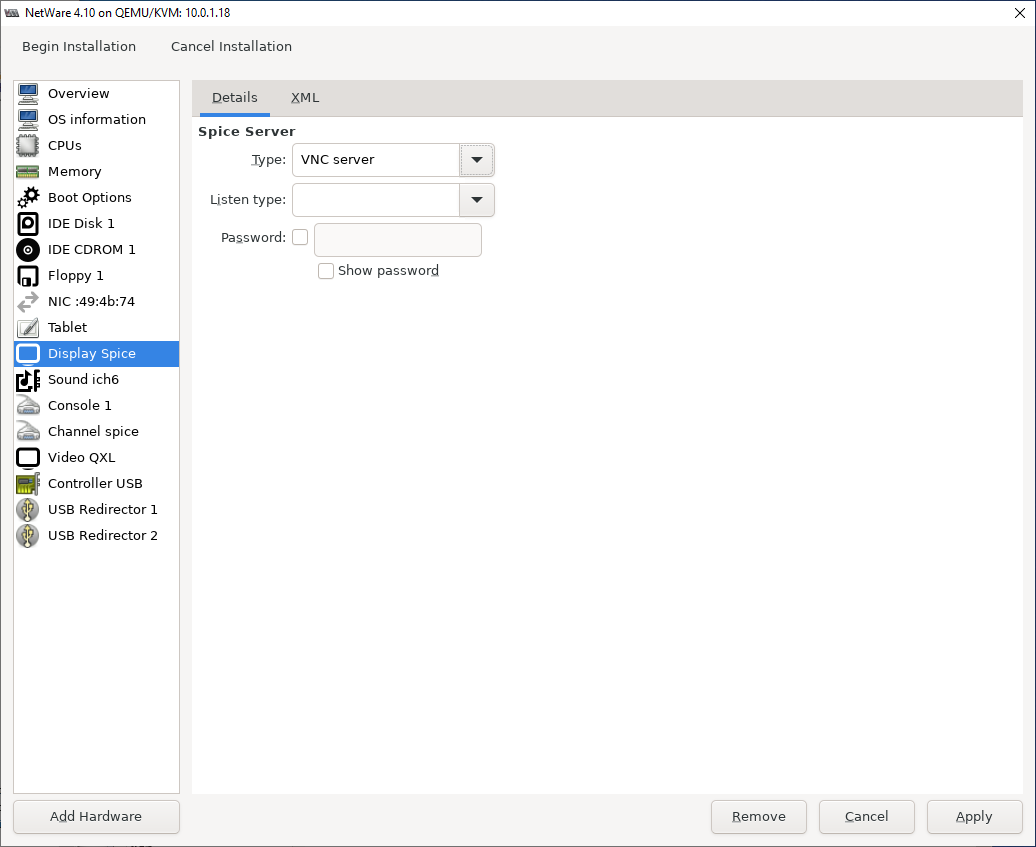
Very Important! The default display type (shown below) is SPICE. This does *not* work
with NetWare for some mysterious reason. NetWare 4.11 crash during startup with errors like
this and
this. NetWare 3.12 behaves much the same so
NetWare 4.10 is likely to have the same issues.
So change the type to VNC. When you hit Apply the tabs name will change from "Display spice"
to "Display VNC".
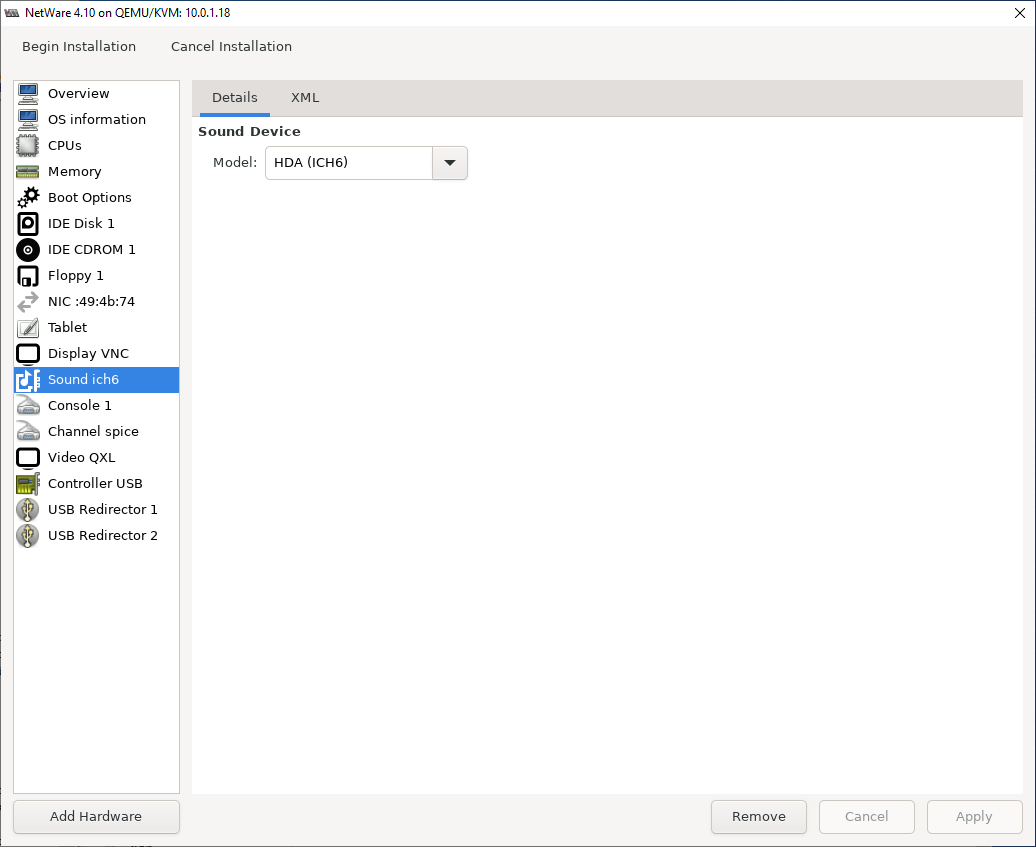
Sound device: Don't need it, NetWare doesn't support High-Definition Audio. Or audio at all as far as I know. Hit the Remove button.
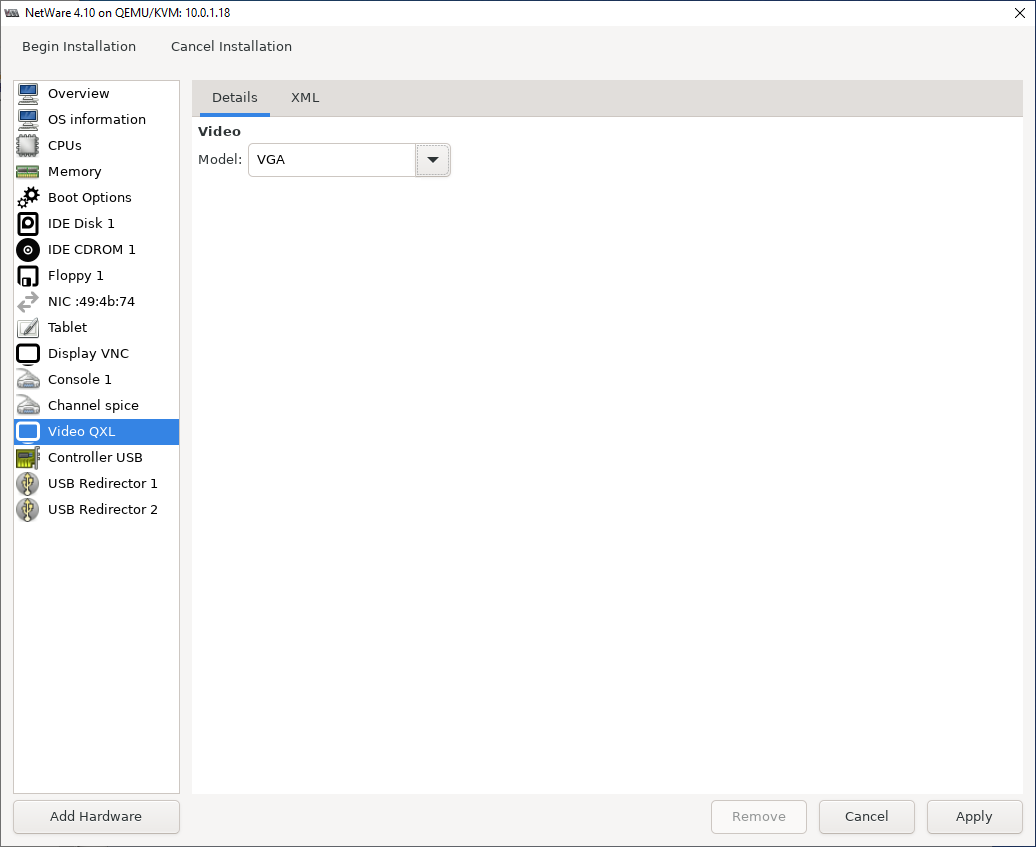
Change the display from QXL to VGA. I don't know if this is strictly required or not but I know VGA+VNC works.
Once you've hit apply, hit the Begin Installation button to finish creating the VM and
boot it!
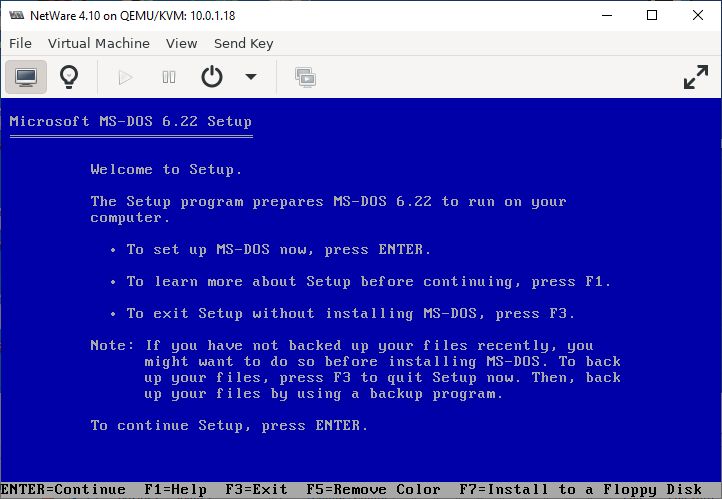
Installing MS-DOS
Now we're installing MS-DOS! Because we previously mounted the DOS setup disk once created
the VM will boot straight into the setup program. We need to do some disk partitioning
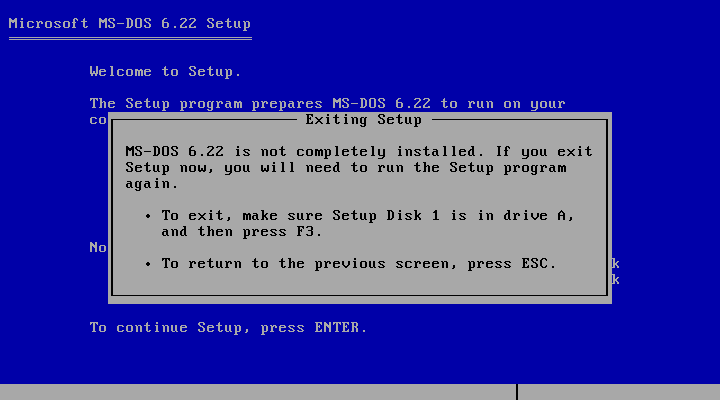
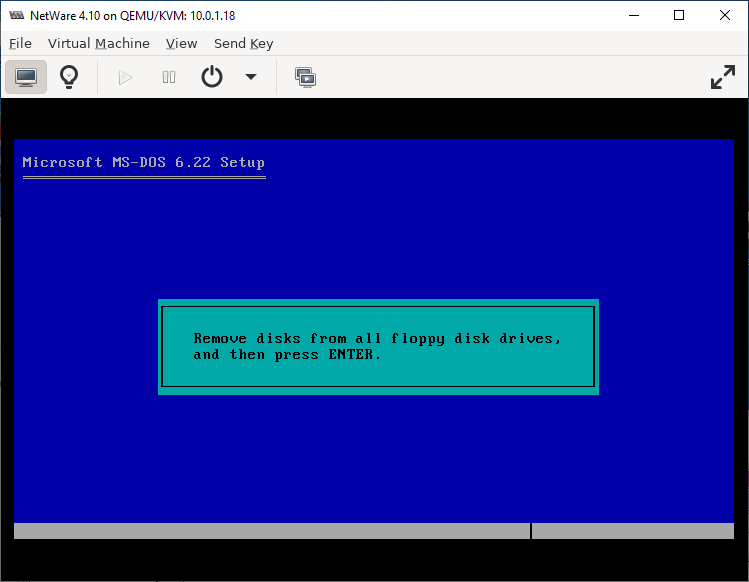
before installing netware so just hit F3 to exit for now.
And hit F3 again to confirm
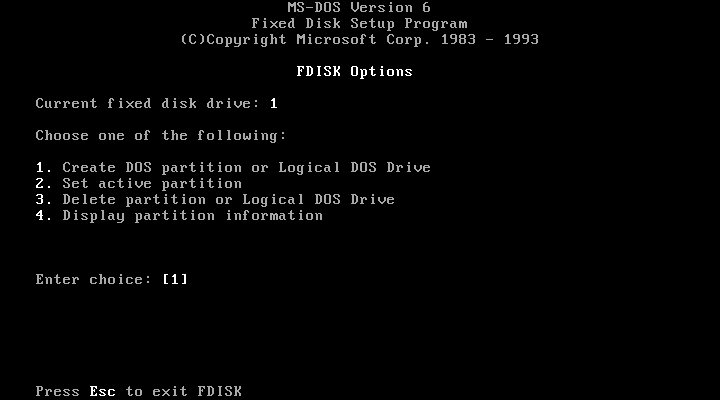
At the DOS prompt, run fdisk: we need to create a partition to install DOS and the
NetWare startup files on

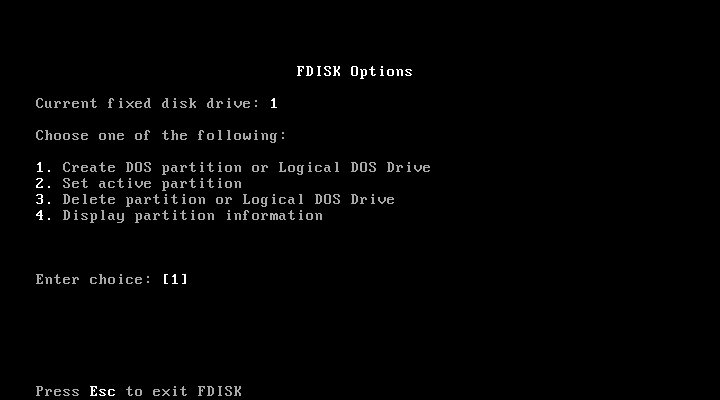
FDisk! Choose option 1 - Create DOS partition or Logical DOS Drive
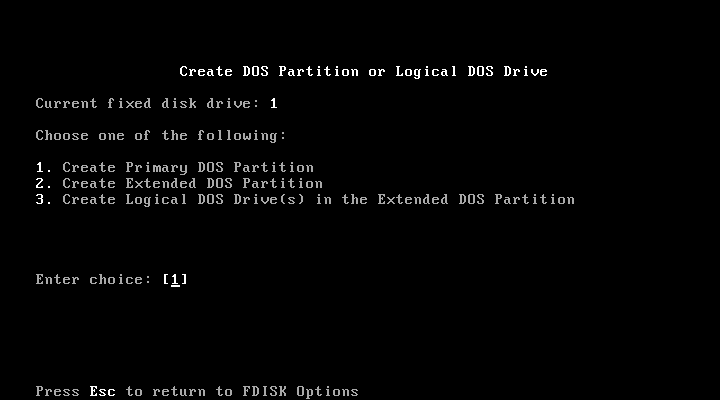
Choose option 1: Create Primary DOS partition
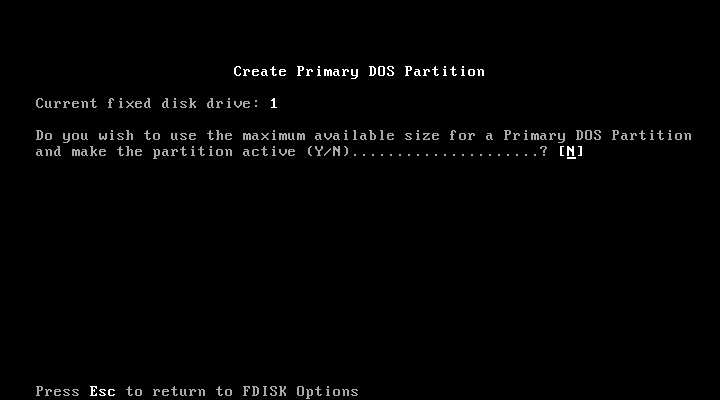
Enter N here: we do NOT want to give the entire drive to DOS. This is because
NetWare uses DOS as a boot loader so part of it (the kernel and bits necessary to mount
the NWFS SYS: volume) live on the DOS partition.
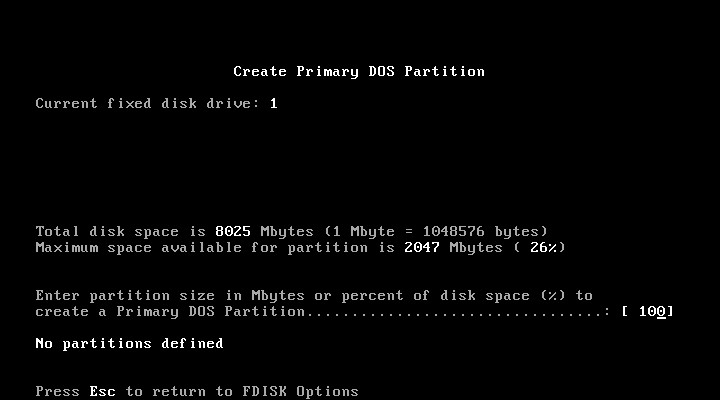
The manual says 15MB ought to be enough but to make troubleshooting easier go with 15MB
plus 1MB for every MB of RAM. Given disk space is cheap its easiest I'm just going with
a nice round 100MB.
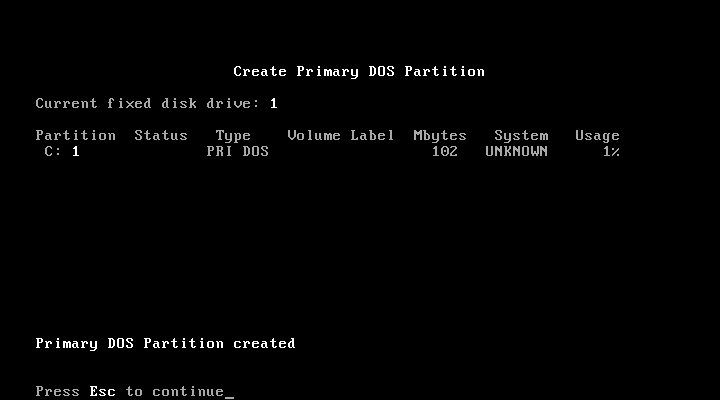
Partition created, hit esc to continue
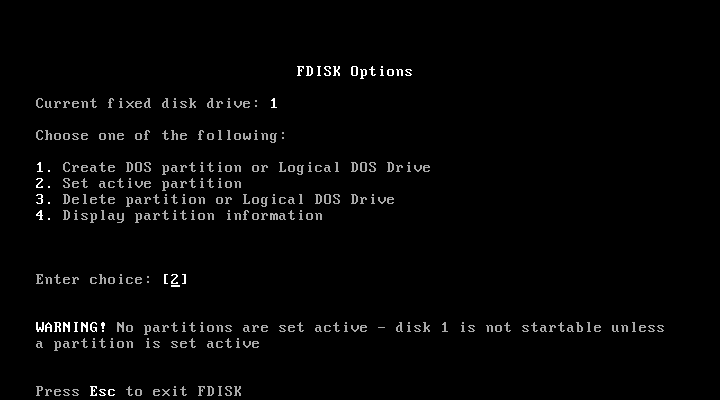
Now choose option 2: set active partition
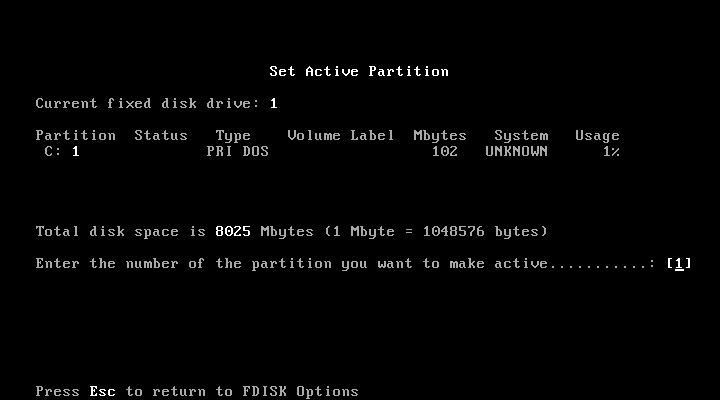
And choose the partition you previously created, partition 1
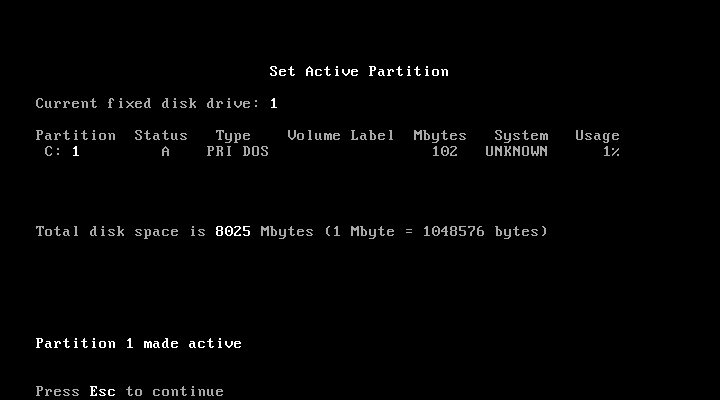
And the partition is now active. Hit Esc to continue
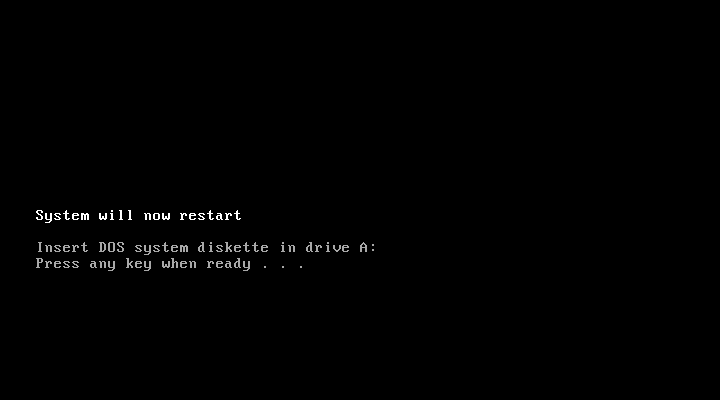
And we're now done with fdisk. Hit esc to exit
And then hit any key to reboot
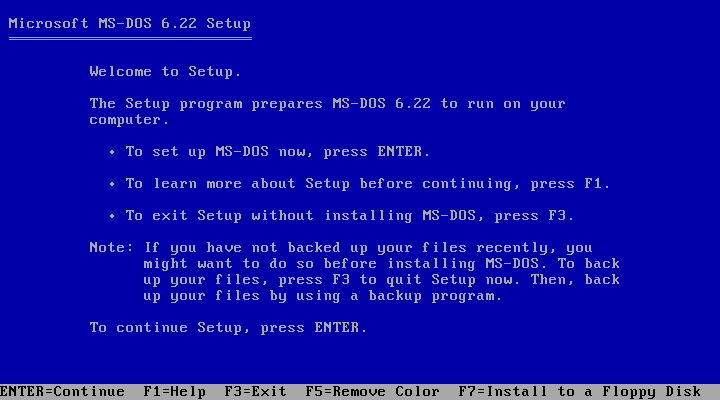
Back in setup! Hit ENTER to continue
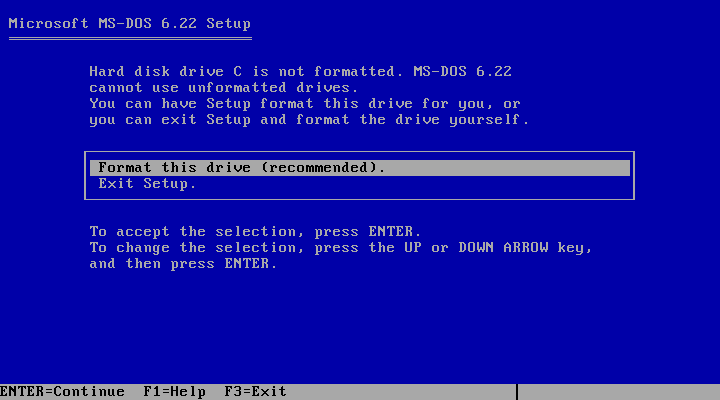
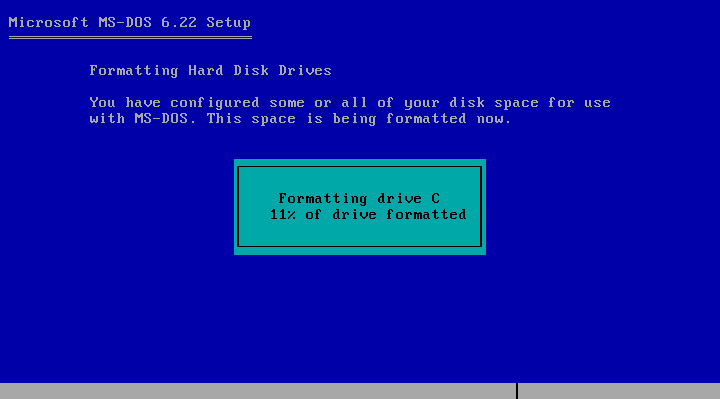
Yep, format C drive.
The formatting screen will flash by
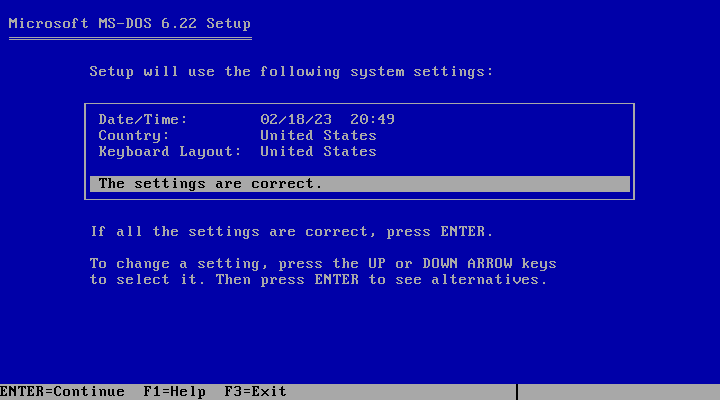
And then you get to choose your language! These settings look good enough.
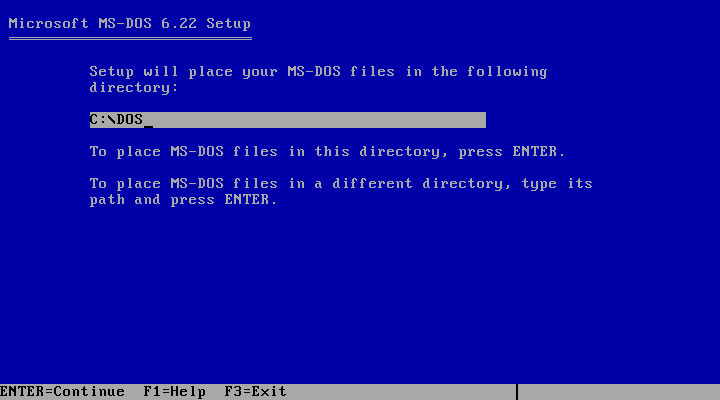
Default location looks fine!
Installing...

Now we change disk! Hit the "Show virtual hardware details" toolbar button (second from the left).
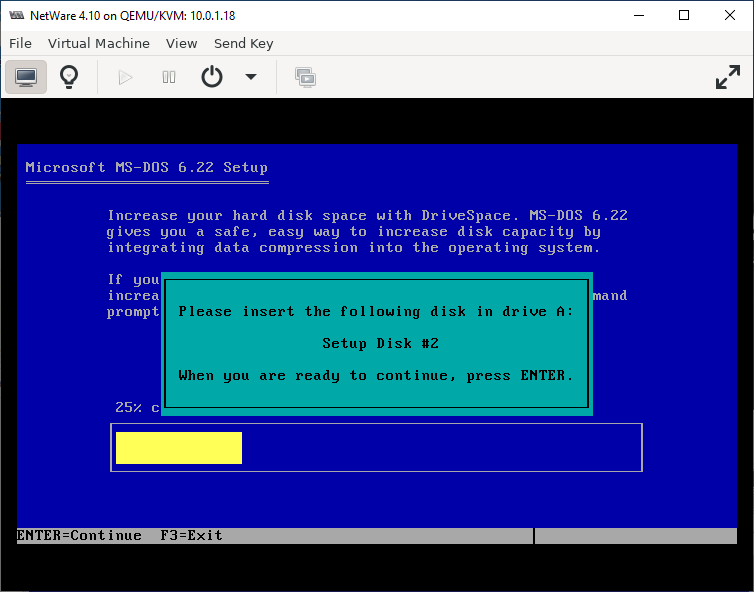
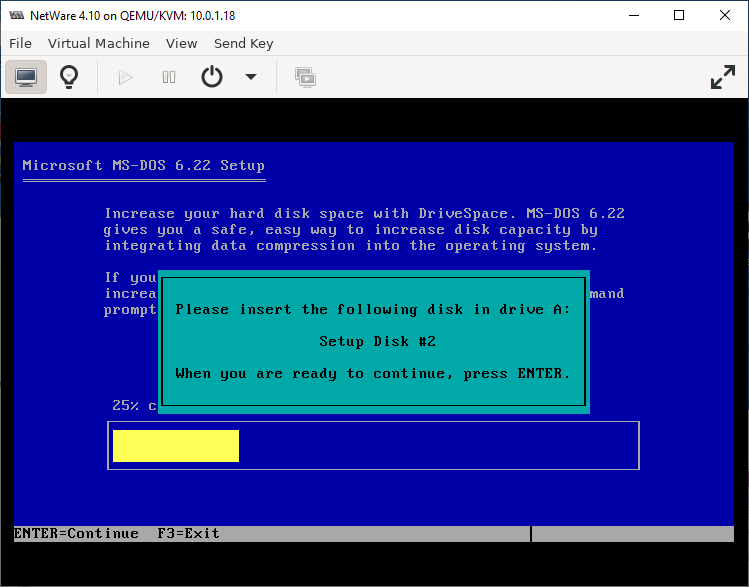
And go to the floppy disk and change the source path to point to the second MS-DOS 6.22 setup
disk. Hit Apply then click on the "Show the graphical console" button (left most in the toolbar)

Back at the disk prompt screen, hit ENTER to continue
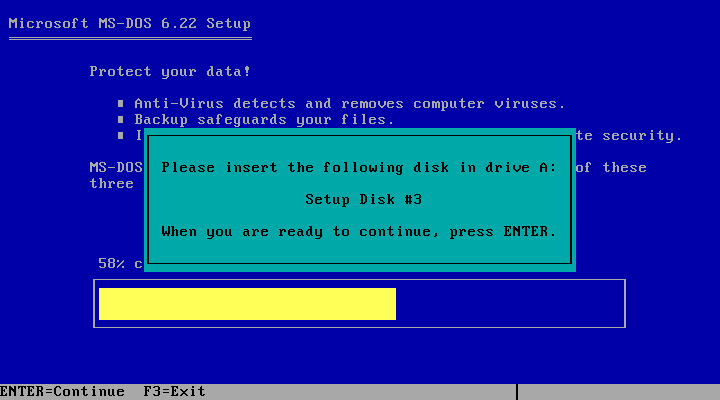
More file copying happens, then you're prompted for disk 3. Do the same as for disk 2: click
the "Show virtual hardware details" toolbar button, go to the floppy drive and switch to the
disk image for the third MS-DOS install disk, hit apply, then click on Show the graphical console"
toolbar button to get back here and press enter.
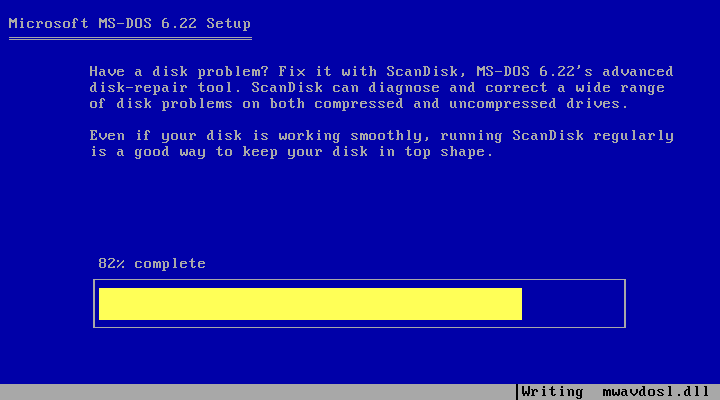
Installing files from disk 3...
Done installing! Now we've got to remove the virtual floppy disk so we can reboot.
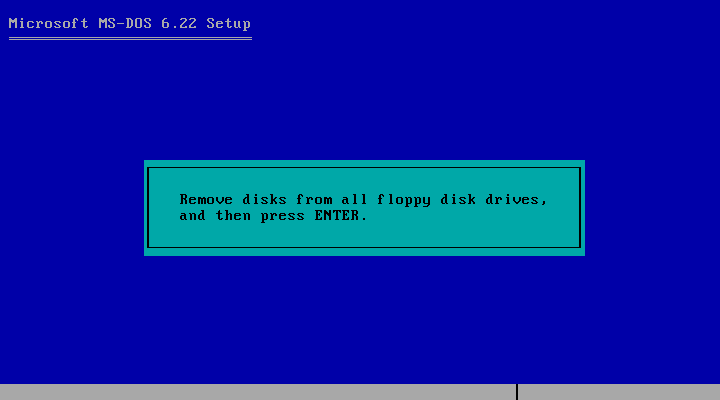
Go back to where you change the floppy image and this time just clear the the source path then go back to the graphical console.
And hit ENTER...
And hit ENTER some more to reboot
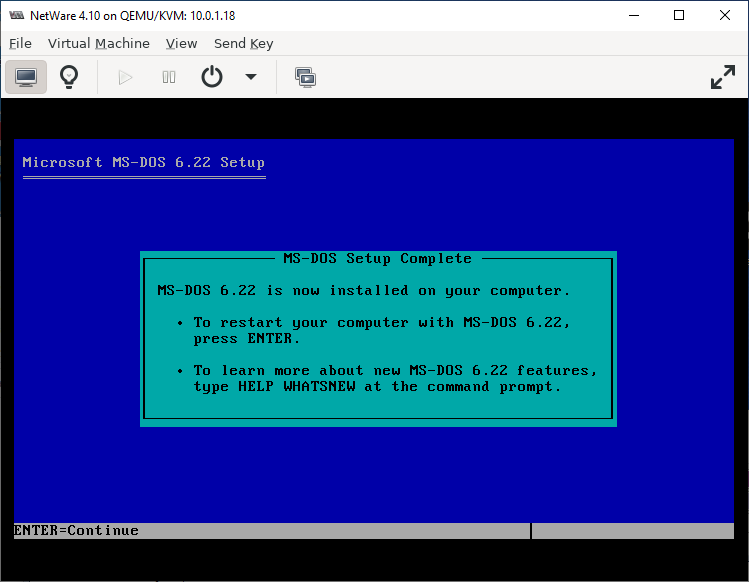
DOS is now installed!
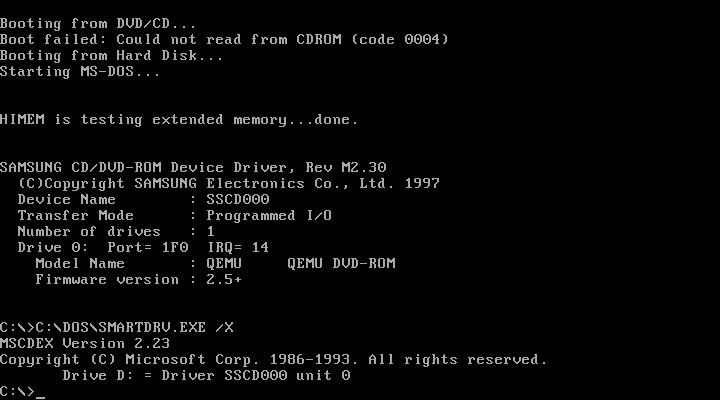
Now we need a CD-ROM driver! I've used this Samsung driver
for years - seems good enough. No idea what the license is though - I guess the
FreeDOS driver is probably a good alternative. Anyway, mount the sscd disk image...
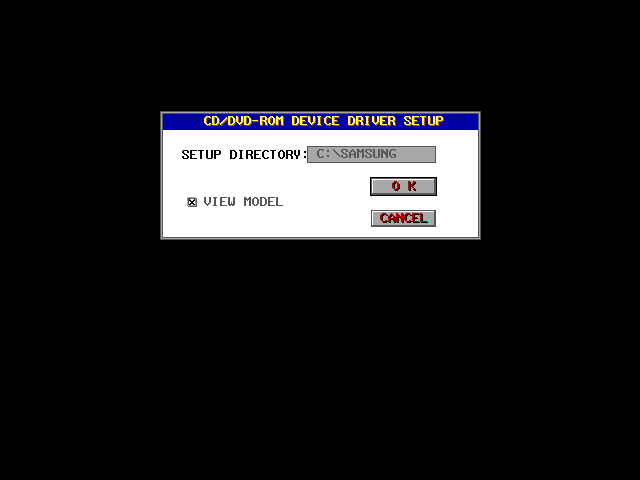
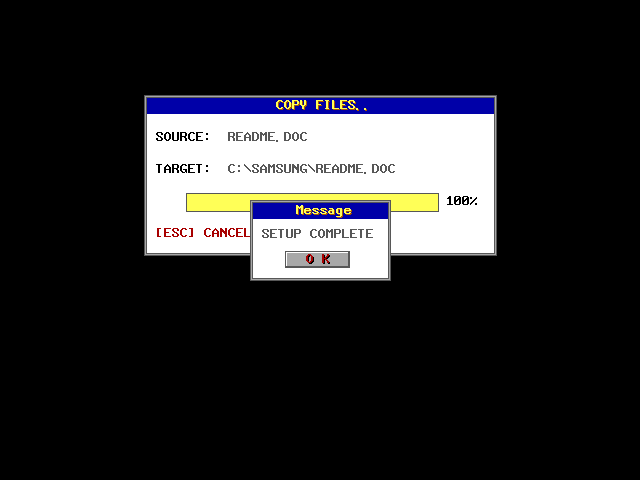
Then switch to A drive and run cdsetup
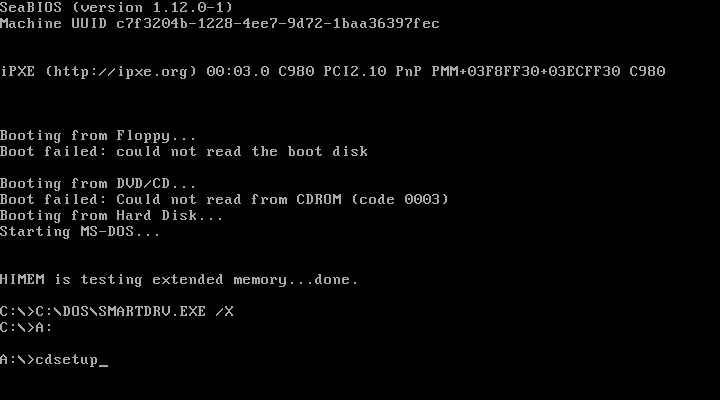
and then just it enter to install
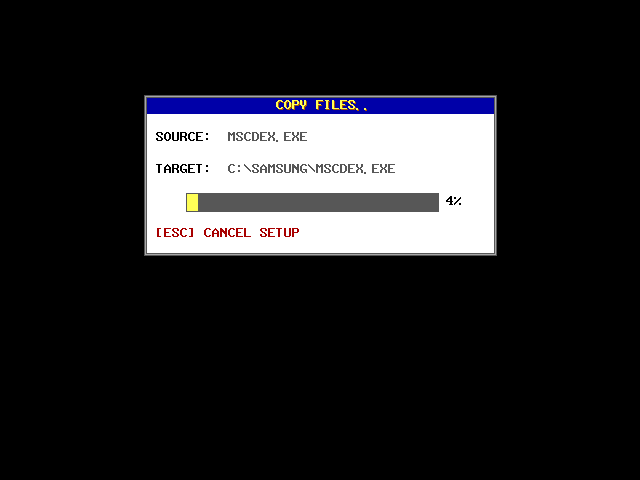
installing... Given its only copying a few kilobytes it takes a weirdly long time for me.
And done! hit enter
Remove the floppy disk
Then put the NetWare 4.1 CD back in if it got removed, then reboot the VM. We're going to
install NetWare next! You'll need to do a "Force Reset" - a regular Reset won't work with
DOS or NetWare.
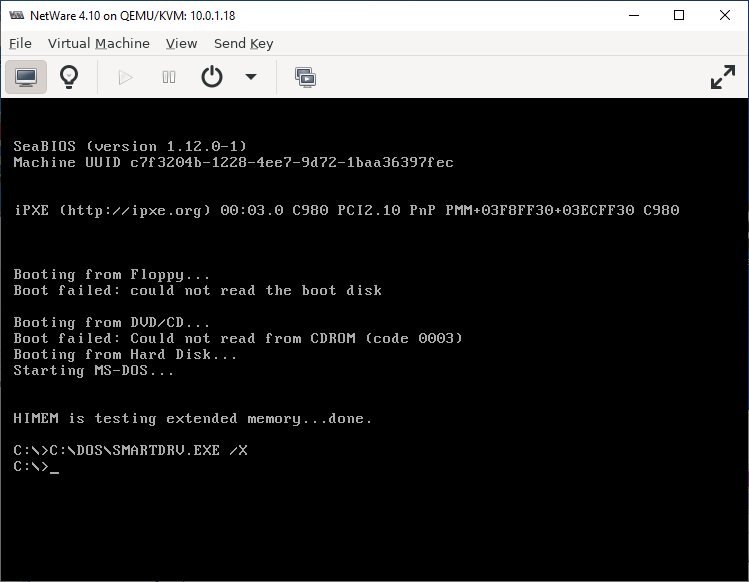
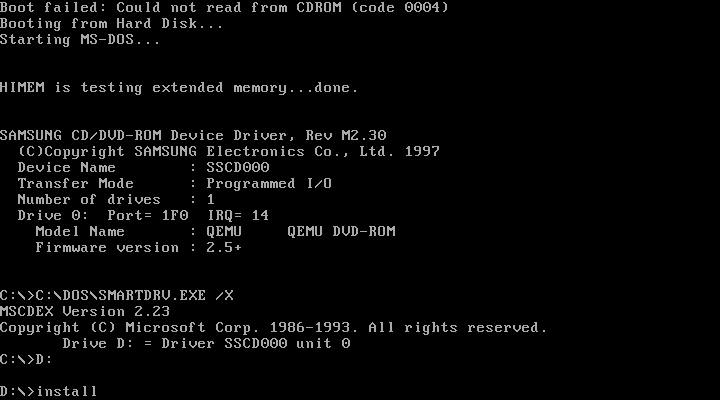
And now we're at DOS and we even have a CD-ROM driver!
We can now proceed with the NetWare installation. I created a snapshot at this point so that if anything goes wrong I don't need to suffer through the DOS installation again. The snapshots button is the second from the right on the toolbar in this screenshot (in the middle-ish).
Installing NetWare
Mount the CD-ROM image if you haven't already, then switch over to D: drive and run install.
For me the install program took several seconds to start after I hit enter - not sure why but
I left it and it did eventually start.
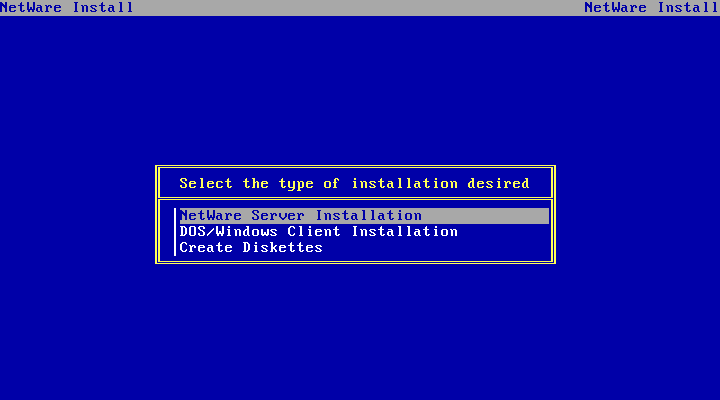
Choose NetWare Server Installation (you can also use this CD to install the client)
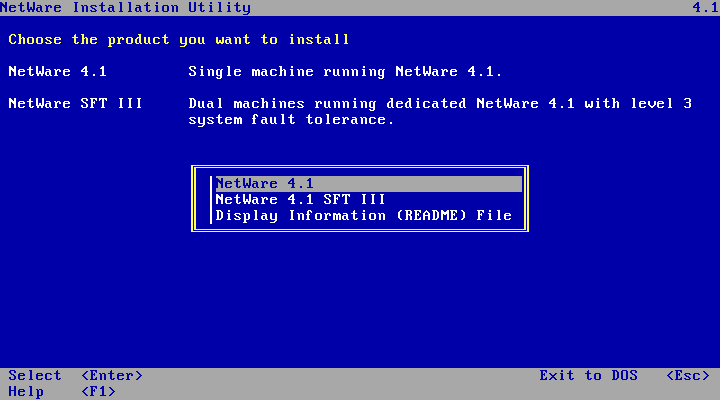
Choose the first option, NetWare 4.1. The SFT III option is for clustering. IIRC it
requires identical hardware. I guess you maybe could do SFT III with VMs, might even be easier
than with real hardware.
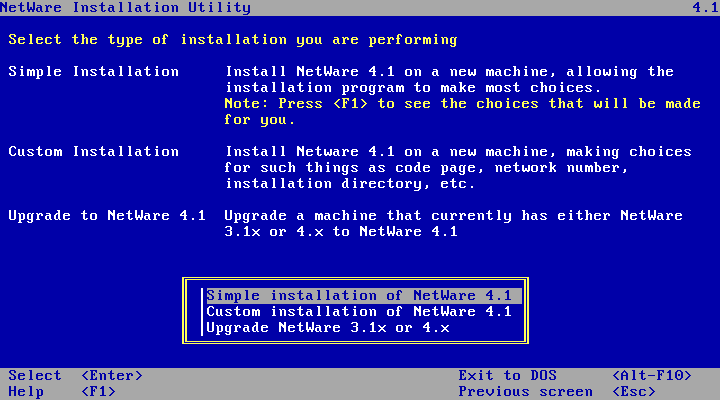
Choose the Simple installation of NetWare 4.1 - its simpler! This option will
automatically give all remianing unpartitioned space to on the disk to the SYS partition,
put NWFS filesystems on any other disks, auto-generate an IPX internal network number, and
create the NetWare Directory Services heirarchy with a single container for all objects.
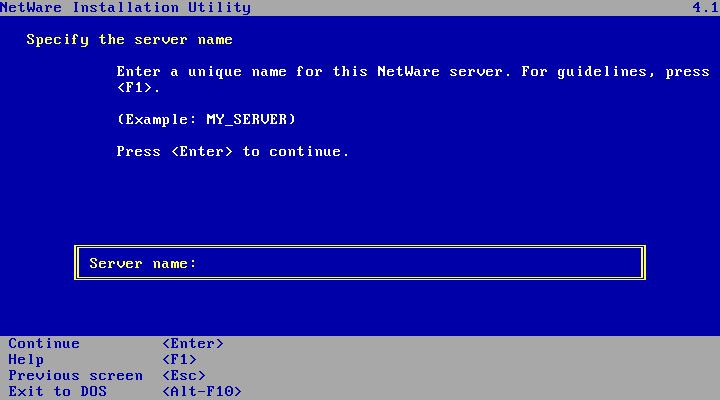
Now you get to name your server! I'm calling mine VNW41 (for Virtual NetWare 4.1)
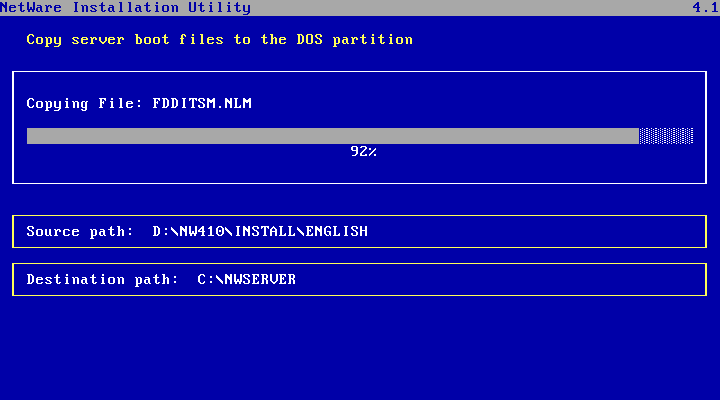
The installer will very quickly copy some files over to the DOS partition...
And then launch NetWare and then continue with the second part of the install!
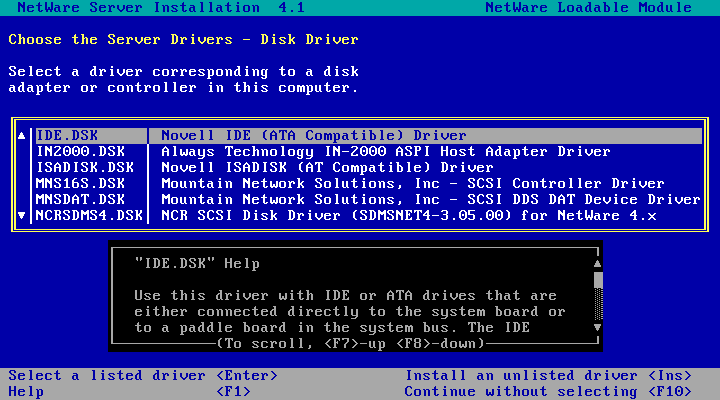
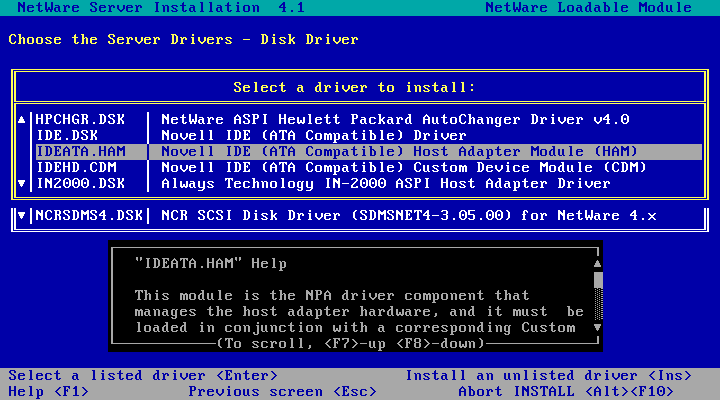
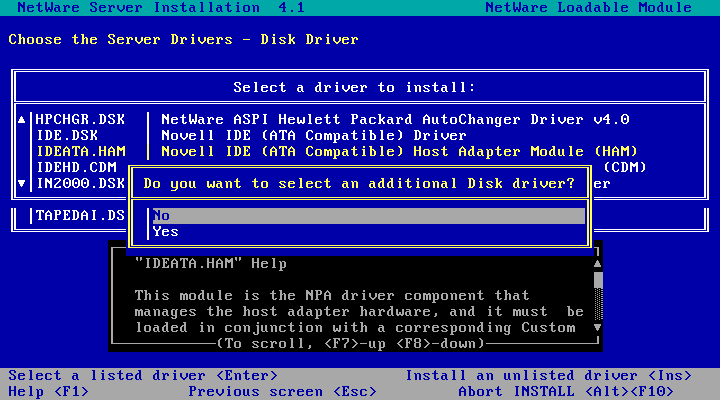
Next up you've got to pick a disk driver. Problem is the Simple Installation option only
shows us the old-style monolithic (.DSK) drivers and IDE.DSK doesn't work for some reason.
We've got to use the newer NPA (NetWare Peripheral Architecture) IDEATA.HAM driver.
To work around this filtered list, we'll pretend we're installing a new driver NetWare doesn't
know anything about - from the NetWare CD-ROM!
Hit the Insert key to install an unlisted driver.
Press F3 to specify a different path

And enter D:\NW410\DISKDRV (assuming the CD-ROM drive is D:)
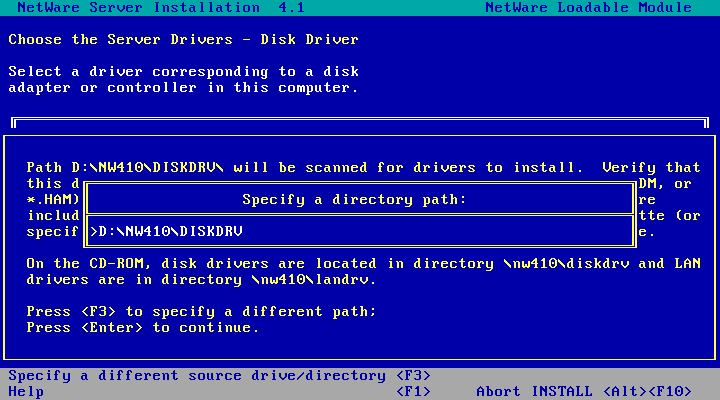
And we get an unfiltered list of available drivers! This is everything you could pick from if
you were doing a custom install rather than a simple install.
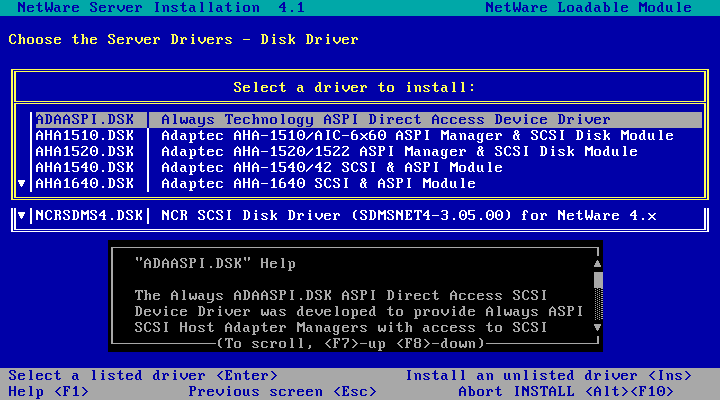
Find IDEATA.HAM in the list - this is the driver we want. Hit enter to select it.
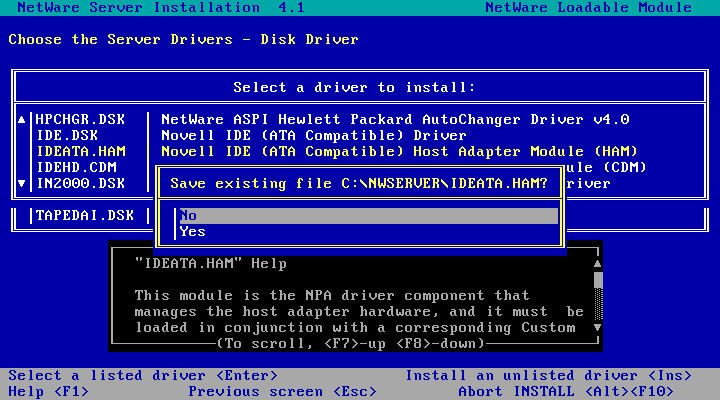
Now because this driver actually comes with NetWare its already been copied over to the hard disk.
Copying it again is going to overwrite a bunch of identical files resulting in being asked if we
want to save the "old" versions. Choose No to all of:
C:\NWSERVER\IDEATA.HAM, C:\NWSERVER\IDEATA.DDI, C:\NWSERVER\IDEHD.CDM, and
C:\NWSERVER\NWPALOAD.NLM.
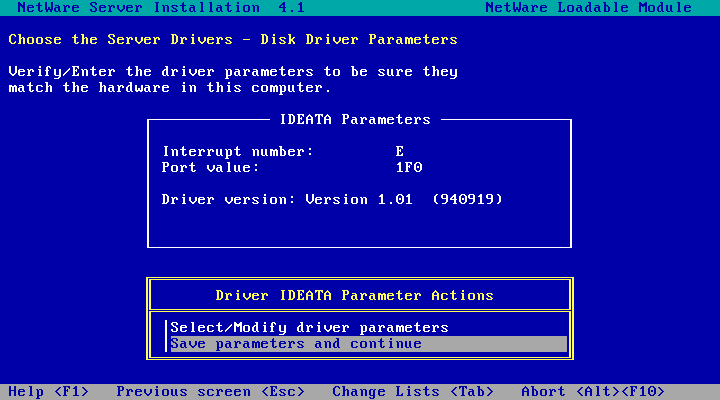
The default settings should be fine, hit enter.
Choose No - we don't want to select any additional disk drivers.
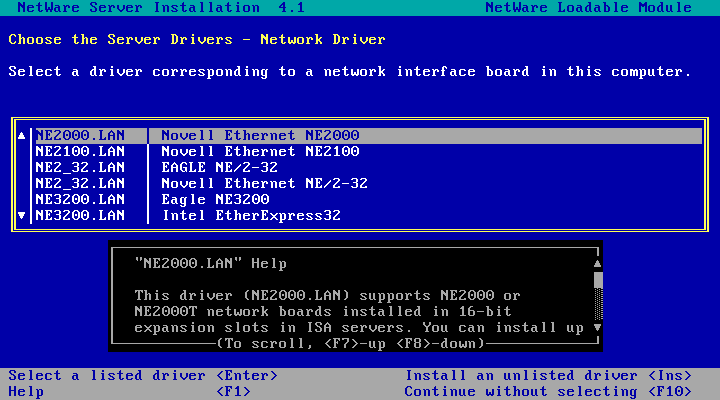
Next up, a network driver! QEMU here is only providing a PCnet PCI device which is a bit inconvenient as all PCnet PCI drivers I can find for NetWare 4.10 require an ODI update to be installed in order to load. We're not really in a position to go installing updates yet so I've made a custom driver disk (pcntnw-nw410-odi33.ima) which will install the bits of the ODI 3.3 (G) update the driver requires at the same time as installing the driver. We'll apply the full ODI update later on once NetWare is actually installed so everything is in a consistent state.
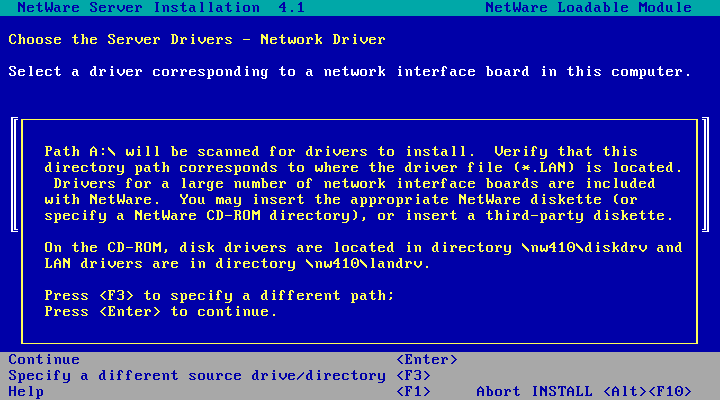
Download the driver disk somewhere and mount it in the VM, then press the Insert
key to install an unlisted driver.
Assuming you have the pcnet driver disk mounted, hit Enter to continue
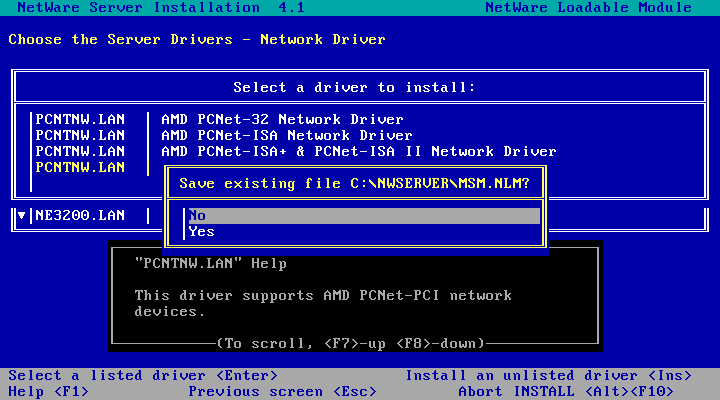
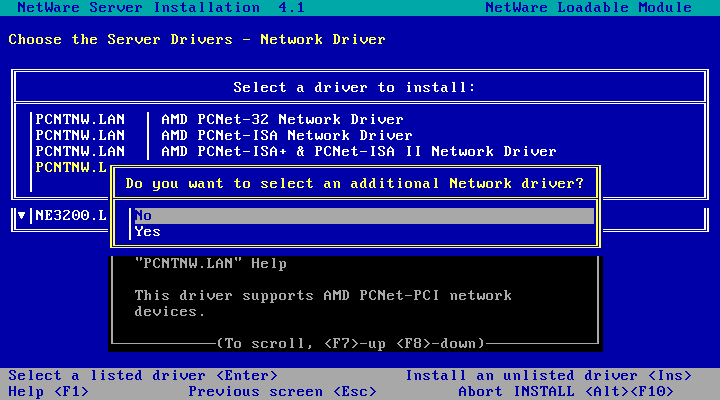
And select the last option - AMD CPnet-PCI Network Driver
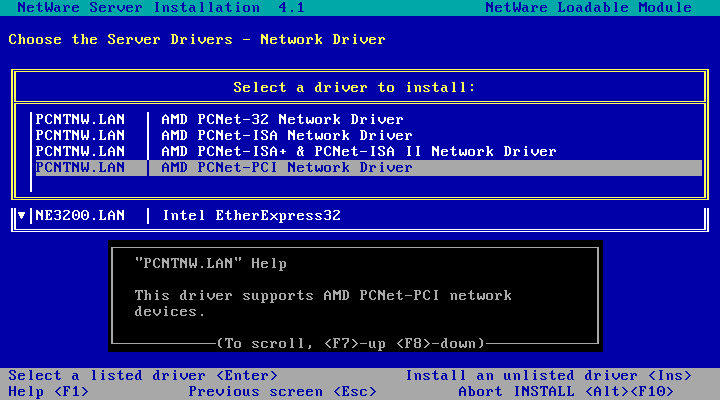
Choose No - we don't want to save the old version of ETHERTSM.NLM

Choose No again - we don't want to save the old version of MSM.NLM either. This
along with ETHERTSM.NLM are the parts of the ODI 3.3 (G) update the driver needs.
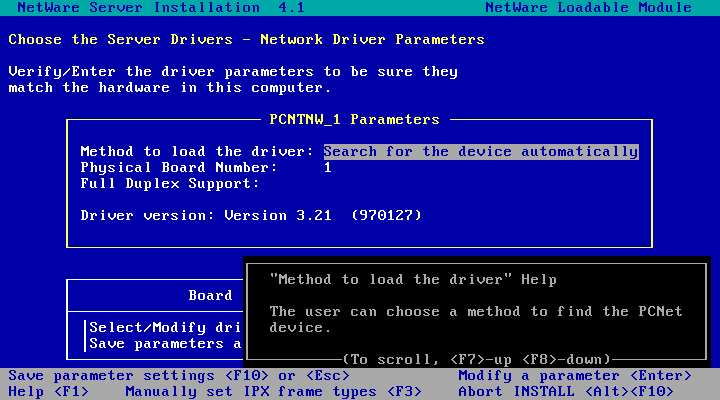
Press the up arrow to edit the PCNTNW_1 Parameters
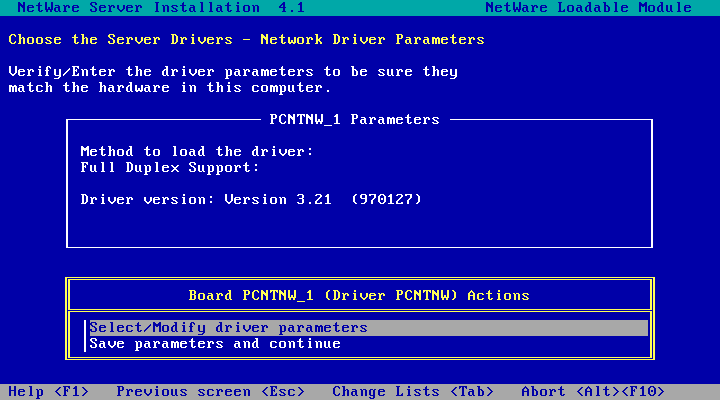
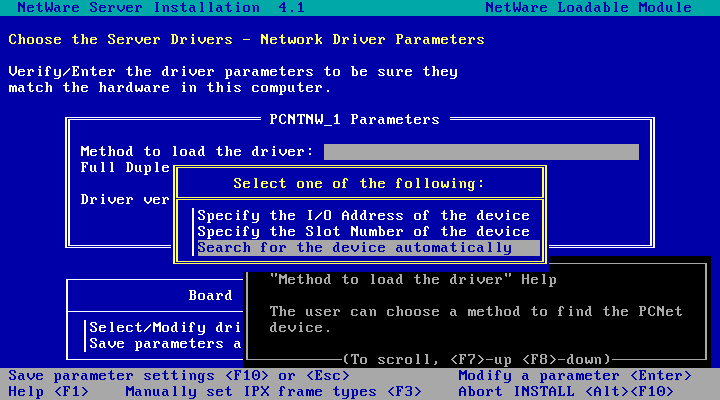
Select the Method to load the driver field and hit enter
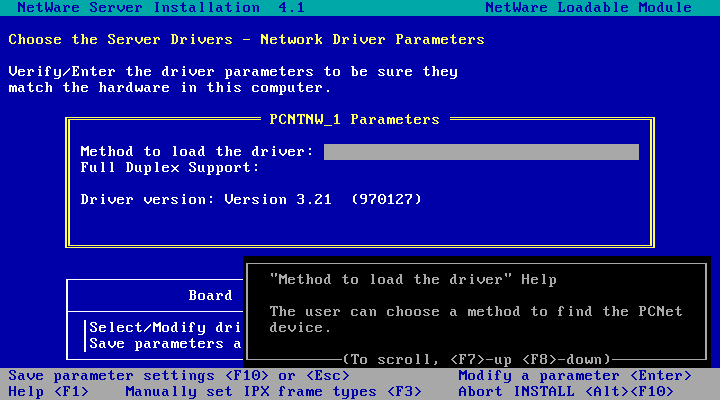
Choose Search for the device automatically
Done! Press the down arrow key to get to Actions box at the bottom of the screen
And choose Save parameters and continue
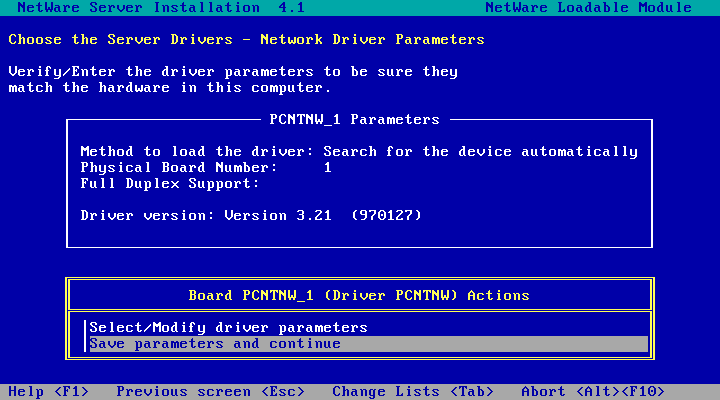
Choose No - We don't want to install any additional network drivers.
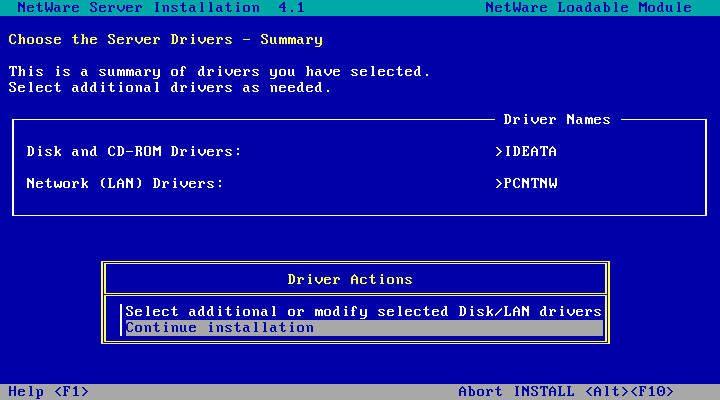
And these are the drivers we have chosen. Choose Continue installation to load
the drivers, start the network and partition disks.
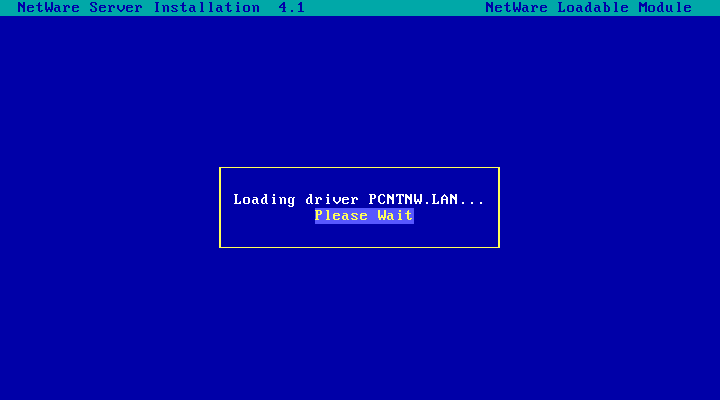
Loading the network driver...
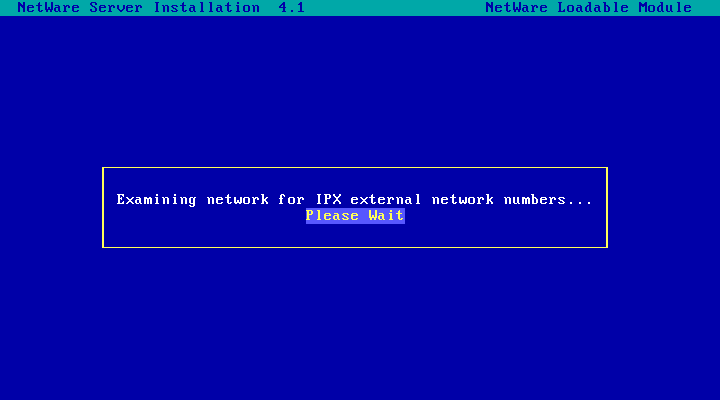
Connecting to the network...
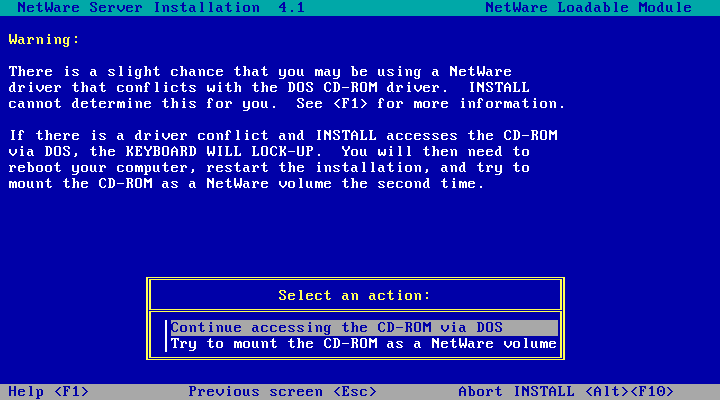
And we get a warning about a potential driver conflict. We shouldn't have any problems
here so just hit enter to access the CD-ROM via DOS.
Wait a bit while the disk is partitioned...

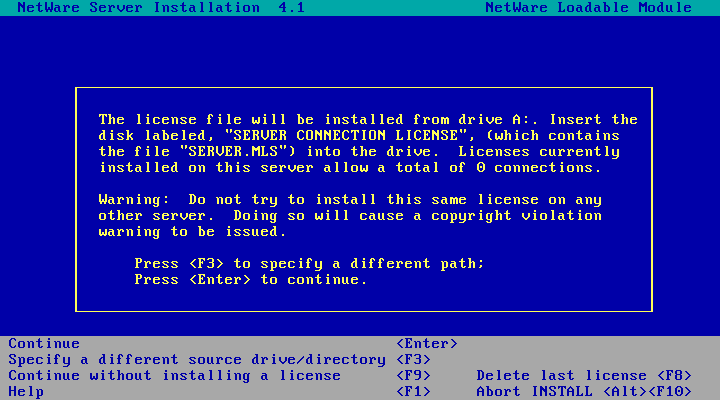
Time for a license disk! Insert your NetWare 4.1 license disk (mount the disk image) and hit
enter to install the license.
Then the preliminary file copy occurs - this is pretty quick.

The installer then searches the network for any existing NDS tree(s)

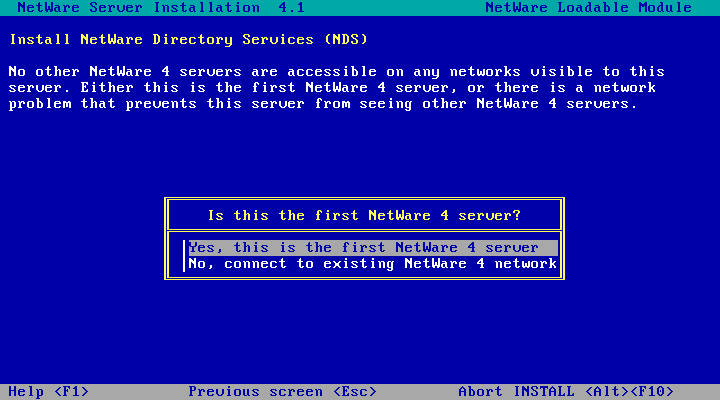
What happens next depends on whether you've already got a NetWare 4 server on your LAN.
If you do, you'll be asked if you want to install this server into the existing tree (the
first screenshot below). If you don't, you'll be asked if this is the first NetWare 4 Server
(the second screenshot below). If this is your first NetWare 4 server, choose that option
then jump to creating the NDS tree.
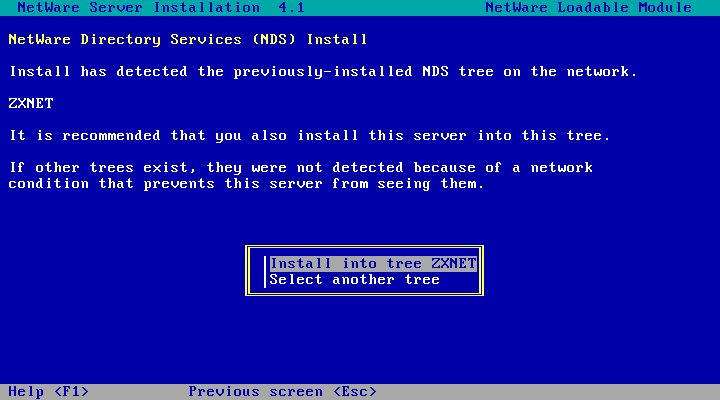
In my case, I get the first screen - I do have an existing NDS Tree (ZXNET) and I would like to
install this server into the existing tree but I can't right now as the NDS version has to be
updated before it can talk to the NetWare 4.11 server holding the existing NDS tree. So I'm picking
the Select another tree option, resulting in this screen:
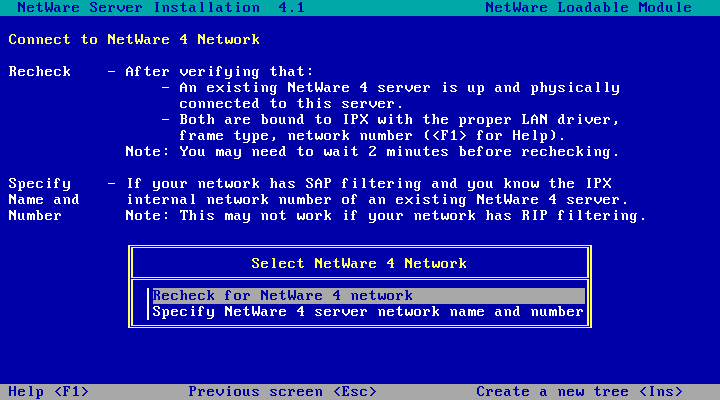
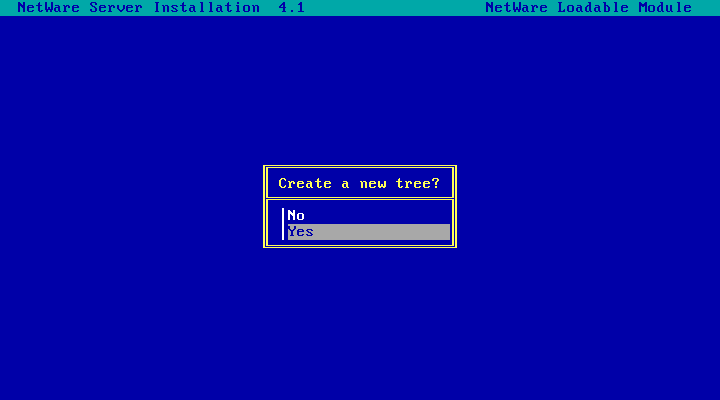
Pressing Insert here lets us create a new tree instead of installing into an existing tree.
Novell really wants us to know we really ought to have only one NDS tree. This is my desired
configuration but because of the incompatible NDS versions I've got to fully install
NetWare 4.10 into its own tree, upgrade to newer version of NDS, then merge this NetWare 4.10
server into the existing NDS tree.
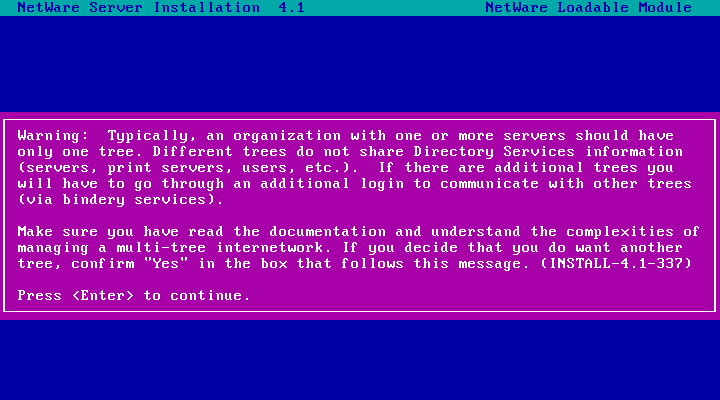
Choose Yes to create a new tree
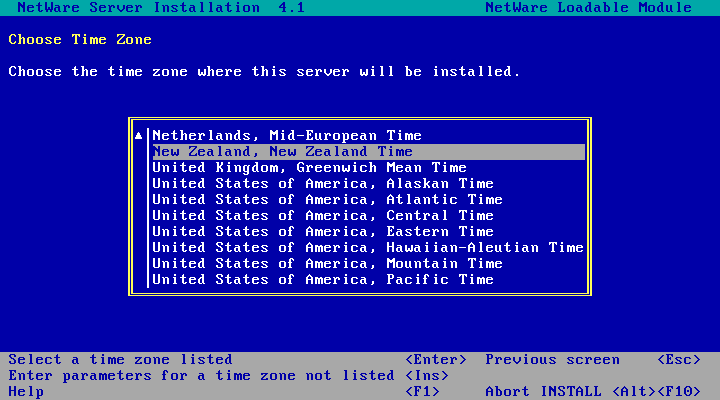
Pick a suitable timezone and hit Enter.
Enter an organisation name

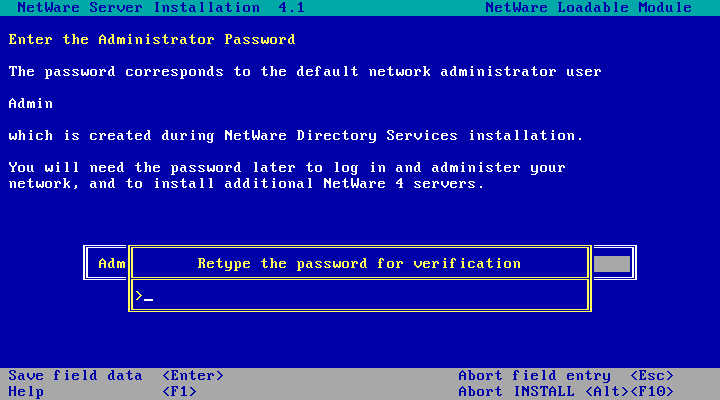
Enter a new password for the admin user
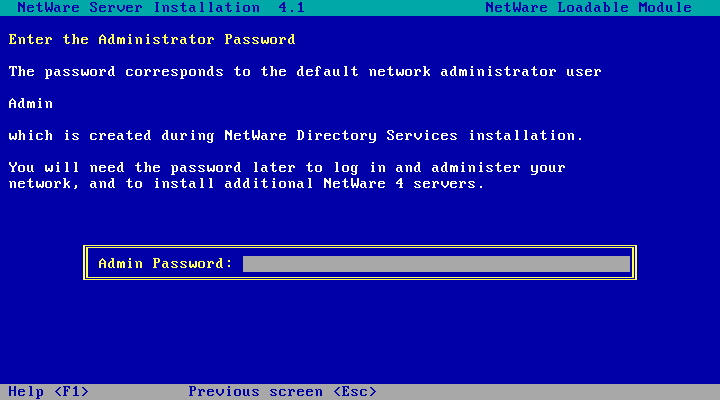
You'll be asked to re-type it to confirm.
NDS is then installed
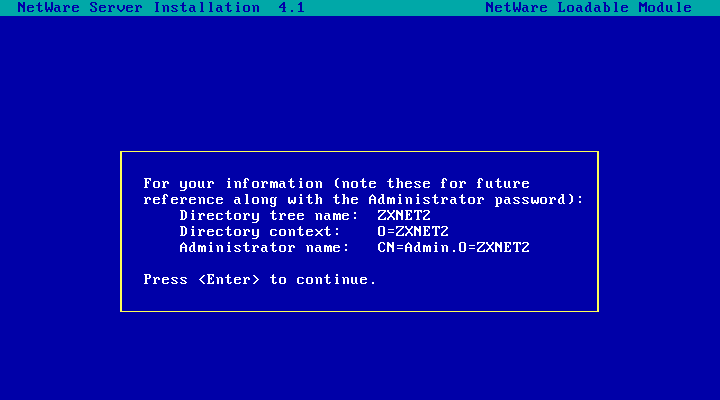
And here are the details for my newly created NDS tree. Press Enter to continue.
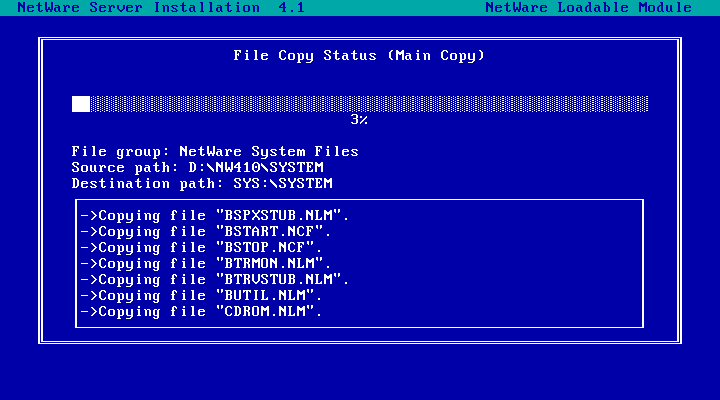
Then we get the main file copy! This takes a little while longer than either of the previous
file copy operations.
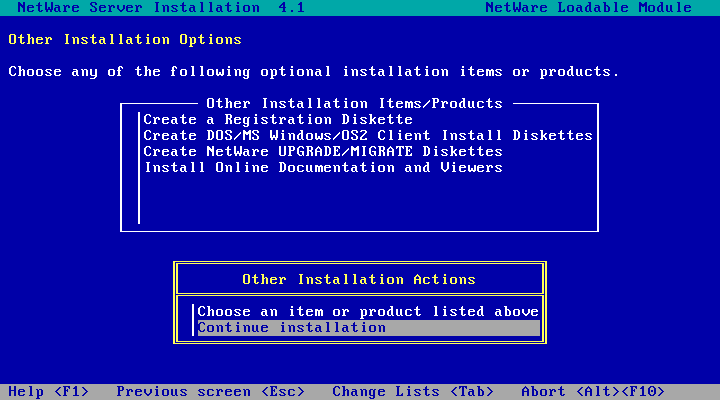
You might want to install online documentation and viewers at this point, but its easy enough
to do this later so you can just hit Continue installation for now.
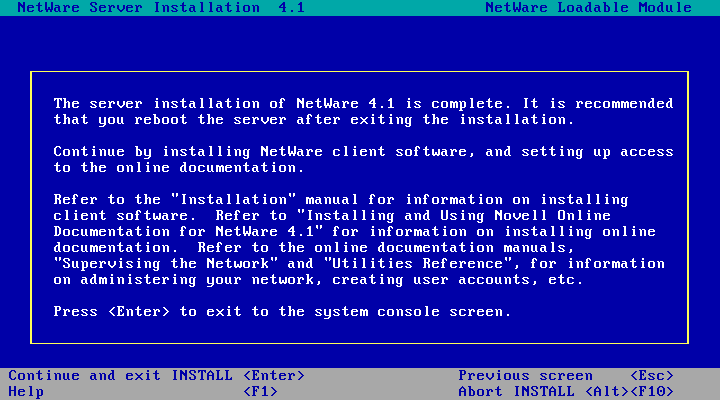
Installation complete! For now at least - much patching still to be done, plus other
things to install. Press Enter to exit to the server console.
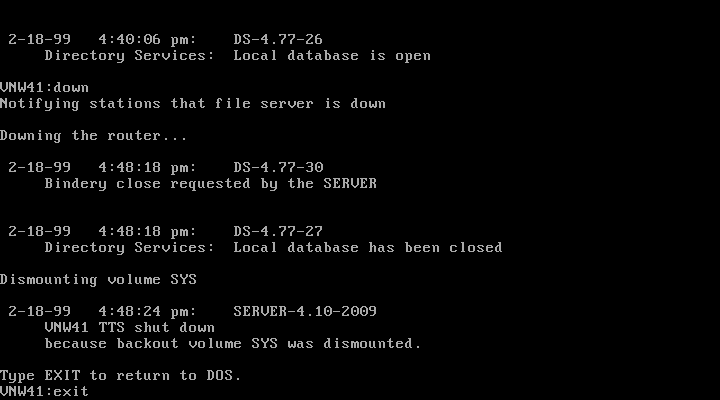
Type down and hit enter to bring the server down.
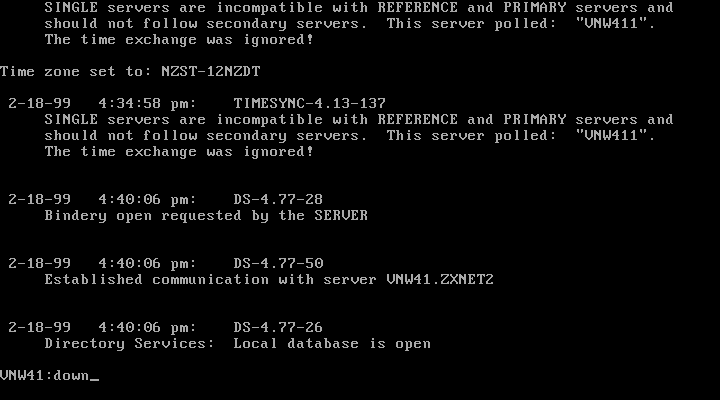
Then type exit and hit enter to exit back to DOS.
Now that we're back at DOS, reboot the VM.

After a reboot we're back at the DOS prompt. Time to edit autoexec.bat
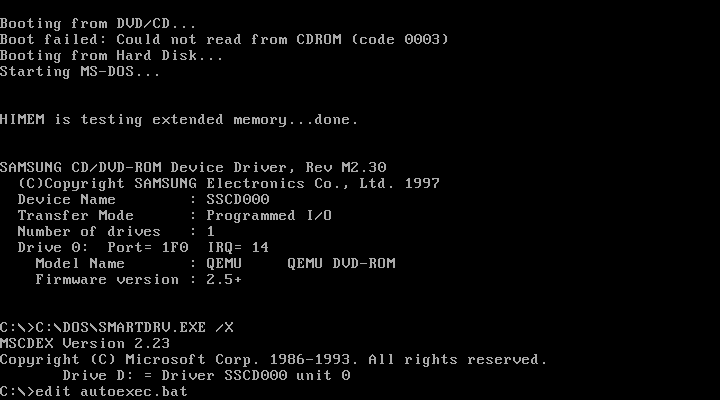
And we're going to make it so that NetWare 4.1 runs automatically on startup.
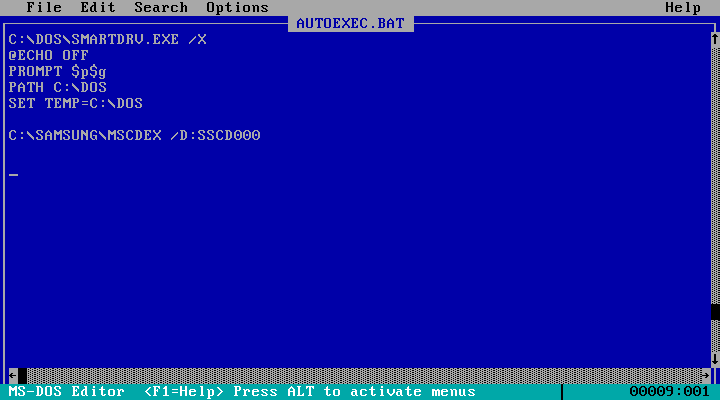
This should do it:
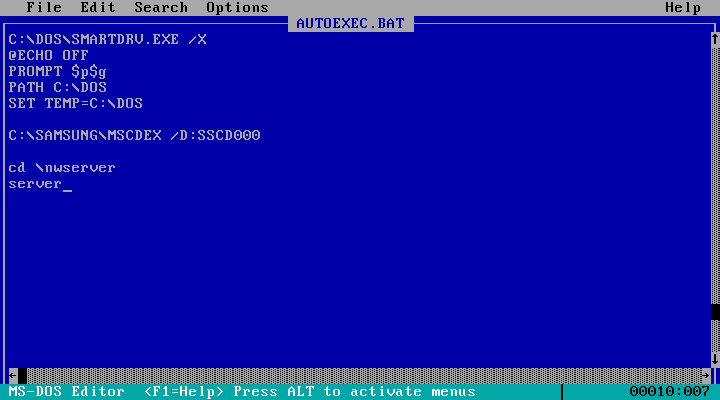
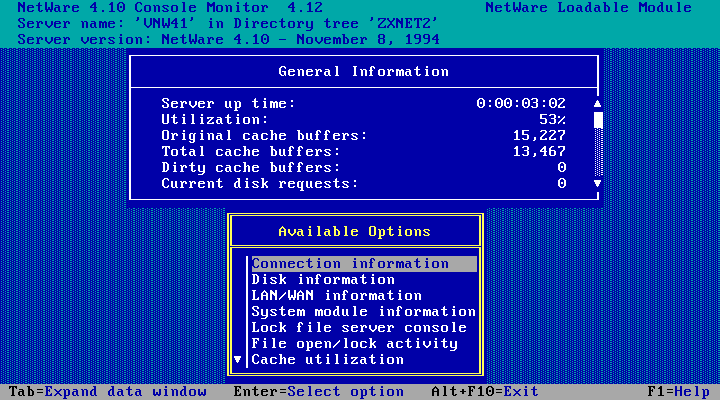
After a reboot, NetWare 4.10 starts up automatically! Now you can type load monitor to
look at the netware console monitor.

This tool lets you monitor the server status. I usually just leave this running all the time
and only exit out of it when I need to do other things like change config.
If you leave it idle long enough (about 10 minutes) the screen saver will start.
The higher the CPU utilisation the longer the snakes and the faster they move

But while the snake may claim NetWare is idle, the CPU usage from KVM claims otherwise.
NetWare 4.x doesn't know how to idle the CPU so it just sits in a loop until it has something
to do.

To fix this you need nw4-idle.nlm.
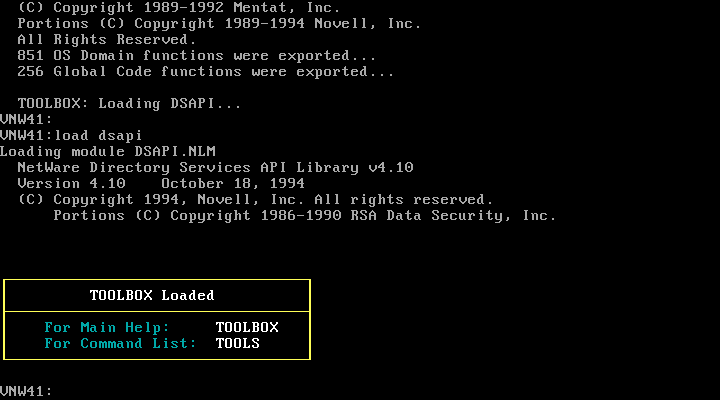
Right now with no clients setup the easiest way to get it on to the server is with TOOLBOX.NLM
(distributed as tbox7.exe
with a readme). To make
things easy, here is a disk image with both files! Mount the disk
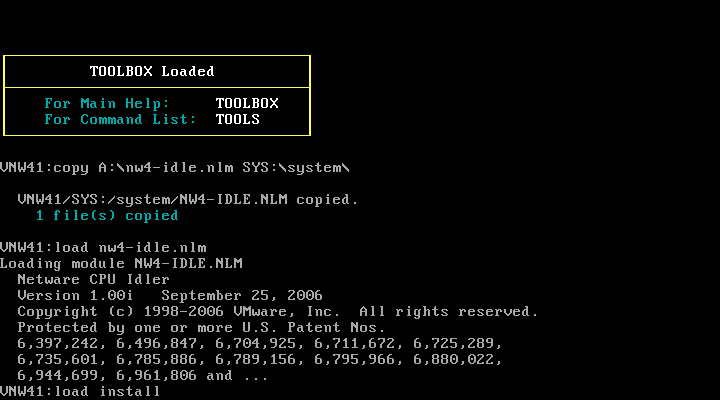
image then run load A:\toolbox.nlm
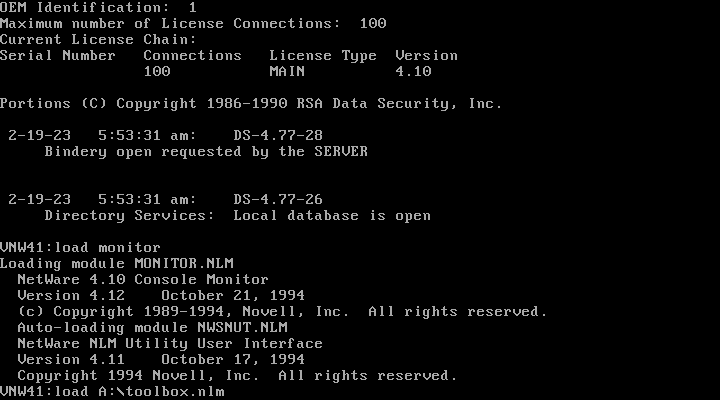
Toolbox loaded!
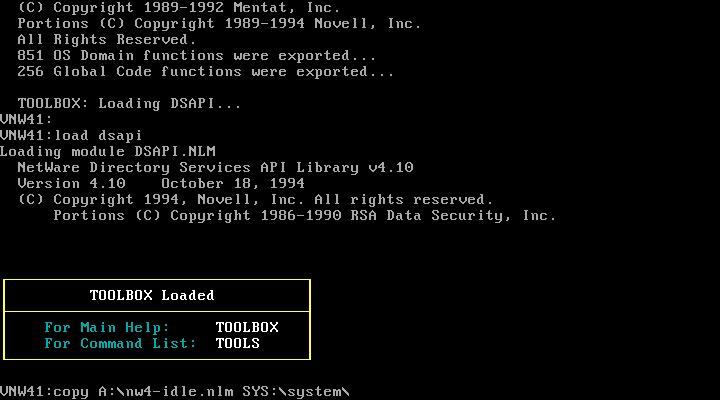
For some reason the netware server console doesn't have a file copy command. Thats one of the things
toolbox.nlm gives us - so now copy nw4-idle.nlm from the floppy disk to the system directory with the
command copy A:\nw4-idle.nlm SYS:\system\
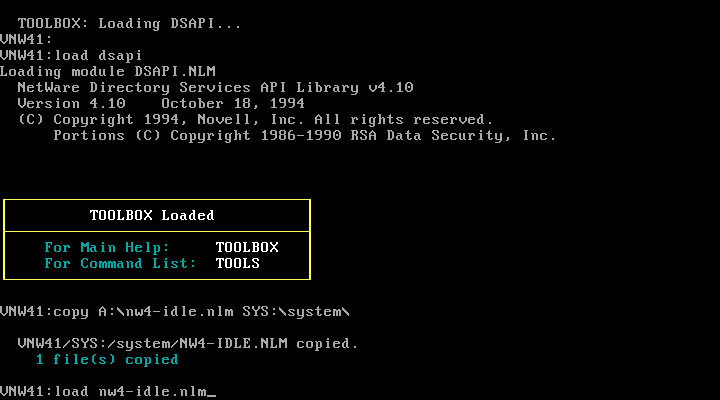
File copied! Now we can load the idle NLM with load nw4-idle.nlm - this should reduce host
CPU usage somewhat. While this floppy disk is handy, you might want to copy toolbox.nlm over to SYS:\system
too so you can use it anytime in the future.
NLM Loaded!
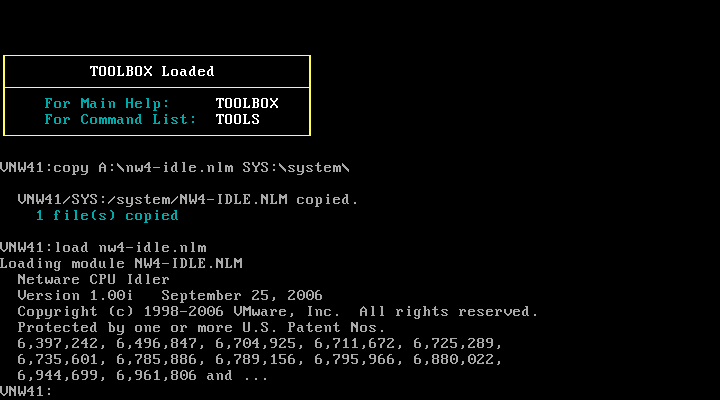
And CPU usage has reduced to something more sensible.

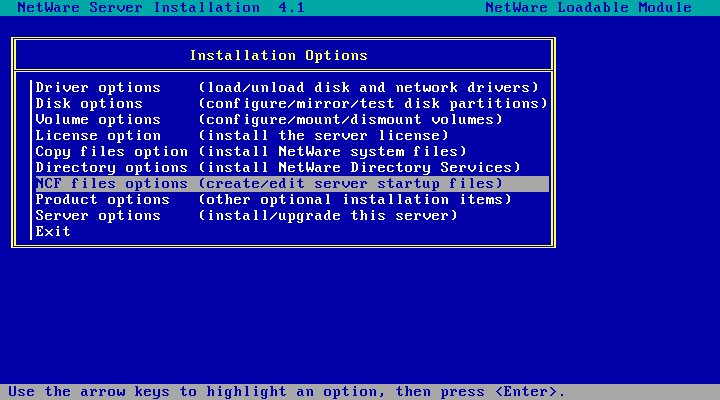
So that nw4-idle.nlm loads on every startup we'll edit autoexec.ncf. To do this, run load install
Then select NCF Files options from the menu
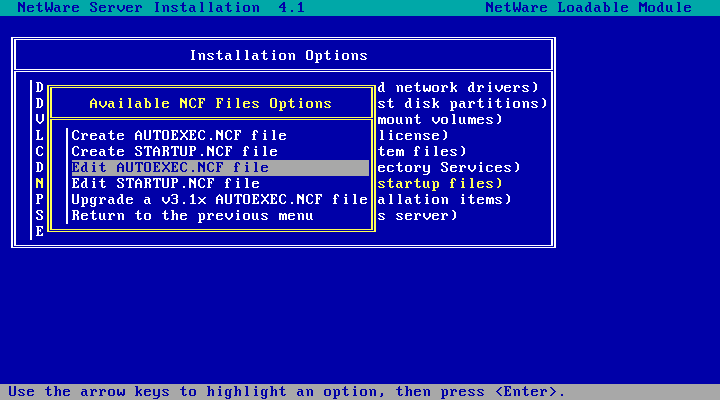
Then select Edit AUTOEXEC.NCF file from the menu
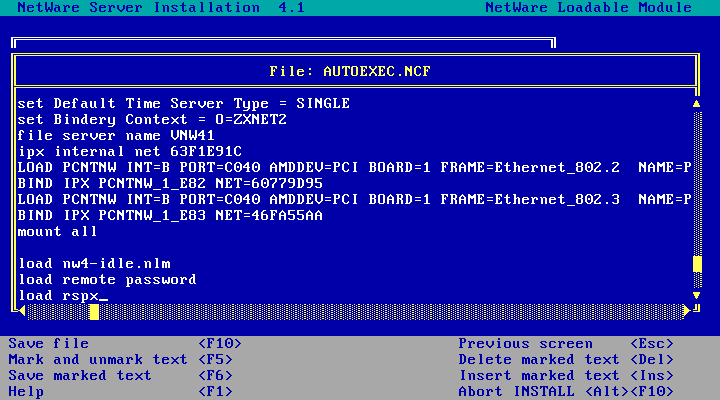
Scroll down to the bottom of the file (Page Down works)
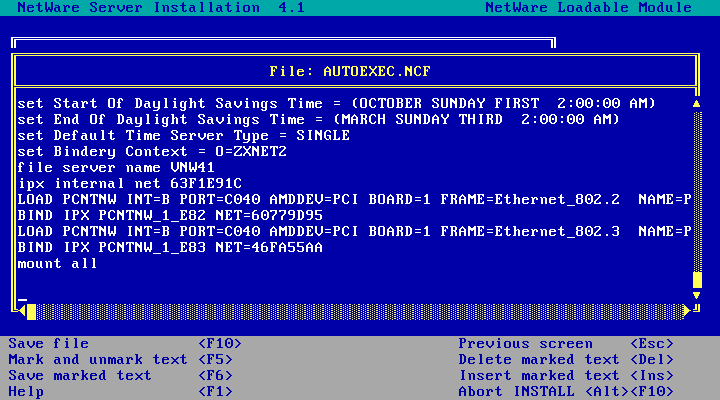
Add load nw4-idle.nlm to the end of the file. And, while we're here, we should add in
the remote console server too, so add in load remote foo where foo is
the password you want to secure the remote console with ("password" in this screenshot) followed
by load rspx. This will make installing patches later much easier. If you copied toolbox.nlm
over to SYS:\system you could add a line to load that on startup too. When done, hit F10 to save.
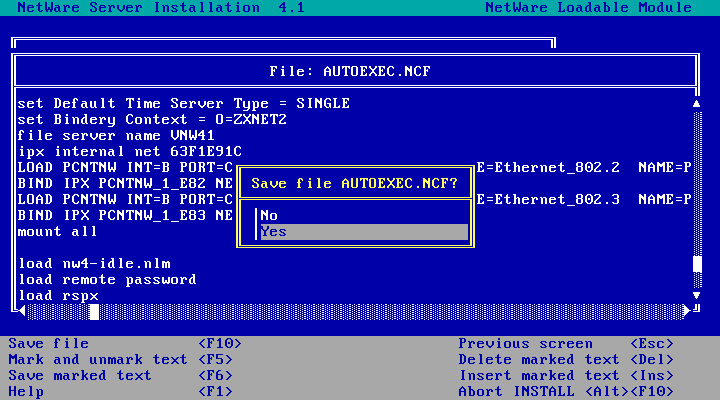
And choose Yes to confirm.
Hit Esc to return to the main Installation Options menu, Esc again to exit, and choose Yes to confirm.
We should probably test our changes now, so type down followed by exit to exit to DOS.
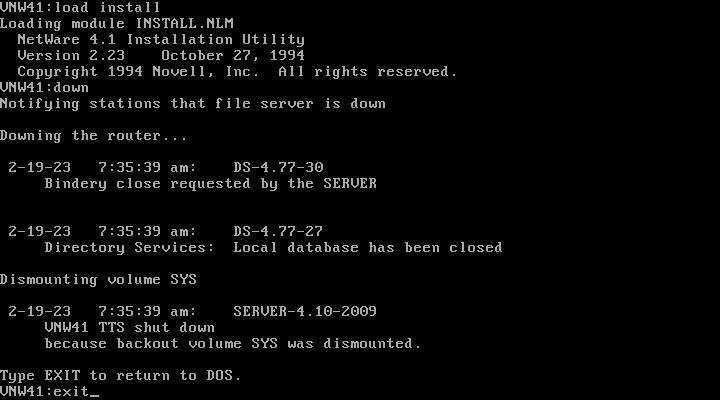
Once back at DOS, reboot the server

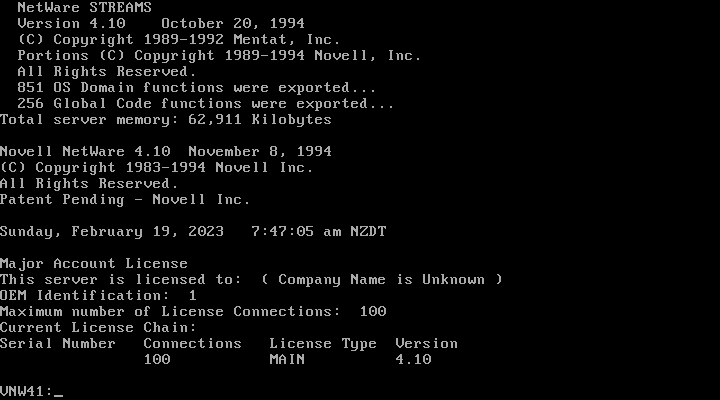
And after a reboot we're back at the server console!
Next Steps
- Install a client! The CD should have version 1.20 of the VLM client (just run D:\install from DOS), or download a newer client
- Install the Documentation
- Install all the updates! There are a number of important updates that really ought to be installed, at a minimum 410PT8B and ODI33G to make the network driver work more reliably.
- Merge it into a NetWare 4.11 NDS tree
- Install NetWare for Macintosh
- Install NFS Services v2.1 - NetWare 4 Edition if you have it (this product sold separately)
- Install NetWare/IP (if you really want to - its not really very useful)
- Read the NetWare 4.1 page
Disclaimer & Comments
I'm not a netware expert, don't have any of those fancy novell certifications and have never administred a netware network; I've just played with it at home occasionally since 2004 or so. Email me if you've got any suggestions or corrections for this page or any extra information you think is worth including here. My address is david at this websites domain name (without the www bit of course).