Installing NetWare for Macintosh on NetWare 4.1
This should let NetWare appear as an AppleShare server to other ethernet-equipped Macs. I've already already done this on NetWare 4.11 which should be pretty much identical.
Contents
Tools
Things you'll need to follow along you'll need:
- A VM with NetWare 4.10 installed
- A bridged network interface (AppleTalk won't get through IP routers any easier than IPX)
- The NetWare 4.10 CD-ROM
- An ethernet equipped Mac (or an emulated one with a bridged network)
Creating the VM and installing NetWare 4.10 is covered here.
Installing
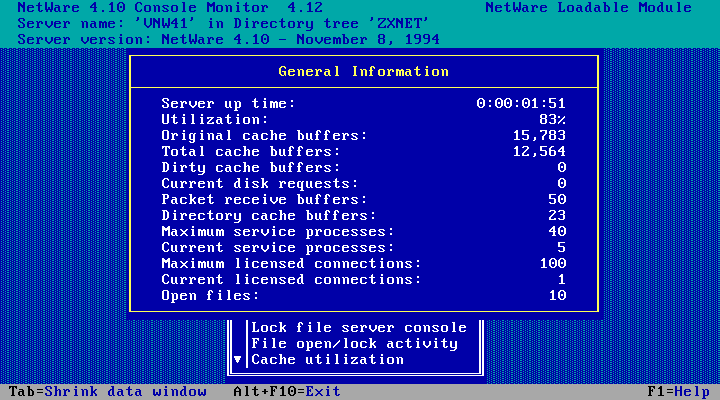
I'm doing this on my new NetWare 4.10 server, VNW41, which has recently been added to the same tree as my existing
NetWare 4.11 server which is also running NetWare for Macintosh.
Ensure the NetWare 4.10 CD-ROM is mounted/in the drive. Run CD VOLUME LIST to check, and run
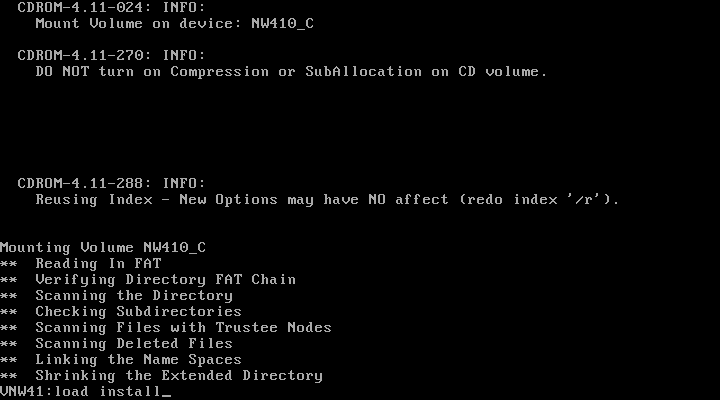
CD MOUNT NW410_C to mount it.
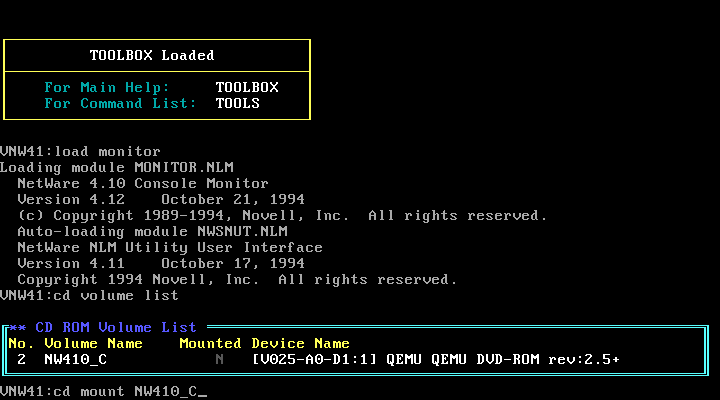
CD Mounted, now run LOAD INSTALL.
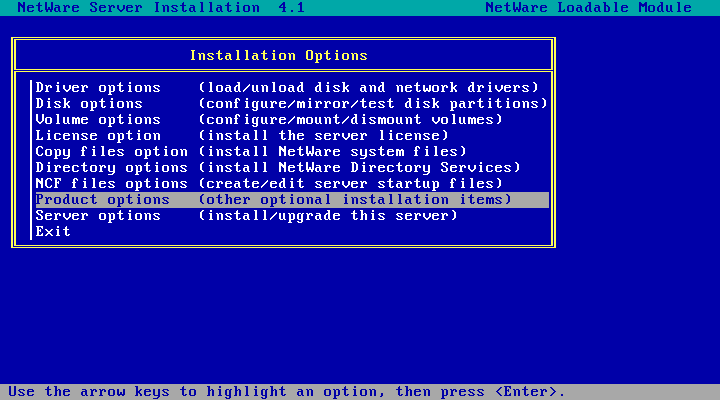
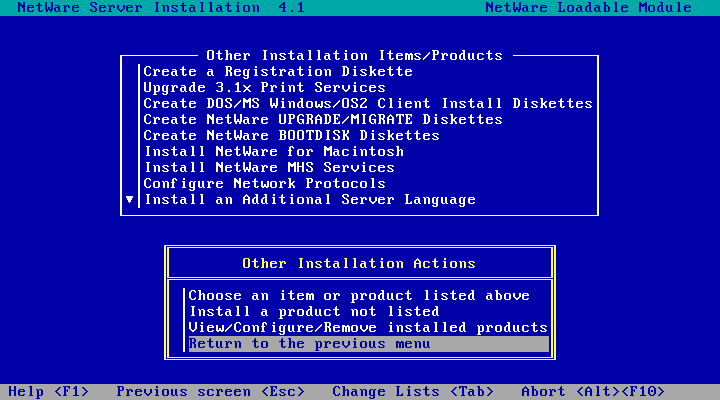
Choose Product options.
Choose Choose an item or product listed above
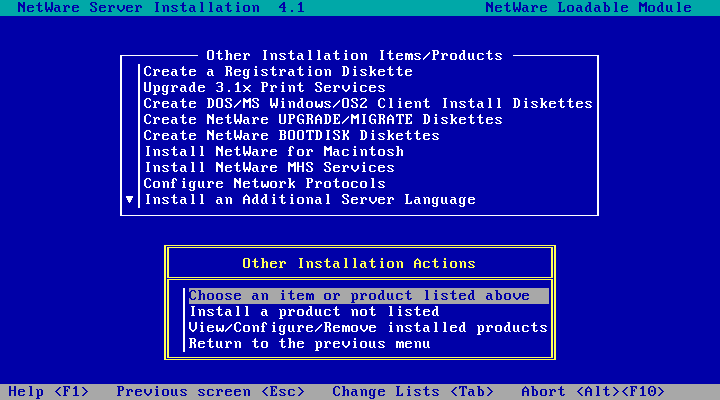
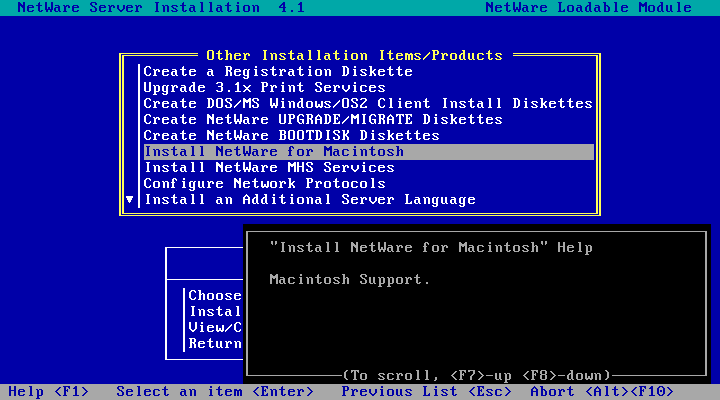
Choose Install NetWare for Macintosh
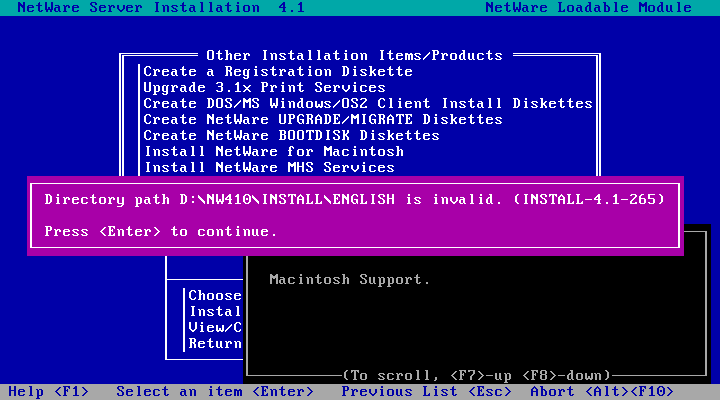
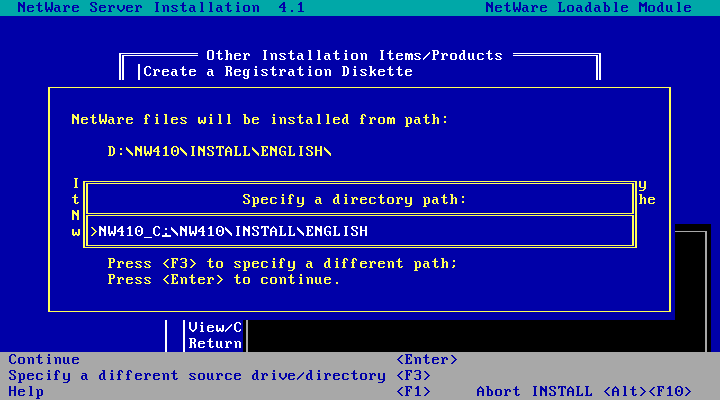
And then we get this. I originally installed NetWare via the DOS CD-ROM driver which I've since removed as its
no longer required, which is likely the cause. Just hit enter.
If the path starts with "NW410_C:\" skip this step and the next one. If it starts with "D:\" or ismilar, Hit F3
to change it.
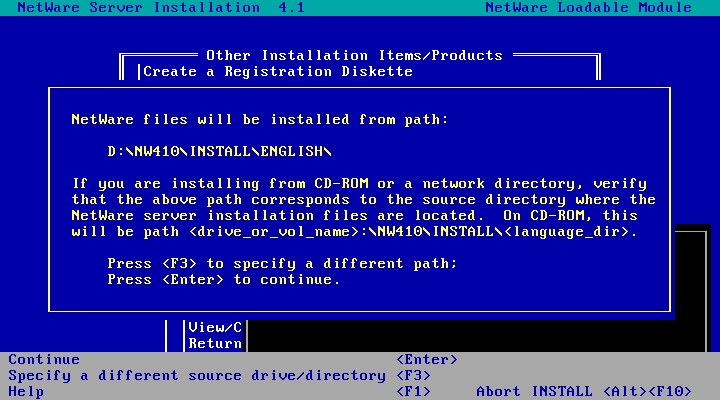
And replace D:\ with NW410C:\ then hit enter.
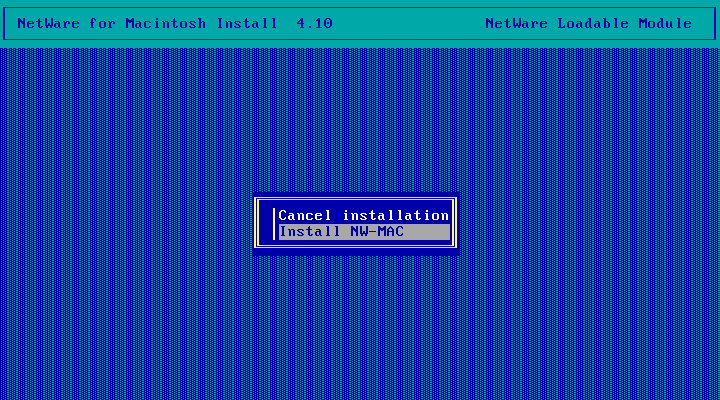
A file or two is copied, then we get the NetWare for Macintosh 4.10 installer! Choose the Install NW-MAC option.
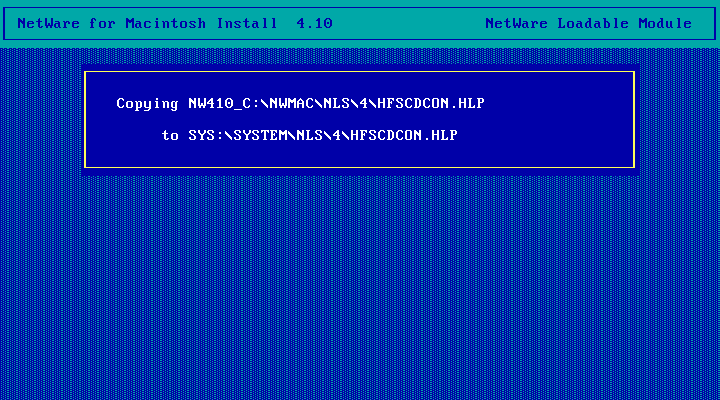
Files are copied...
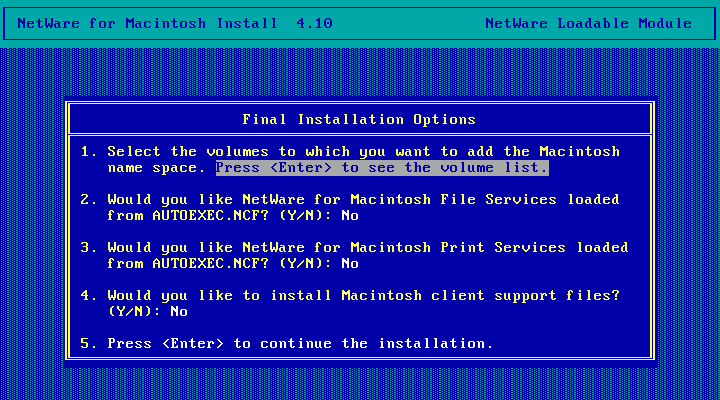
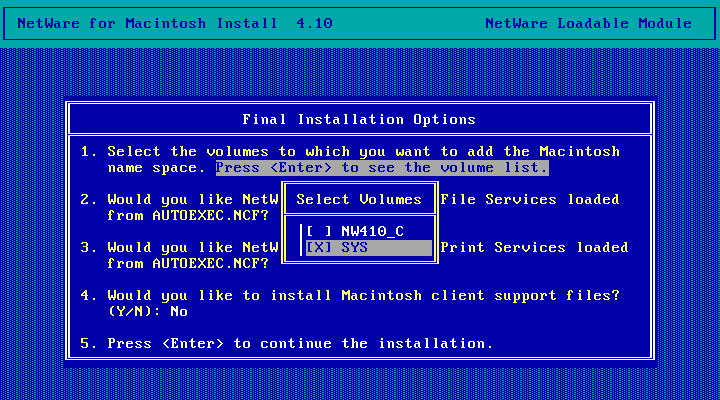
Hit enter to see the volume list.
Here you'll see a list of available volumes. Hit enter to select volumes and then escape to continue.
I'm only selecting the my SYS volume because the other one is the NetWare 4.10 CD and adding a namespace
to a CD makes no sense.
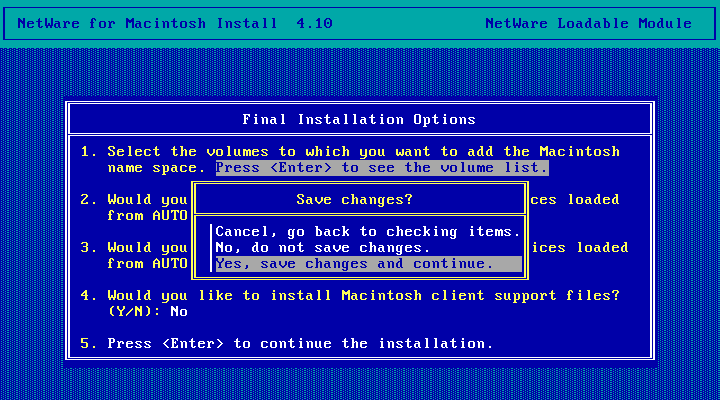
Choose Yes, save changes and continue.
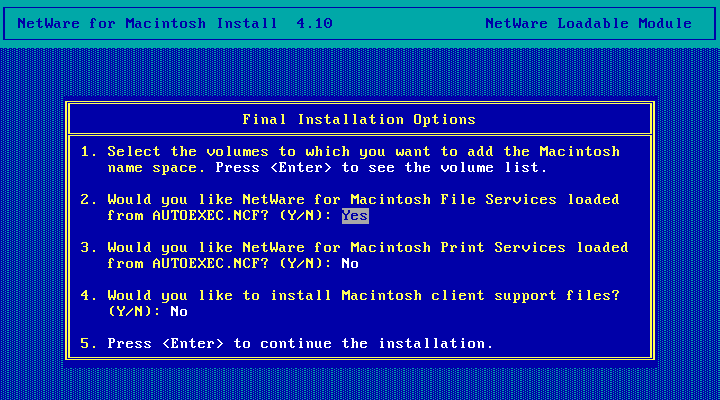
Change option 2 to Yes (type Y and hit enter) so that file services are loaded on startup.
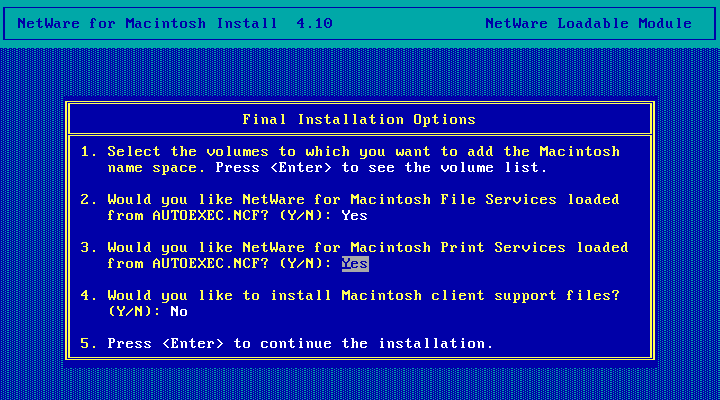
And do the same for print services if you've got printers you'd like to share with Macs.
Choose Yes to install Mac client support files
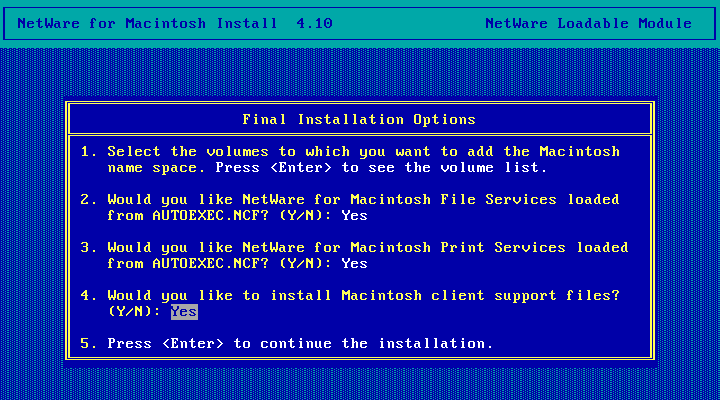
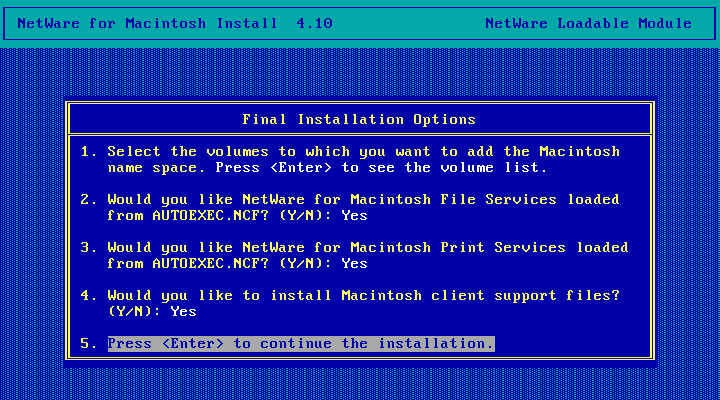
And then continue with the installation (hit enter here)
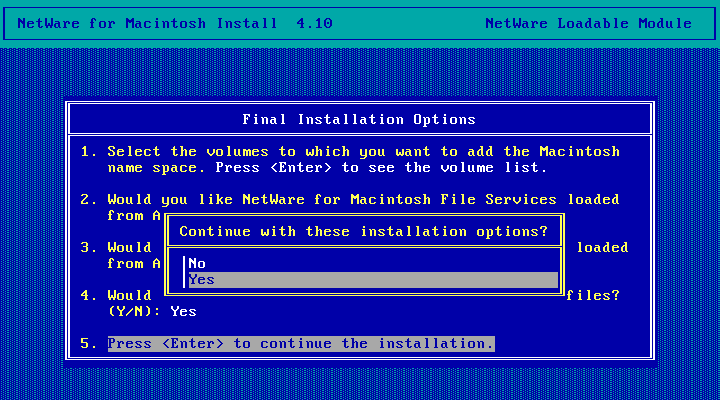
Choose Yes.
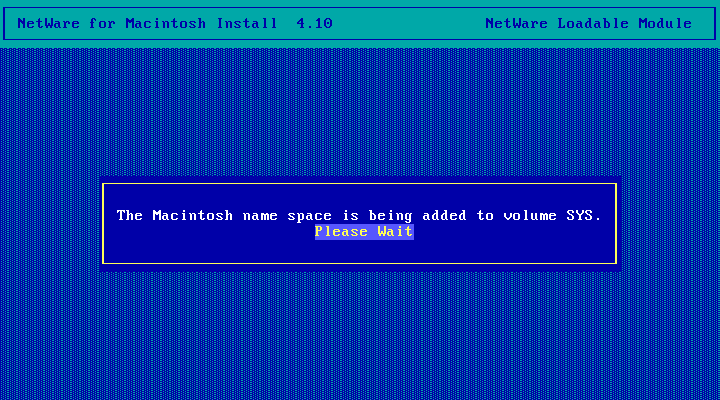
Adding the Macintosh namespace... This took several seconds for me.
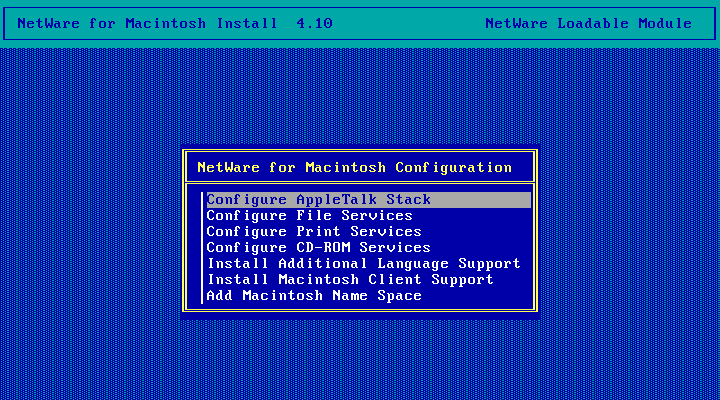
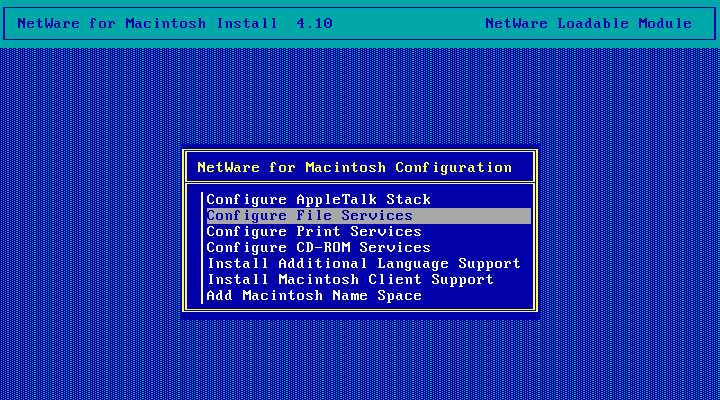
Choose Configure AppleTalk Stack
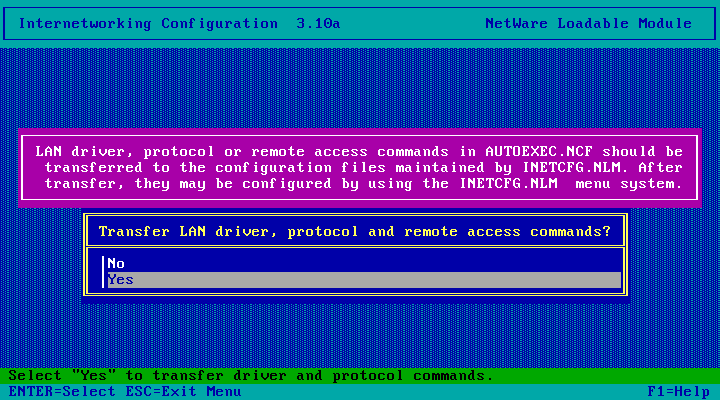
A brief message about loading another NLM, then this! Choose Yes
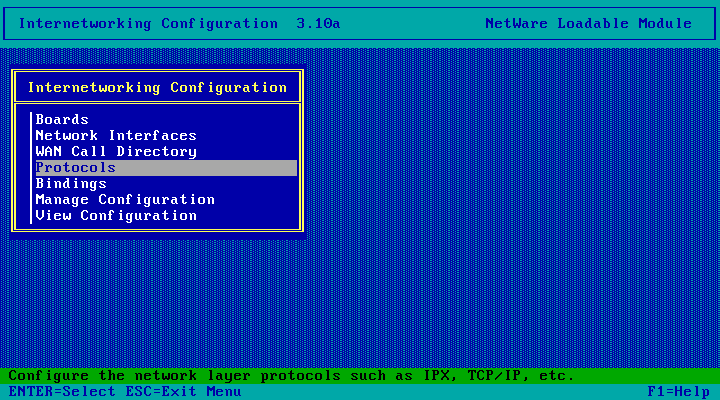
Time to setup AppleTalk! Choose Protocols
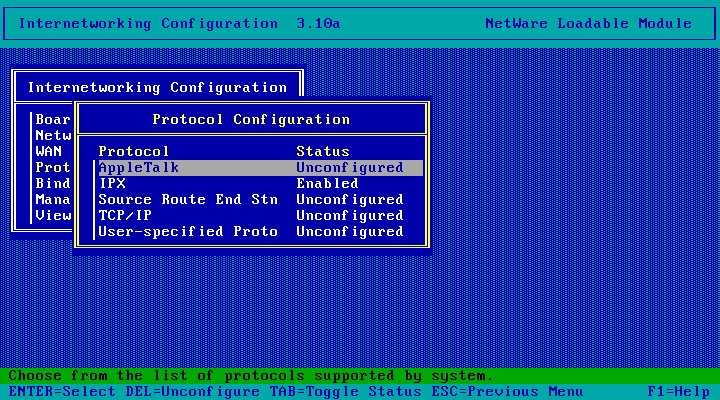
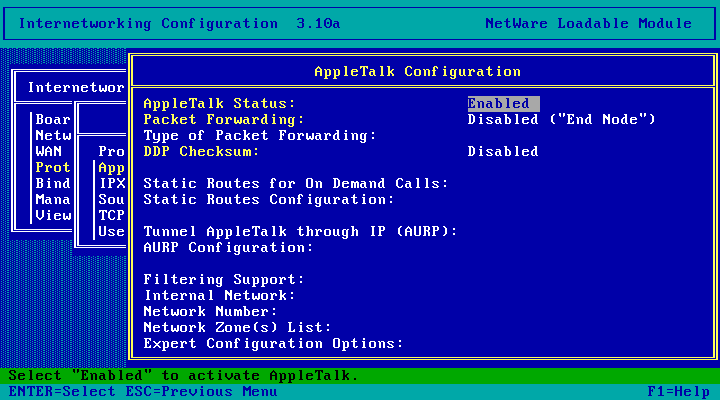
Choose Appletalk
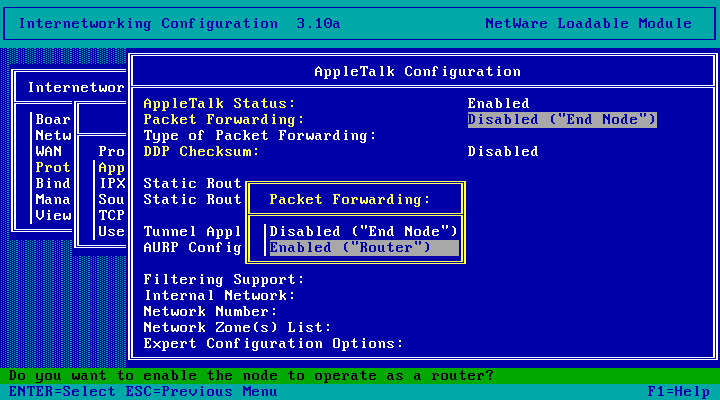
Select the Packet Forwarding option and hit enter.
Choose Enabled ("Router") and hit enter.
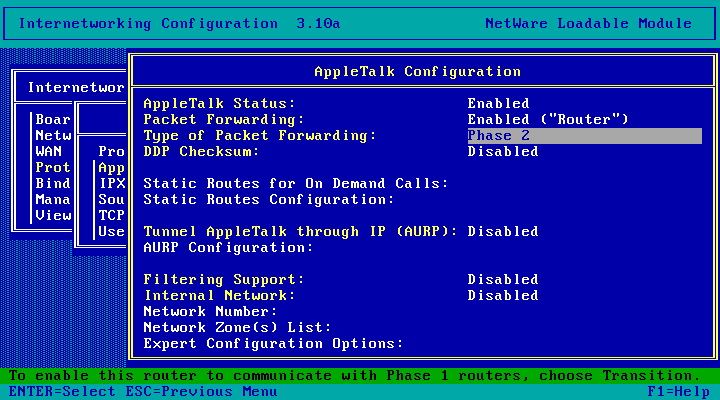
Nothing else we need to change here. Hit Escape and choose Yes to save changes.
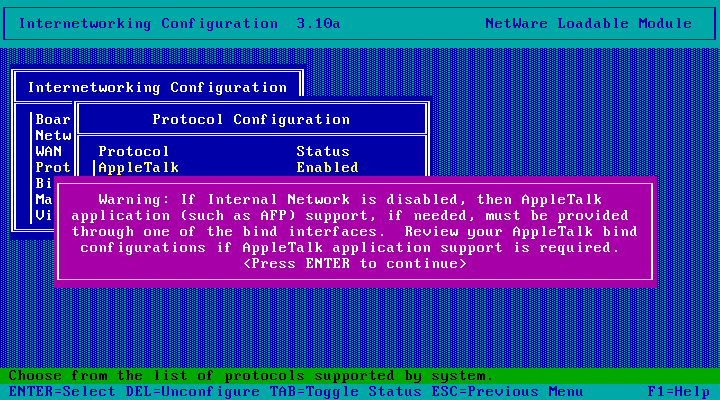
And then we get this warning. Thats OK - we're going to go and setup bindings next. Hit Enter.
AppleTalk configured! Hit escape.

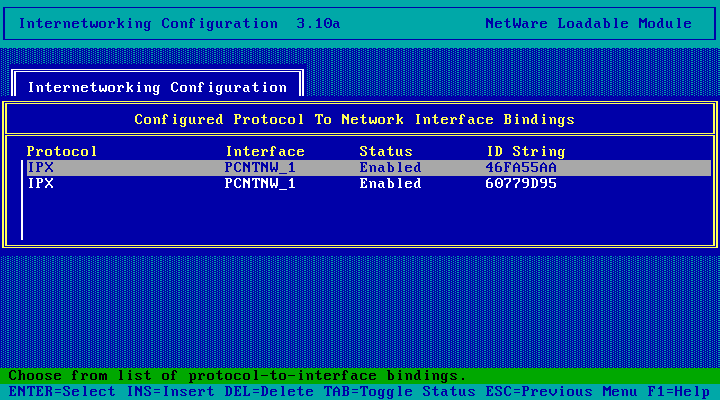
Choose Bindings

Hit the Insert key.
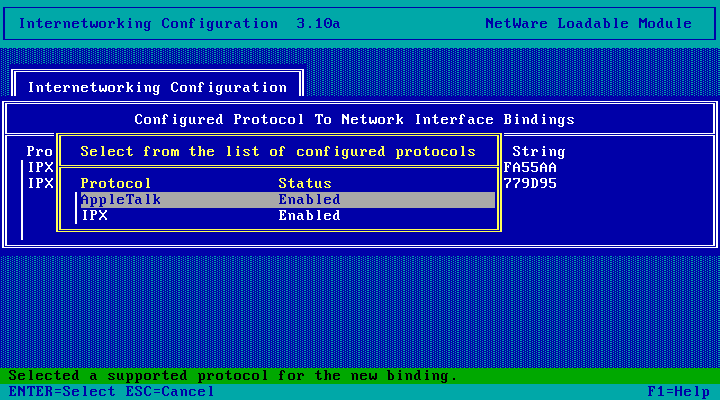
Choose AppleTalk
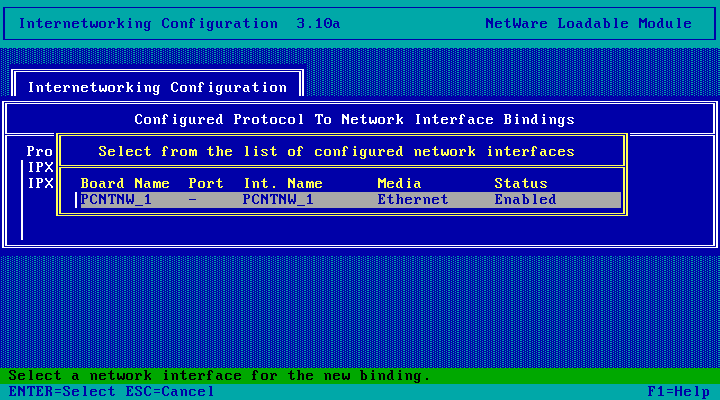
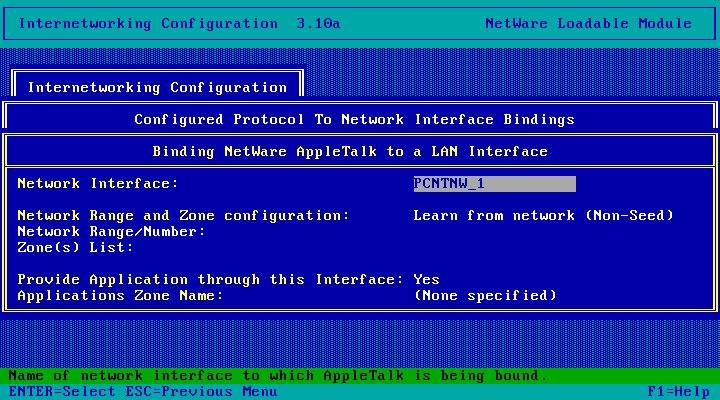
And choose your network interface. You may see get asked first what you want to Bind to - choose A NetWork Interface that case, then select your network interface.
Choose Extended Network
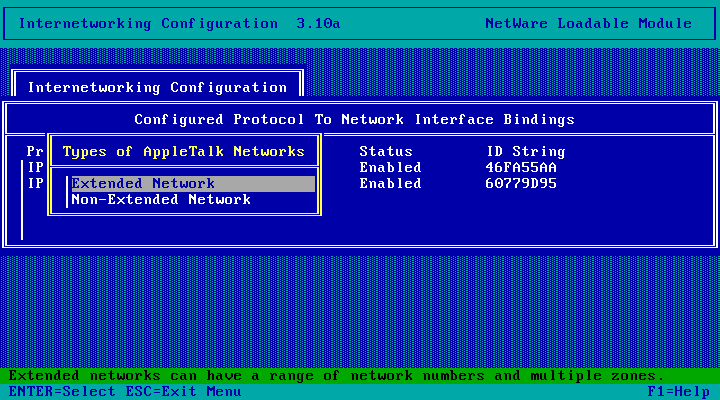
I've already got another NetWare server on the LAN providing AppleTalk services and that server has its
Network Range and Zone configuration set to "Define here (Seed)", so I'm just going to hit Escape and
leave all of these settings as-is and this server should learn the appropriate settings from the other server.
If this is your first/only NetWare for Mac server you might want to change this setting to Seed and define a network range and
zone list. You can see what that looks like on NetWare 4.11 (nearly identical to 4.10) here.
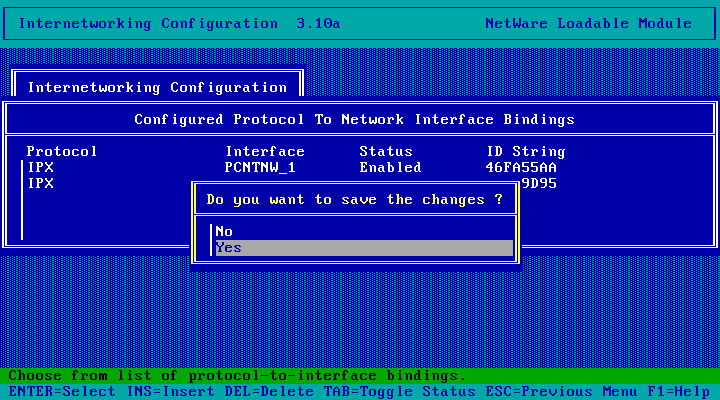
Choose Yes.
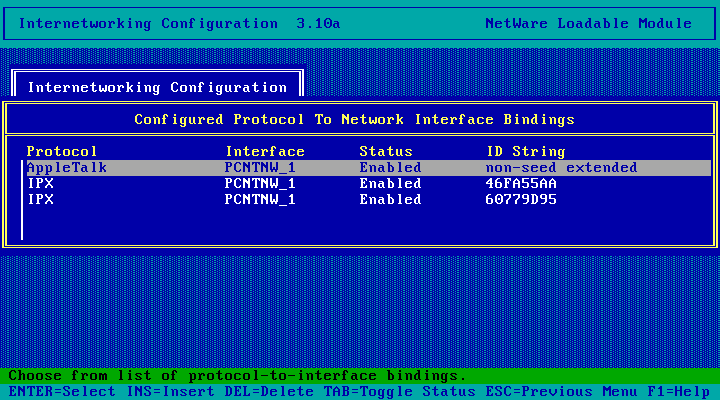
Done. Hit escape twice.
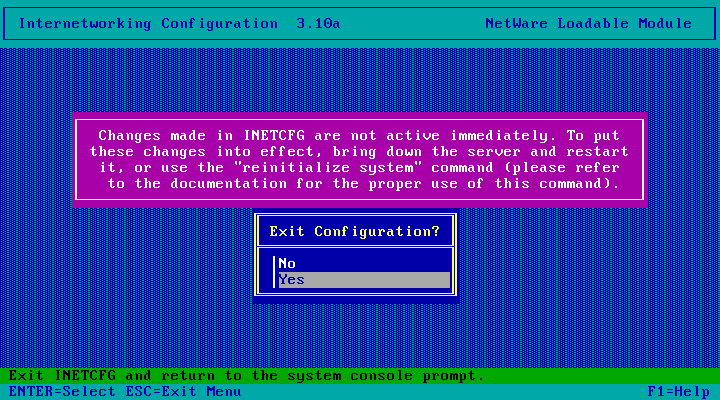
And choose Yes to exit INETCFG.
We're back here! Now to Configure File Services

A message briefly appears about loading another NLM, then we get this. Choose Quick Configuration
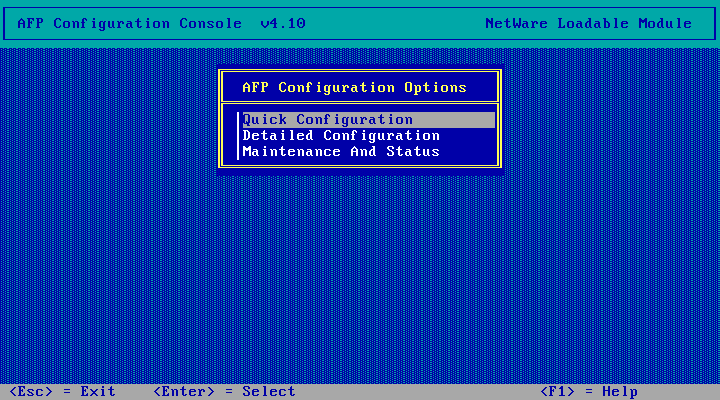
The default settings here are different from NetWare 4.11! By default, NetWare 4.11 is set to Allow Clear Text Password Login and sets the Maximum Number of AFP Connections to 250. Choosing No here will go back to the previous menu, so just choose Yes.
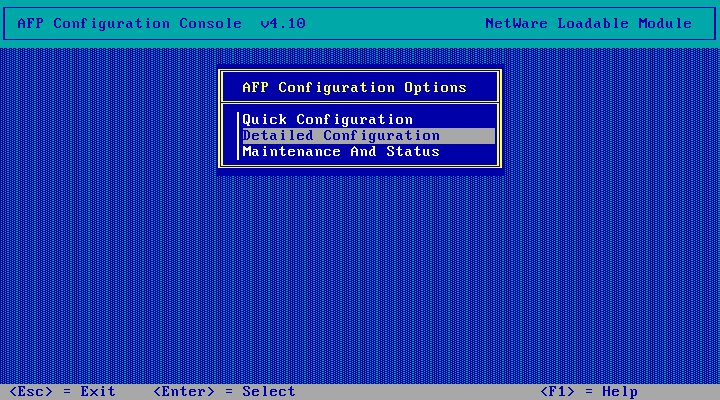
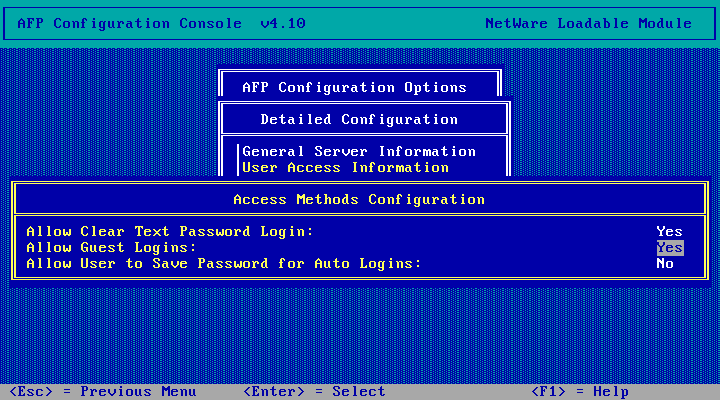
Now choose Detailed Configuration
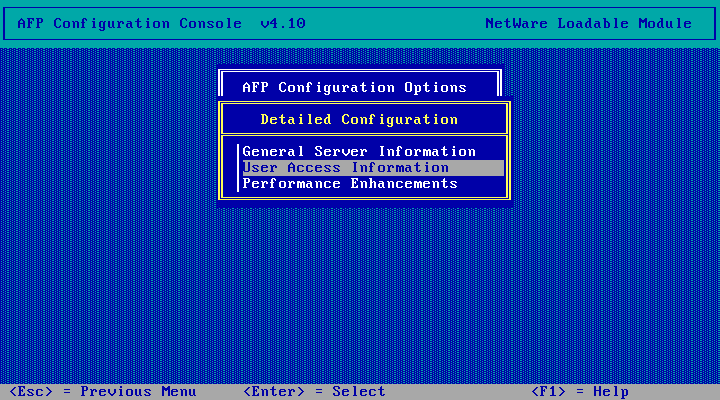
Choose User Access Information
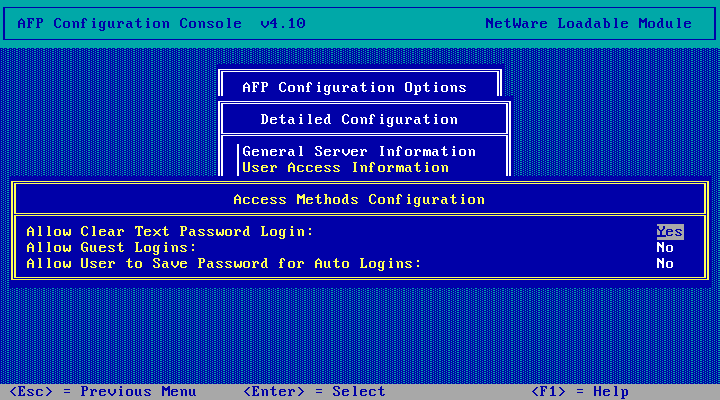
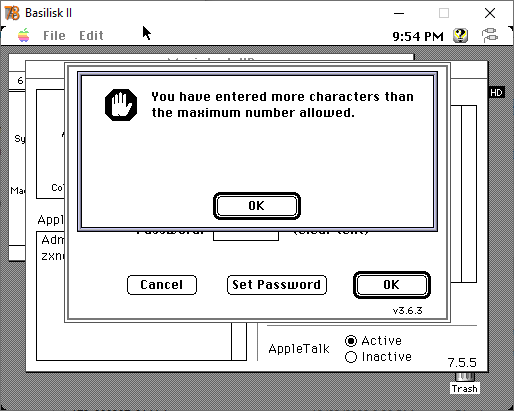
Here you may want to enable Clear Text Password Login otherwise you may get this error (its
possible installing some client bits from Novell is required to support logging in without a cleartest password).
Just hit select the field, type Y and hit enter.
By default AFP seems to be limited to 8-character passwords. If your password is longer and you're not too worried
about security, you might want to just enable Guest logins. Might be handy to allow saving passwords too if you've got
a suitably short password. When done, hit Escape three times and choose Yes to exit AFPCON.
And hit escape again to exit NetWare for Macintosh Configuration. Choose Yes to confirm exit.
Hit escape twice and choose yes to exit INSTALL.
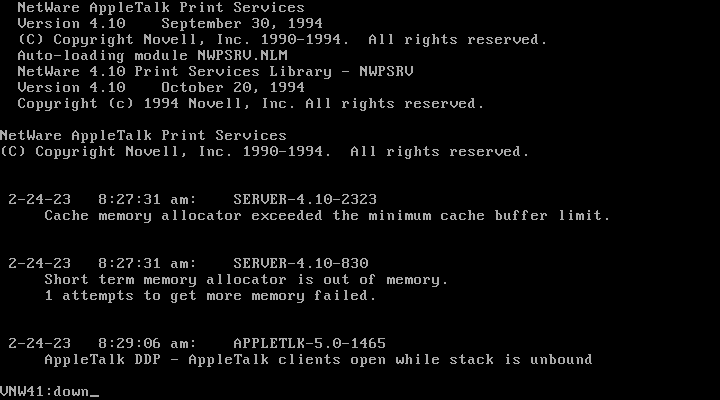
DOWN, EXIT and restart the server from DOS.
And we're back! Now to test it out.
More Screenshots
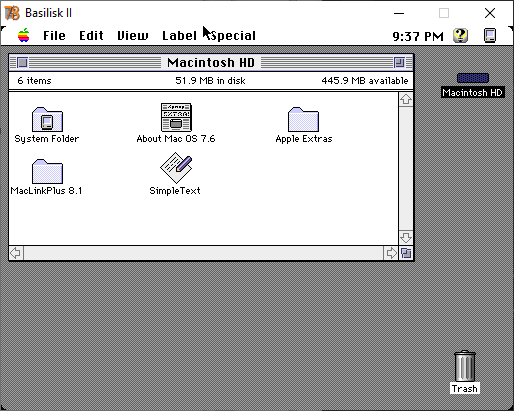
Here we are on my emulated Mac. Its got a bridged network.
And this message pops up! AppleTalk now available.

Success! VNW41, this server, appears in the zxnet zone alongside my NetWare 4.11 server (VNW411).
That other "Admin" zone contains my NetWare 3.2 server - I'll have to figure out how to change that
sometime.
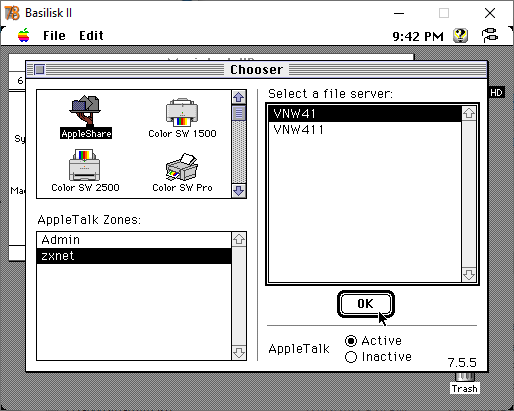
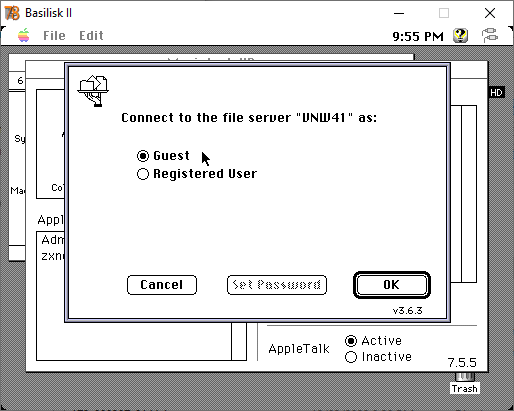
Selecting VNW41 and clicking OK gets us a login dialog!
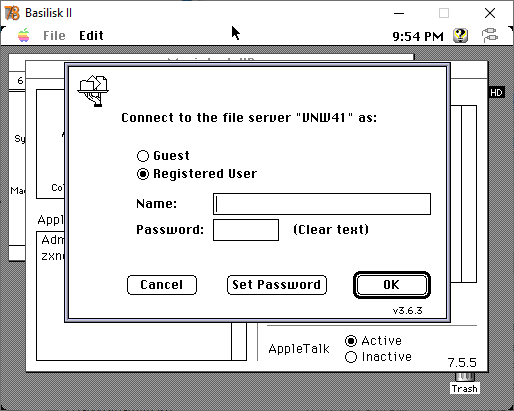
But my password is too long :(
So I'm just going to login as Guest for now.
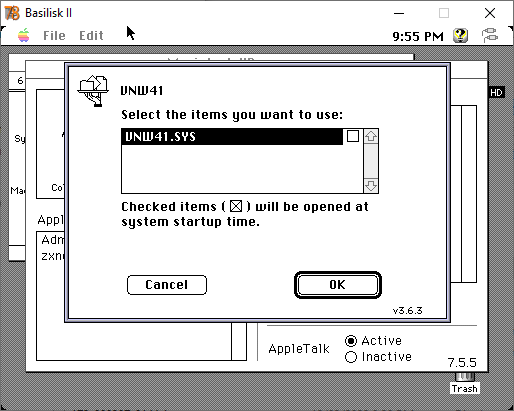
Check the volumes to mount and click OK, then close the chooser.
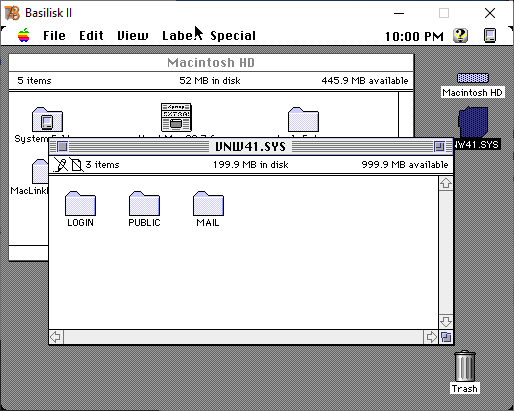
And the SYS volume appears on the desktop!
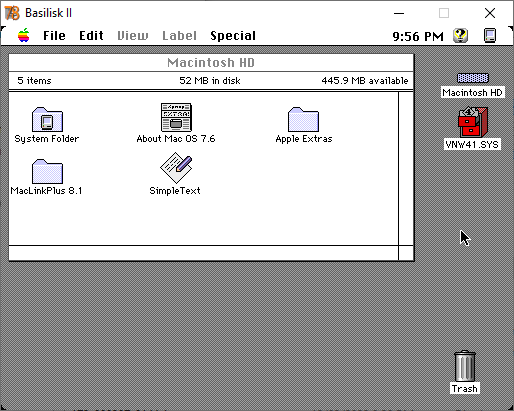
And here is everything the Guest user can see on my server!
Installing the Update
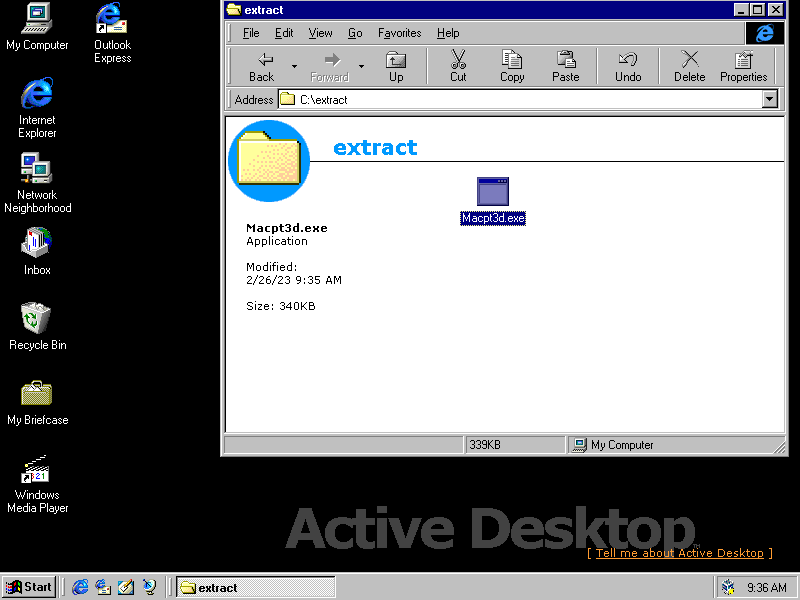
Next up, we need to install the latest NetWare for Macintosh update which fixes a number of problems. You can grab the update from here (https).
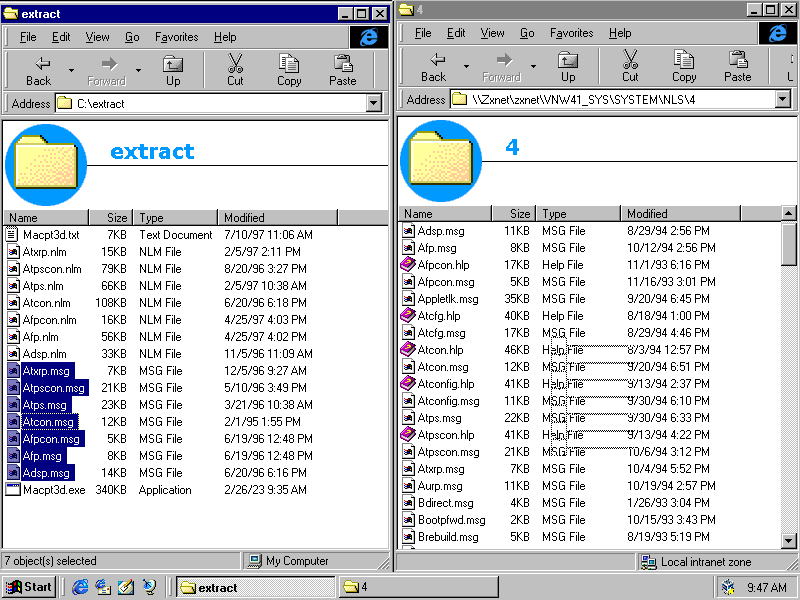
Copy the update to an empty folder on a Windows PC connected to the NetWare server and run it
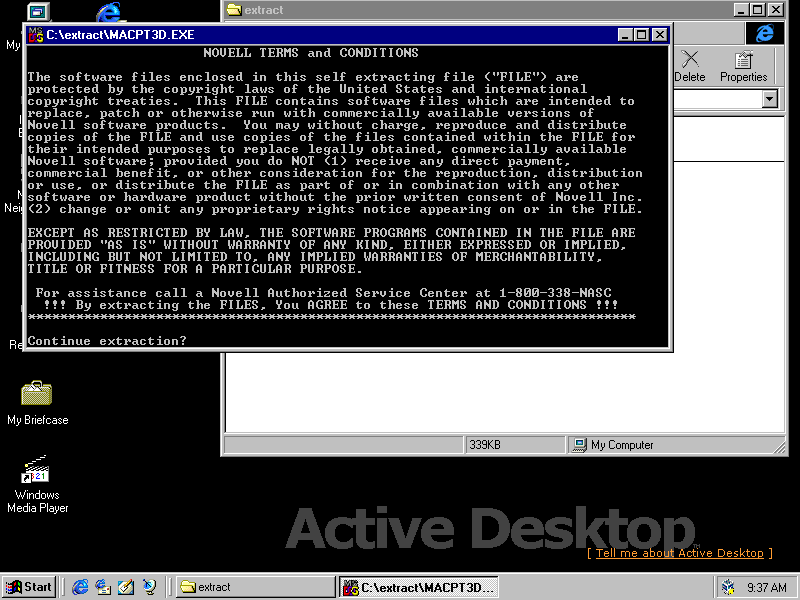
Type y and hit enter to extract
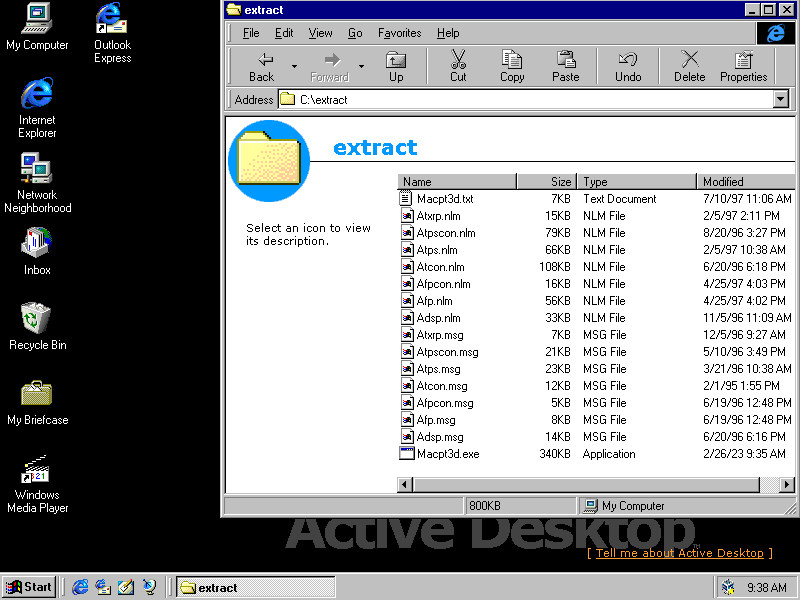
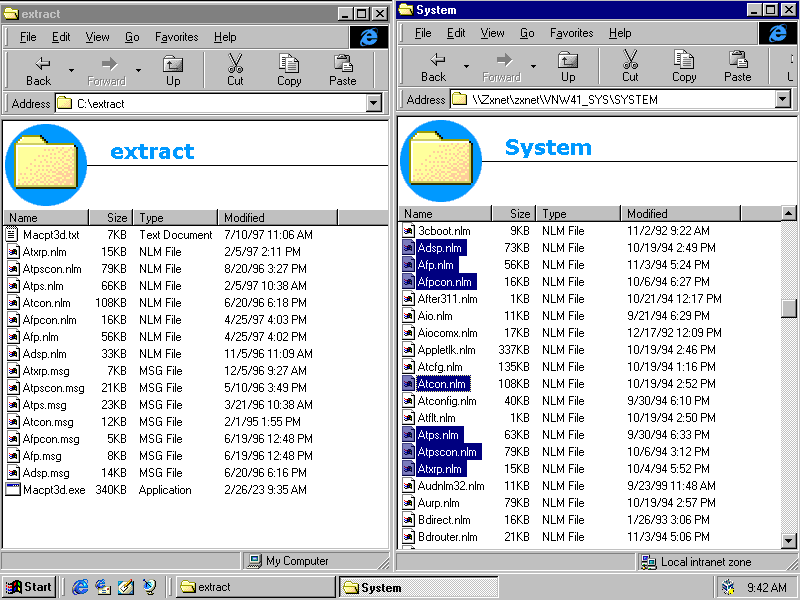
And here is all that was extracted. It just contains new versions of 7 NLMs which replace the existing versions in SYS:\SYSTEM, plus their associated .MSG files which go into SYS:\SYSTEM\NLS\4\
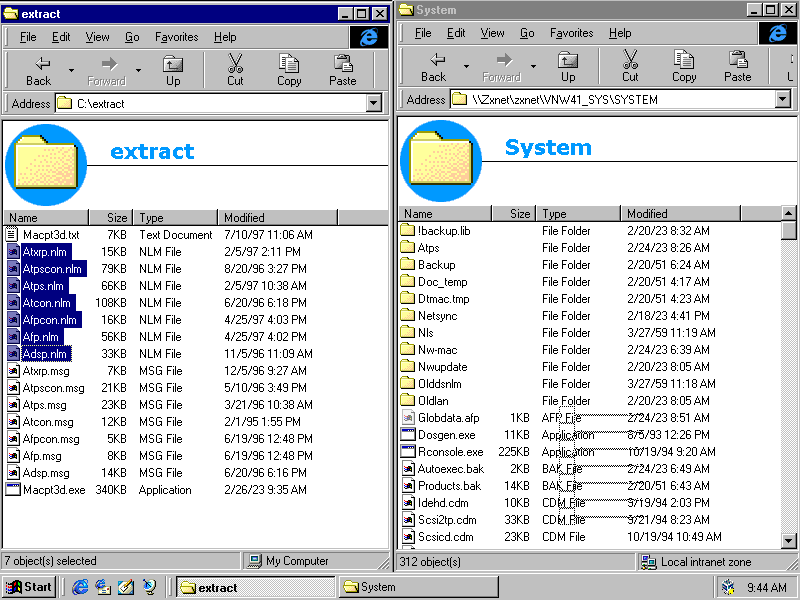
If you want, find the 7 NLMs being upgraded in SYS:\SYSTEM and back them up by either renaming them or copying them somewhere else
Then copy the new versions over
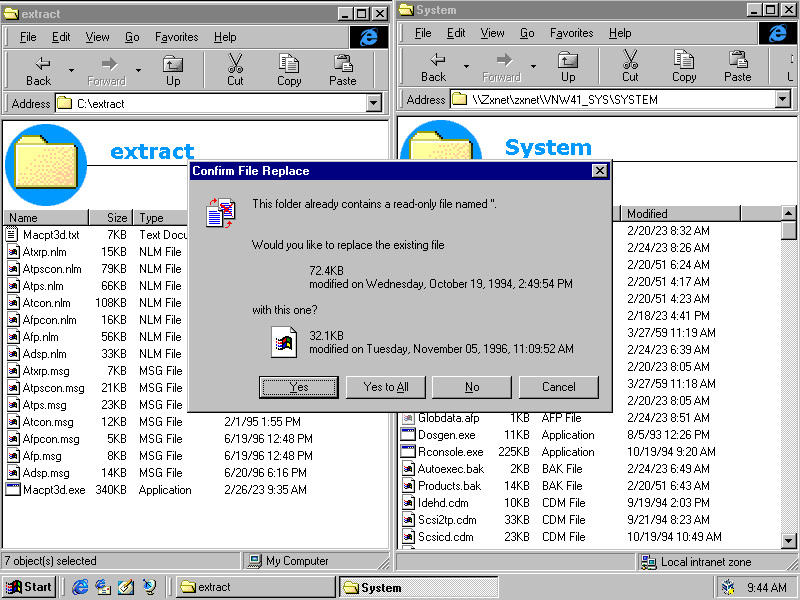
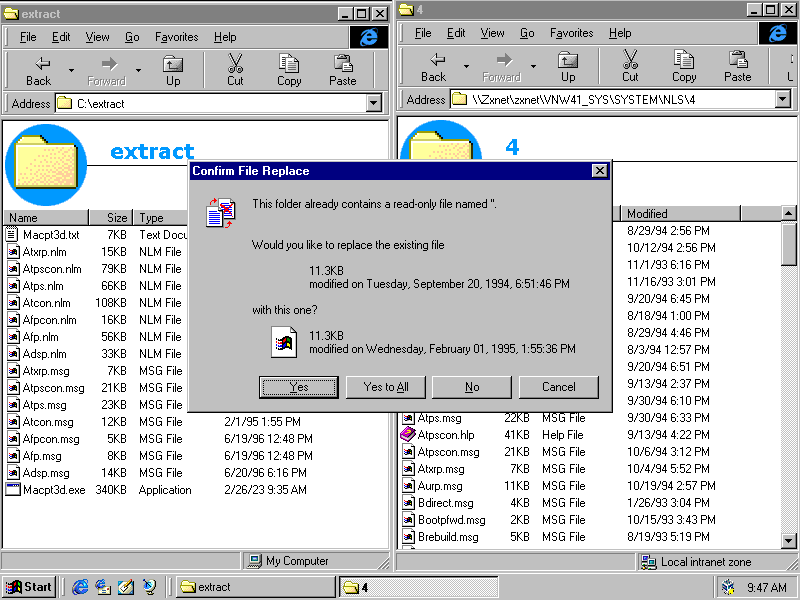
Overwriting any files that are older.
Then open up SYS:\SYSTEM\NLS\4 and then, if you want to, backup the .MSG files that are being replaced.
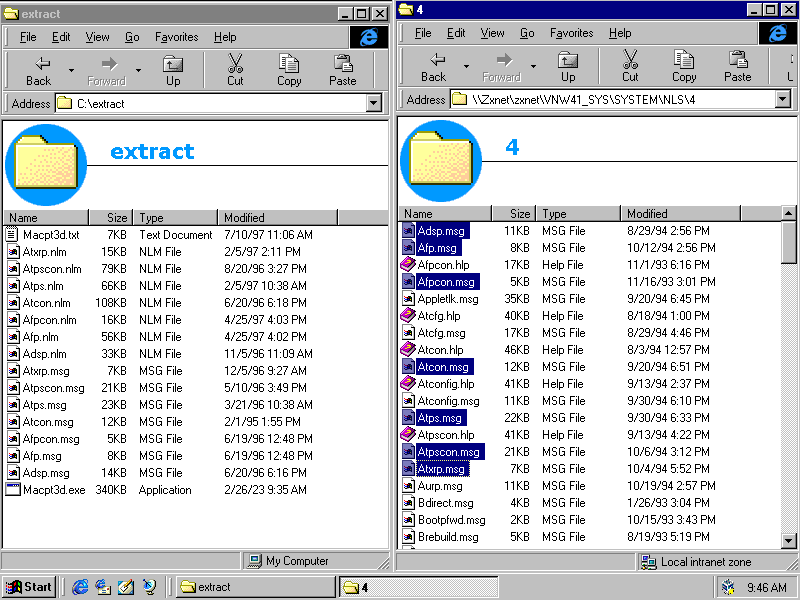
Then copy over the new .MSG files
Replacing any files that already exist and are older.
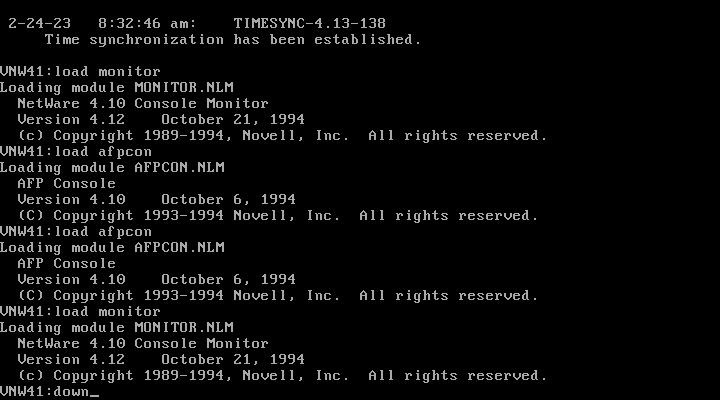
Then from the server console, DOWN the server, EXIT back to DOS, then reboot the server.
With that, NetWare for Macintosh should be fully installed and up-to-date. From here you can Play around with MacNDS and the NetWare 4.10 Mac Client bits (really requires AppleShare 3.50 or older), or Install the newer NetWare Client for MacOS which is fine all the way up to macOS 8.5 (and perhaps higher), or you can go back to NetWare 4.10 Next Steps
Disclaimer & Comments
I'm not a netware expert, don't have any of those fancy novell certifications and have never administred a netware network; I've just played with it at home occasionally since 2004 or so. Email me if you've got any suggestions or corrections for this page or any extra information you think is worth including here. My address is david at this websites domain name (without the www bit of course).