Installing NetWare NFS 2.1 - NetWare 4 Edition!
This page covers installing NetWare NFS Sevices v2.1 (NetWare 4 Edition)
Note that NetWare NFS is a paid-for add-on product. It doesn't come with NetWare and it was never made available as a free download. If you don't already have a copy you might be able to find one on ebay.
Contents
- Tools
- Configuring TCP/IP
- Installing NFS Services 2.1
- Configuration: Mapping Users and Groups
- Configuration: NFS Server
- Configuration: NFS Gateway
- Configuration: FTP Server
- Configuration: X Console
- Patching
Tools
Things you'll need to follow along:
- A VM with NetWare 4.10 (4.11 should work but the process may be different due to required patches)
- NIS and DNS servers setup on your network
- A copy of NetWare NFS 2.1 (it comes on a set of six floppy disks with the first one being serialised)
If you don't already have these services on your LAN, NetWare NFS can provide both but setting up and configuring those won't be configured here as I'm going to be using my existing linux-hosted NIS and DNS servers. I also won't be covering UNIX printing here as I've already got that setup on my NetWare 4.11 server.
To get the most out of NetWare NFS you'll also want a copy of the Novell NetWare NFS Concepts Guide which should have come in the box with your copy of NetWare NFS. It convers how to configure and operate the thing as well as the various things you can and can't do.
Configuring TCP/IP
NFS runs over TCP/IP. I've not had any need for TCP/IP on my NetWare 4.10 server so far so the first step is to configure that. If your NetWare server already has TCP/IP configured, you can skip ahead to Installing NFS Services 2.1.
Run load inetcfg

Choose Protocols
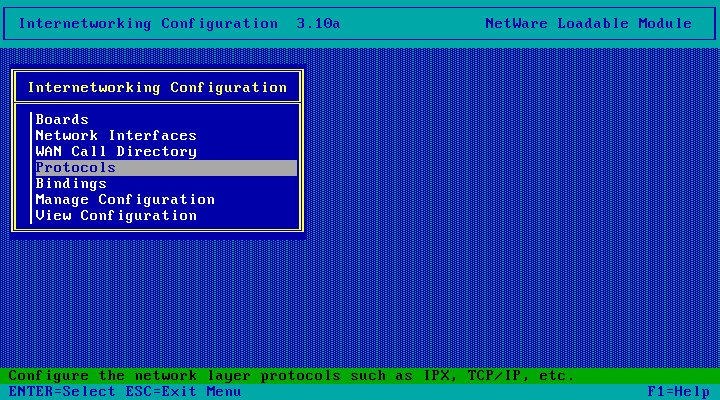
Choose TCP/IP
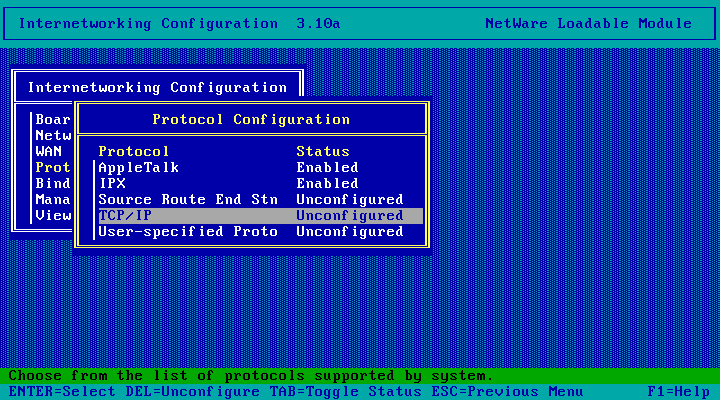
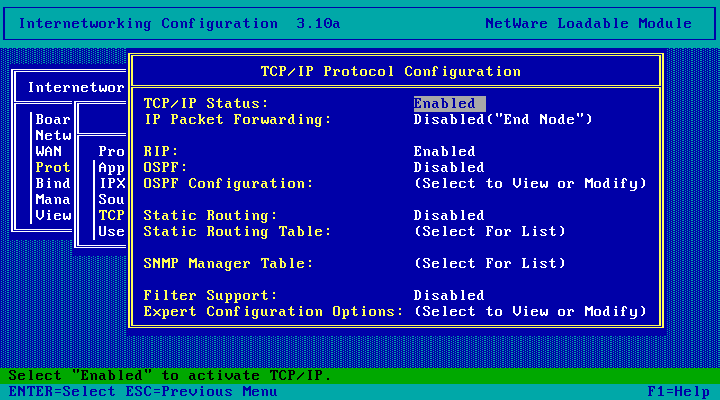
And it has been enabled! The default settings here are all fine - this NetWare server isn't going to be acting as an IP router at all. Hit Esc to continue.
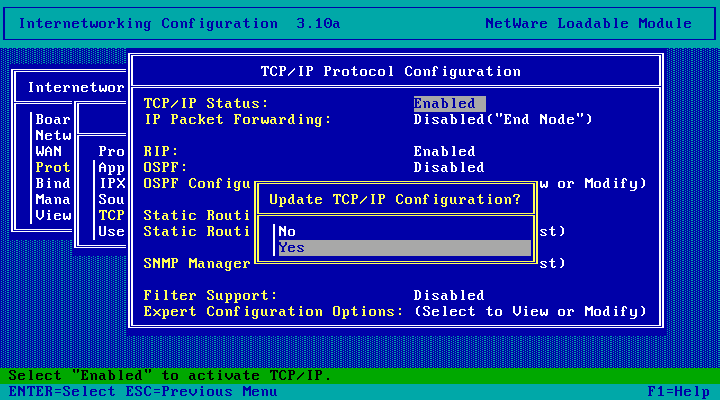
Choose Yes
Hit Esc.

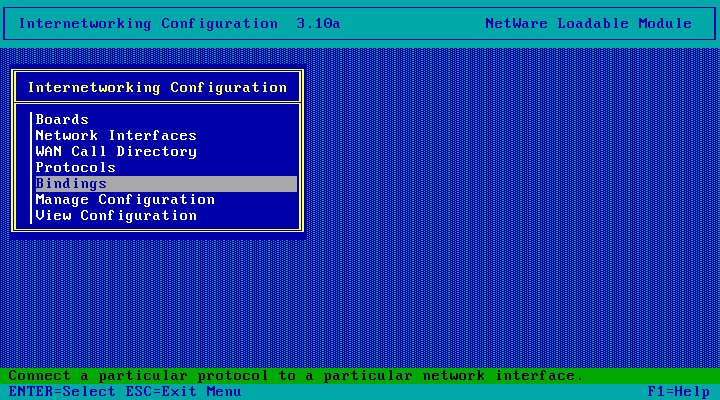
Choose Bindings
Press the Insert key
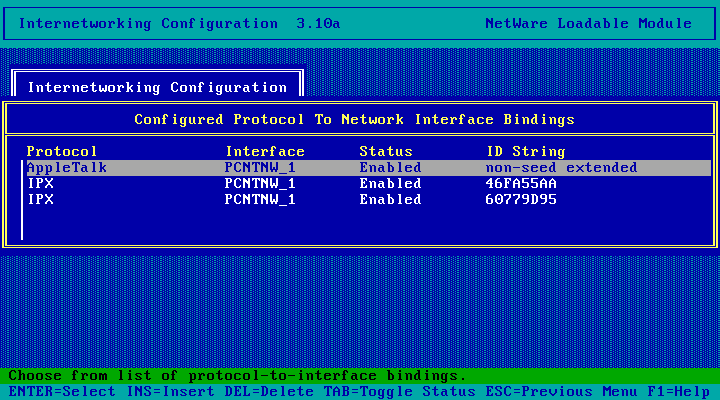
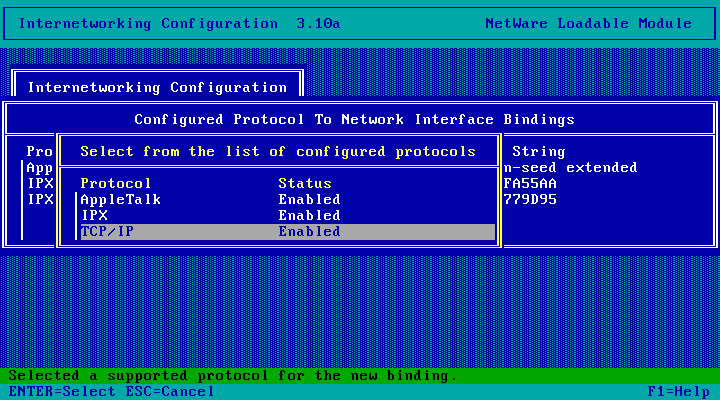
Choose TCP/IP
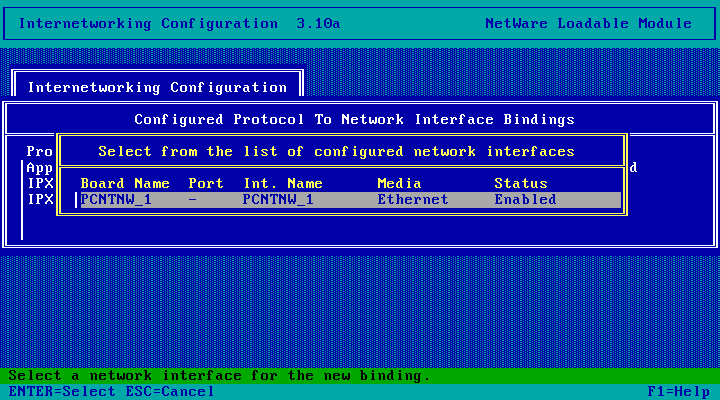
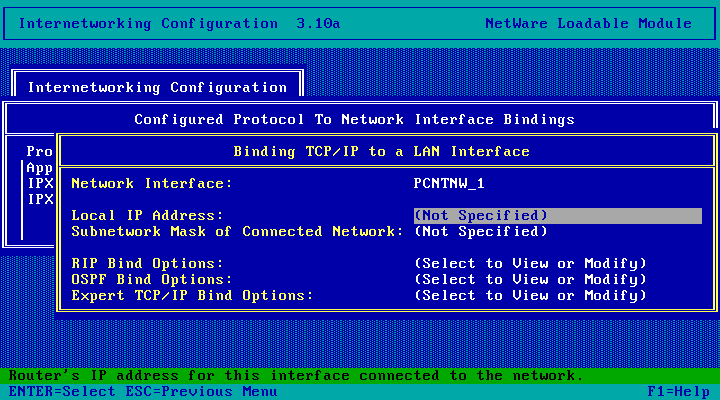
Select the network interface you want to run TCP/IP on (my server only has one)
Choose Local IP Address
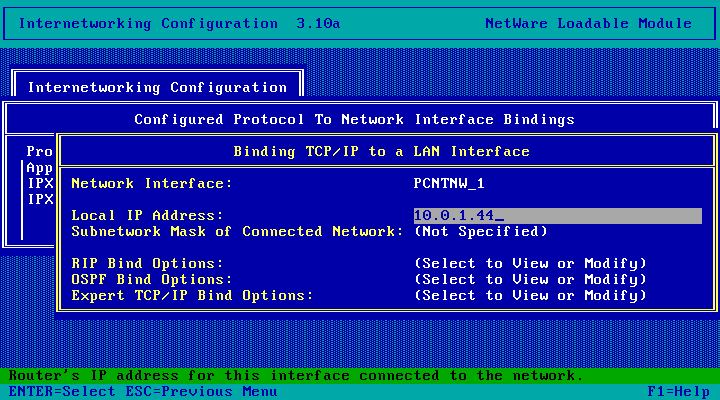
And and enter a satic IP address for your server. Make sure its something outside the dynamic allocation range configured on your DHCP server.
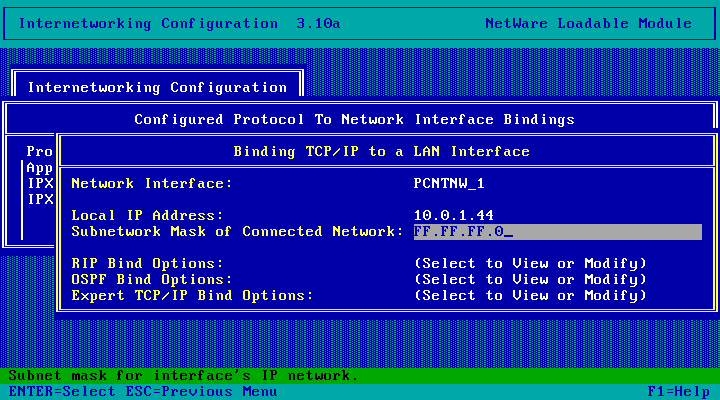
Then enter the appropriate subnet mask for your network. The value FF.FF.FF.0 should be equivalent to 255.255.255.0 - I'm not sure if NetWare
requires you to enter the subnet mask in hex here but the default value was hex so I've stuck with it.
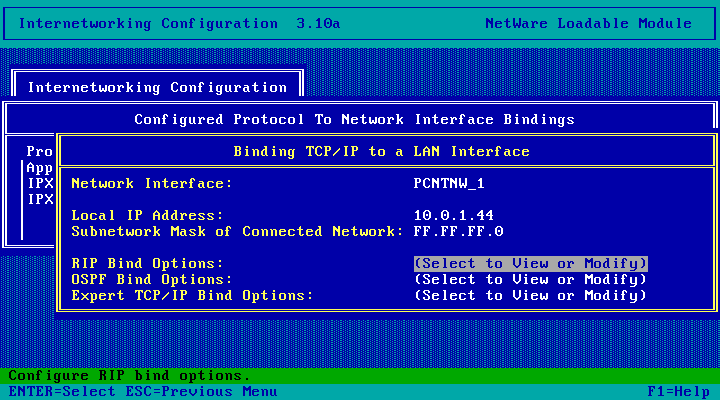
Nothing else here should need configuring so hit Esc to continue.
Choose Yes
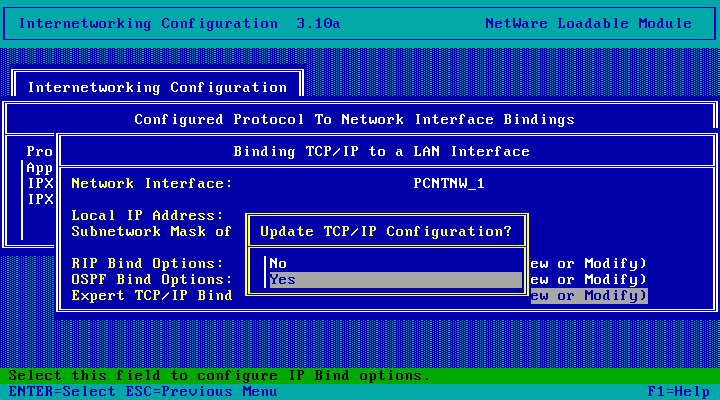
Hit Esc to continue.
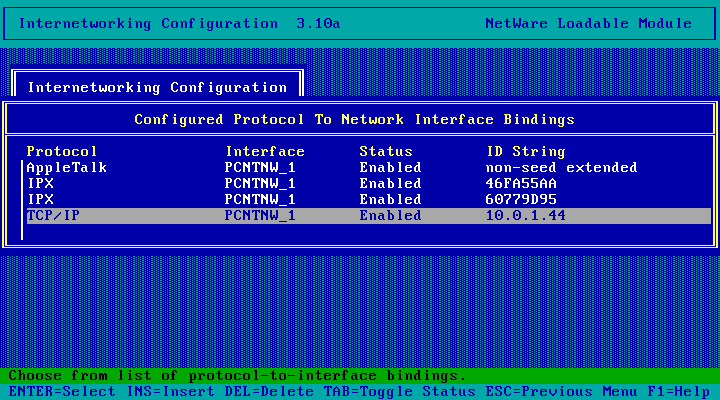
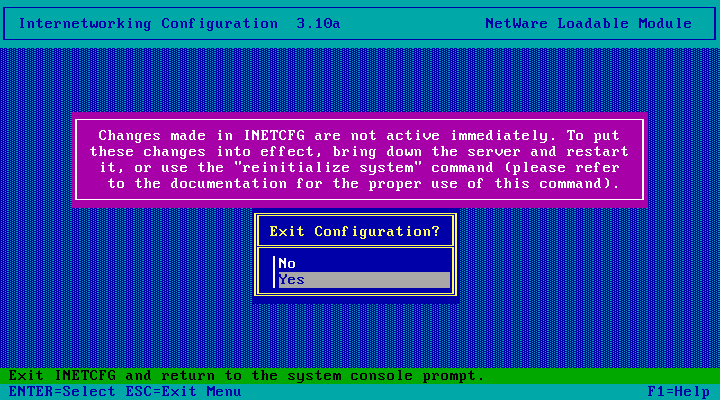
And hit Esc again to exit inetcfg - there is nothing more we need to do here.

Choose Yes to exit. We're going to have to reboot the server next to get the updated TCP/IP config.
down the server

then exit to DOS and reboot the server.
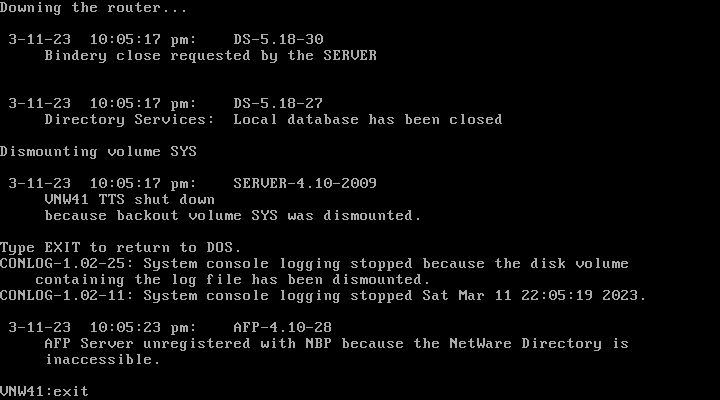
And we're back!
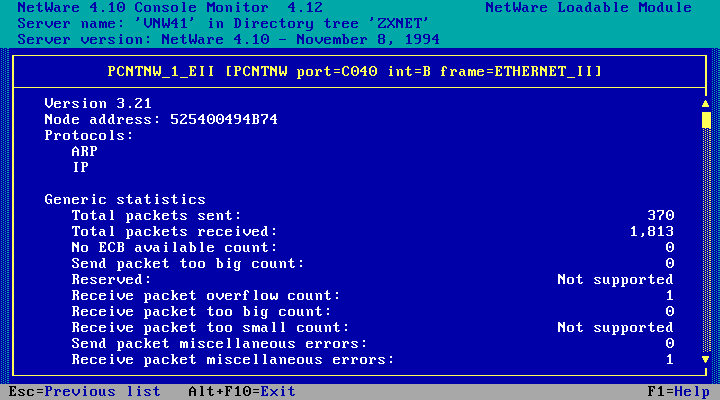
And monitor.nlm shows we're running IP on the Ethernet_II interface. TCP/IP config done!
Installing NFS Services 2.1
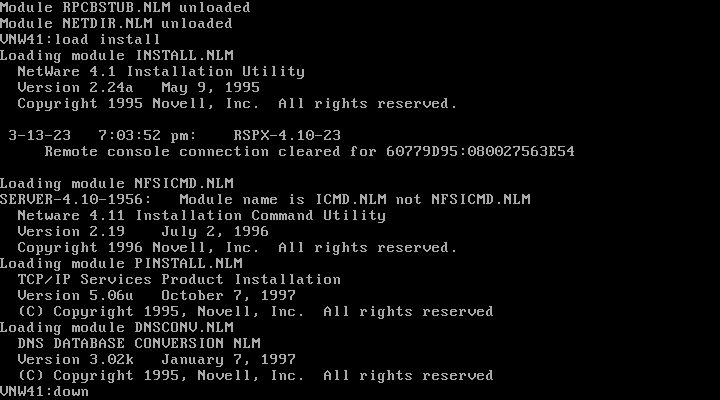
At the server console, run load install
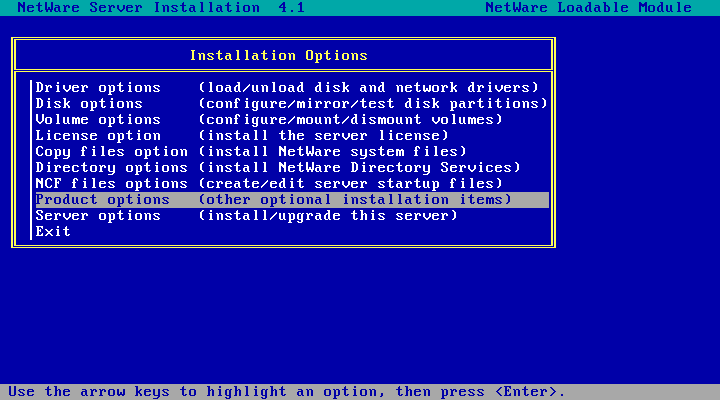
Choose Product Options
Choose Install a product not listed

Insert NetWare NFS Services 2.1 Disk 1 and hit enter to continue.

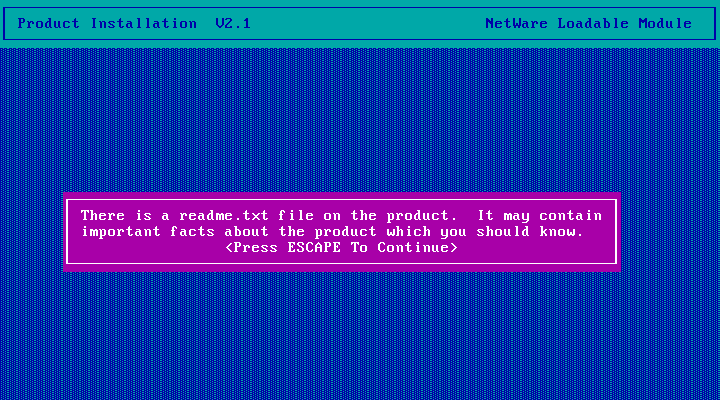
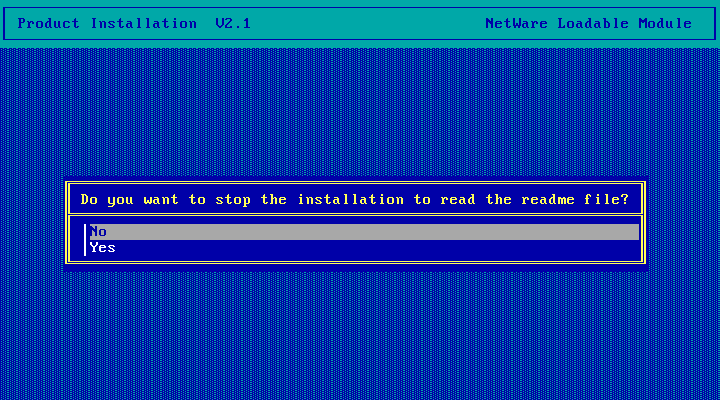
Hit escape if you get this.
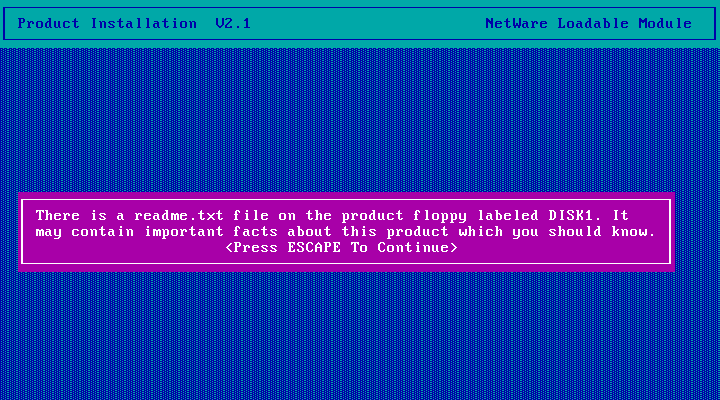
If you want you can cancel, go read the readme.txt, then come back. Or you can just choose No to continue. There is some stuff in that file you should
probably be aware of but in my version (disk revision C) nothing that is important to know right at this moment.

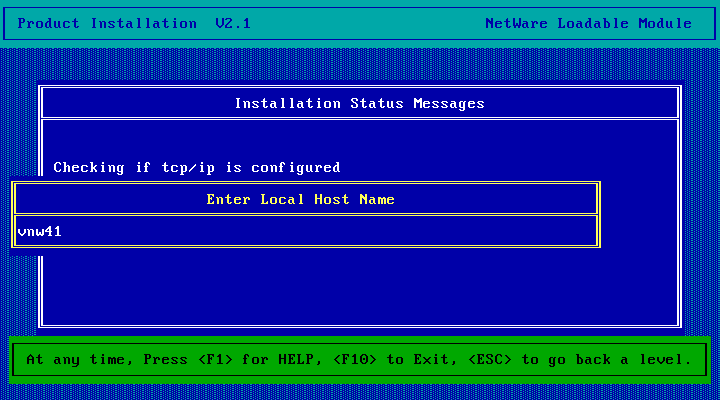
Enter a local hostname. The default (the netware server name) is probably fine.
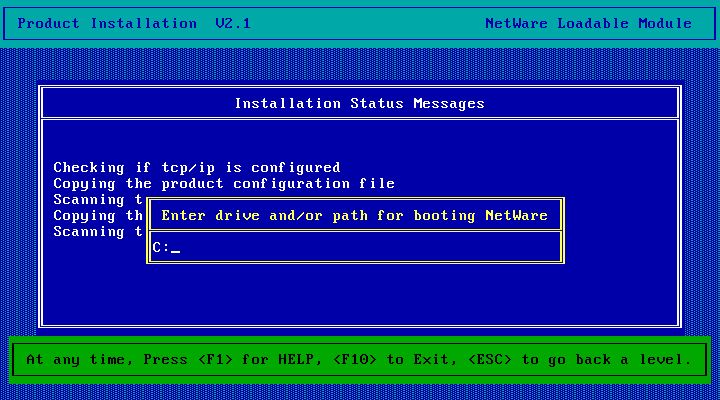
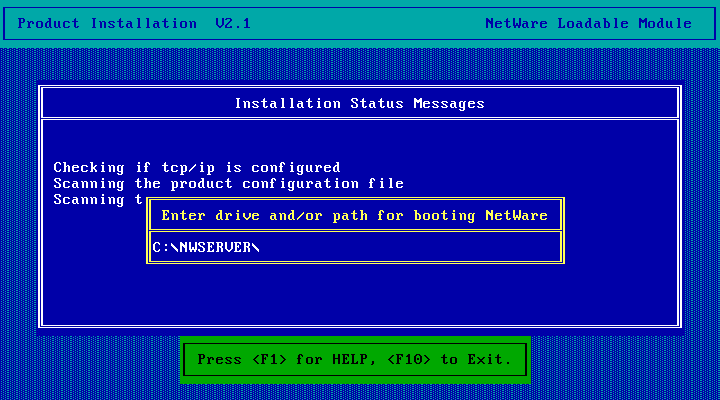
A file or two is copied, then you're asked for the location where SERVER.EXE lives. It defaults to C: but as the help (F1) explains
you really need to enter the full path to SERVER.EXE (which, by default, would be C:\NWSERVER\)
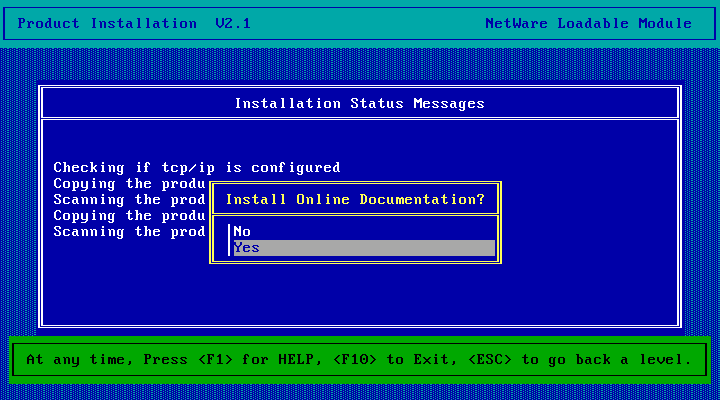
Choose Yes to install the online documentation.
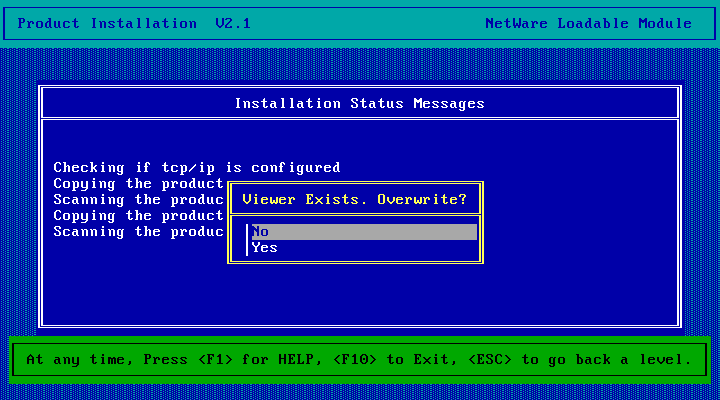
Choose No - don't overwrite the viewer, the version of dynatext that shipped on the NetWare 4.1 documentation CD should be fine.
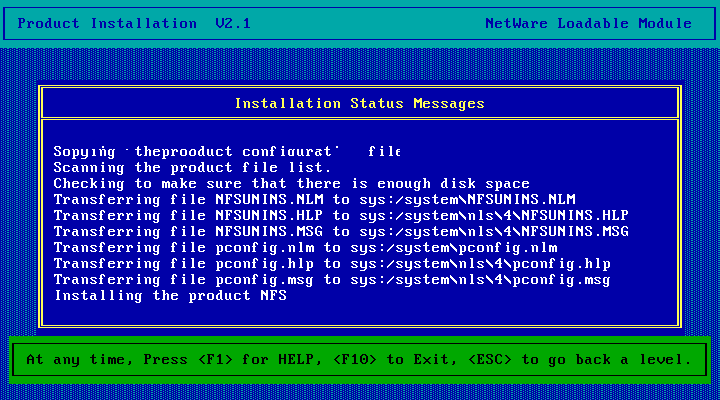
Files are copied...
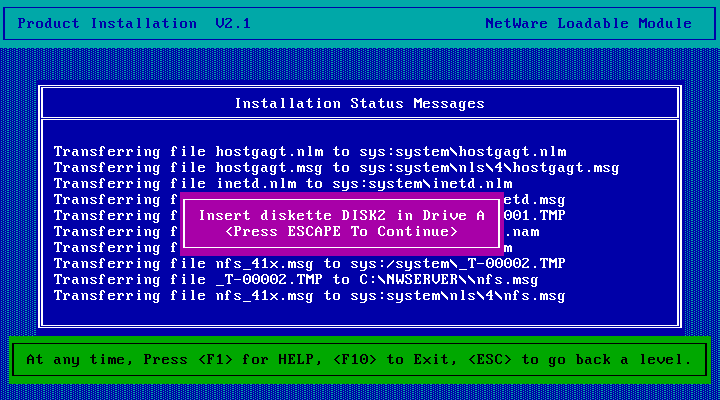
Then you get to insert Disk 2. Insert the disk and hit escape to continue.
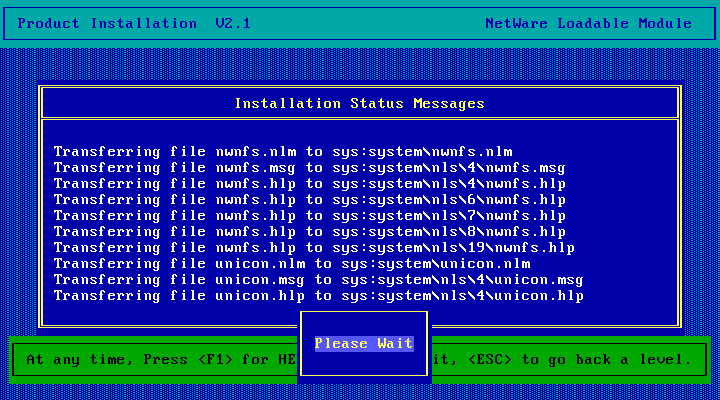
More files are copied...
Time for disk 3...
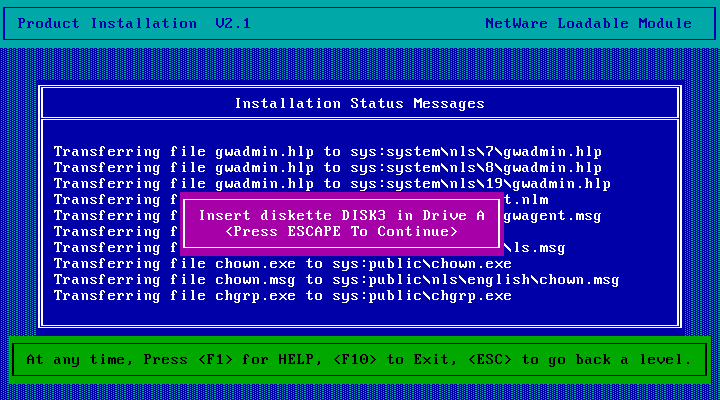
More file copying...
Disk 4...
More file copying...
Disk 5...
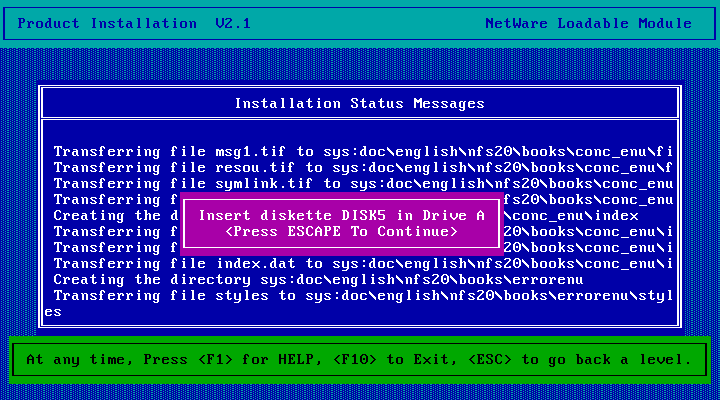
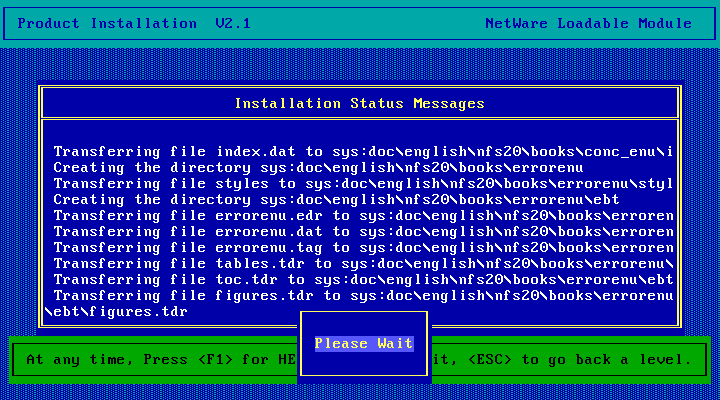
Copying...
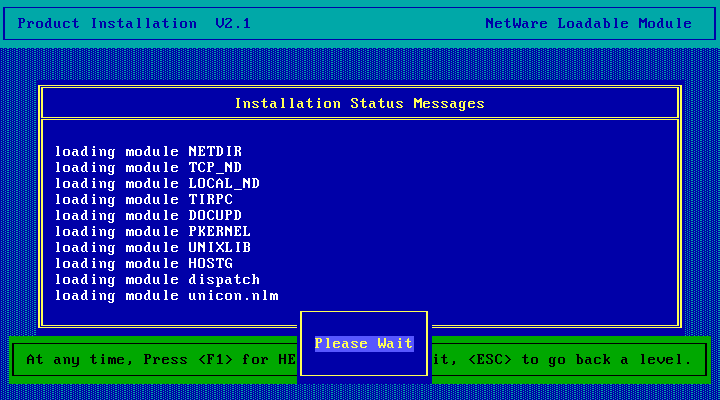
Then a bunch of modules get loaded. You might see a product kernel screen or two flash up briefly.
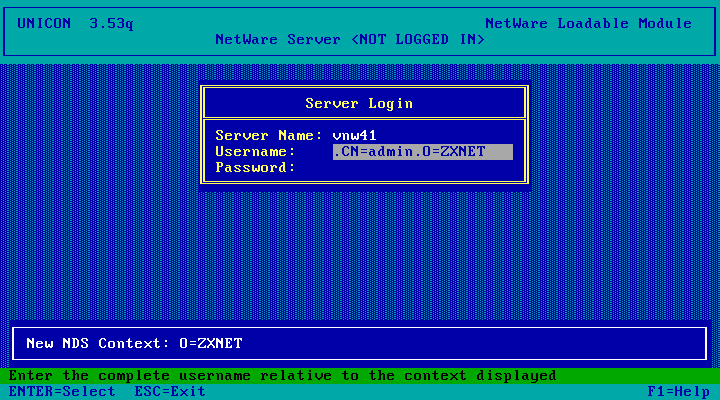
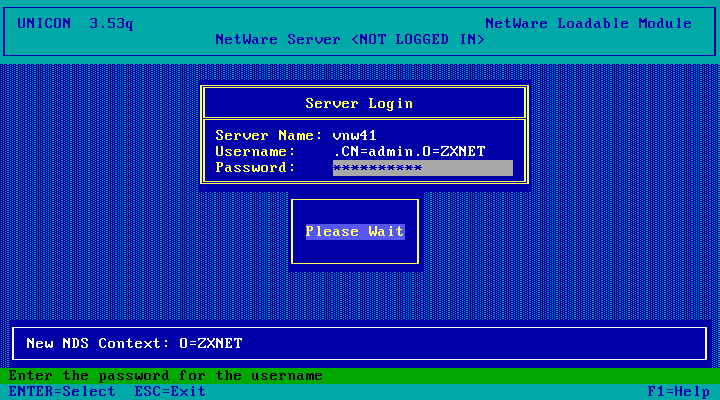
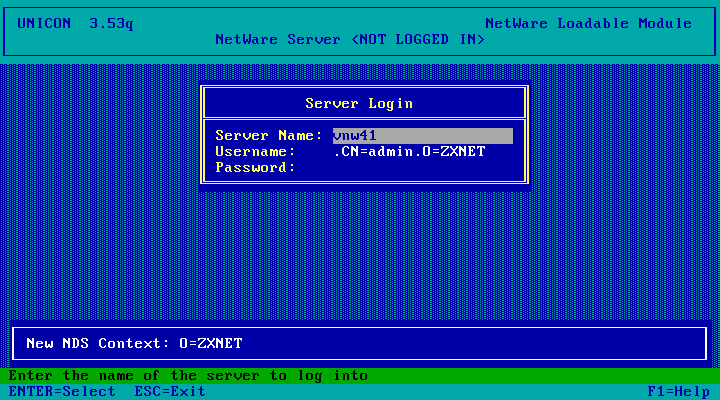
Then Unicon is launched. Here you need to login to NDS as an administrator.
Wait a bit...
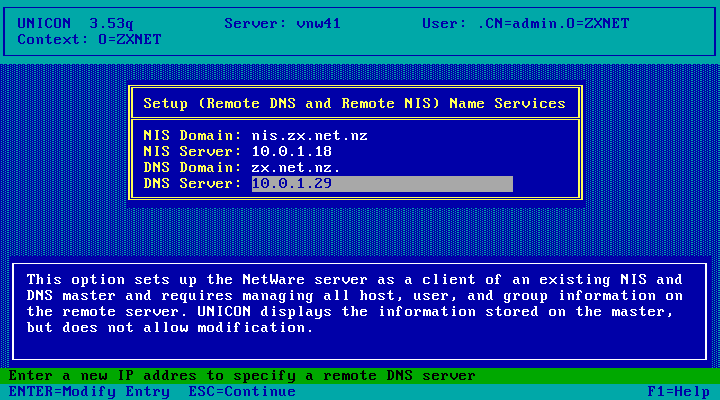
Here I am choosing Remote DNS and Remote NIS as I already have both services running on Linux servers. The rest of this process will look somewhat different if you choose to run
NIS and DNS services on NetWare (the Local option)
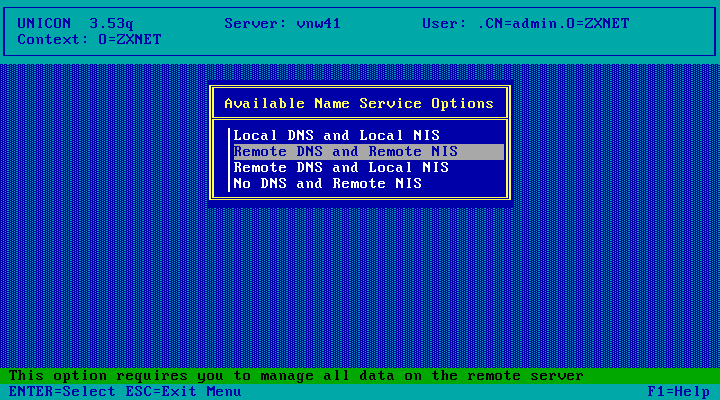
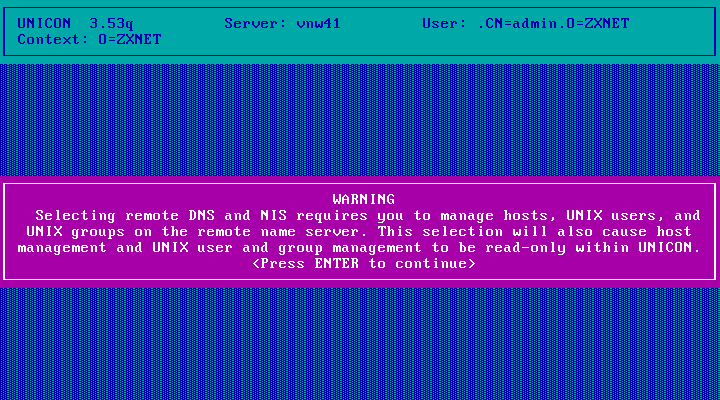
Press Enter to continue.
All the values default to the local netware server. Change them to point to your NIS and DNS servers. When I entered my NIS Domain the NIS Server IP was resolved automatically.
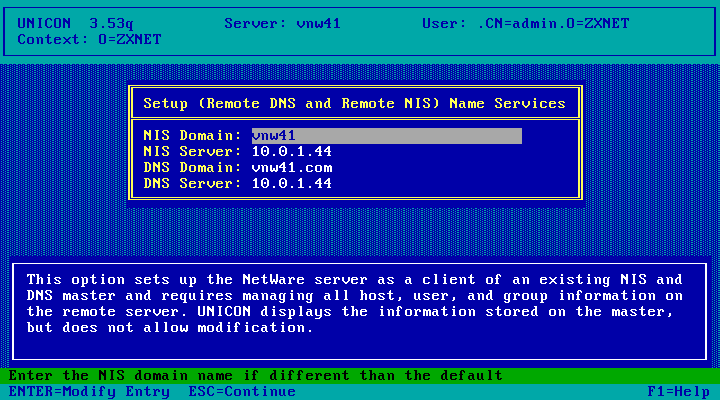
And when I entered my DNS domain I got this error - just hit enter.

When everything is confgiured, hit Esc to continue.
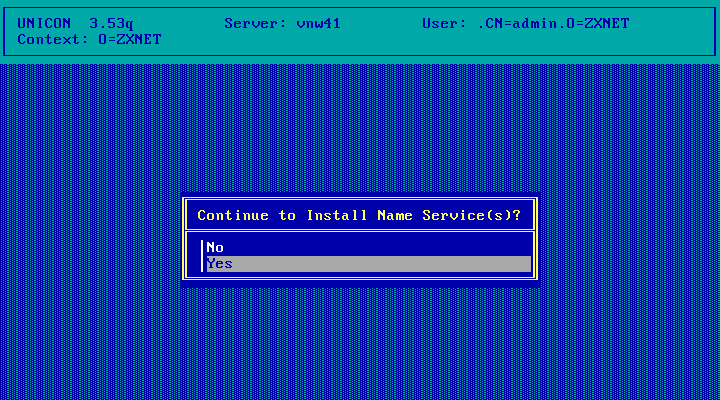
Choose Yes.
Wait a moment...
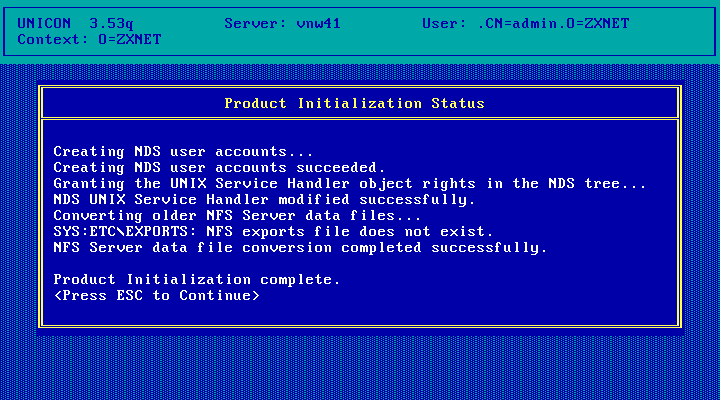
Hit Esc to continue.
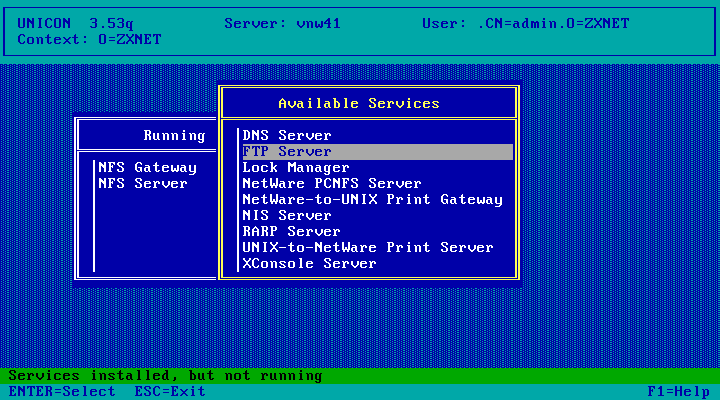
Here we get an opportunity to start services. But all the services we might be interested in starting (FTP Server, NFS Server, NFS Gateway) require configuration first. So just hit Esc here to exit.
Hit esc to continue
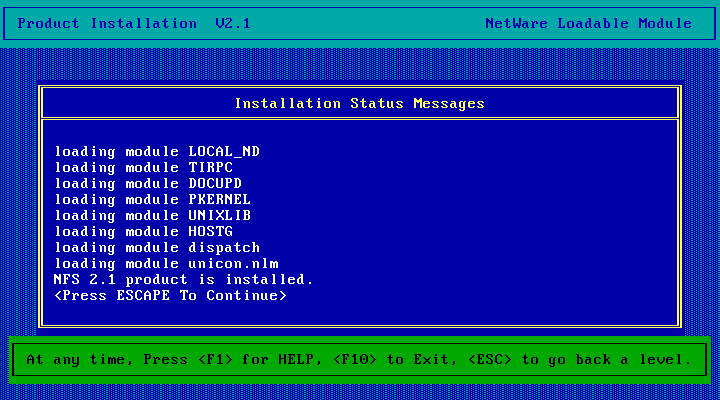
Install complete!

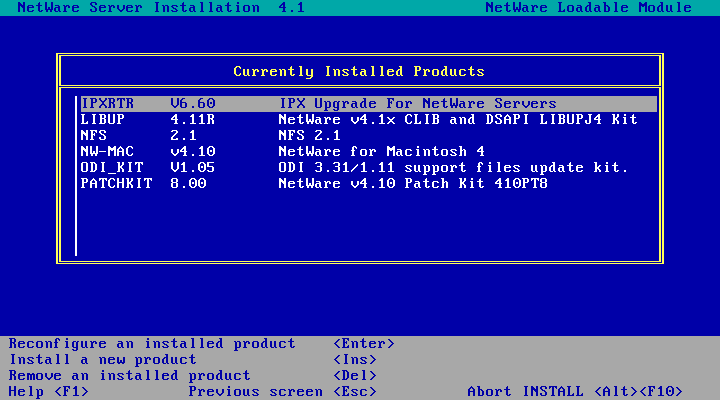
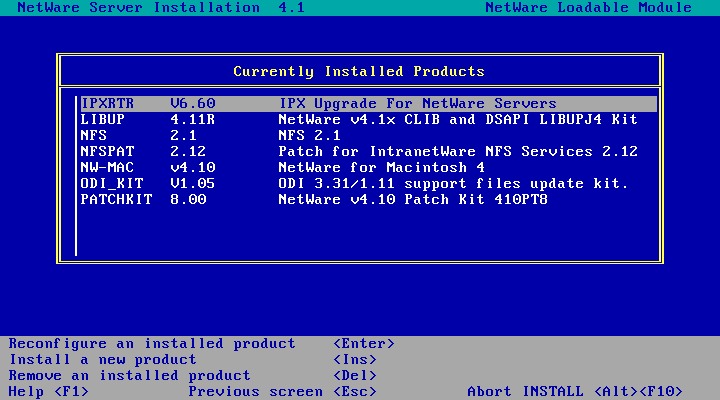
The View/Configure/Remove installed products option says so.
Hit esc 2-3 times and choose Yes to exit install.
Configuration: Mapping Users and Groups
This section covers configuring NFS Services to use Remote NIS and DNS servers. If you're using the local NetWare NIS and/or DNS servers consult chapter 4 of NetWare NFS* Services Planning and Installation Guide for details on configuring those services.
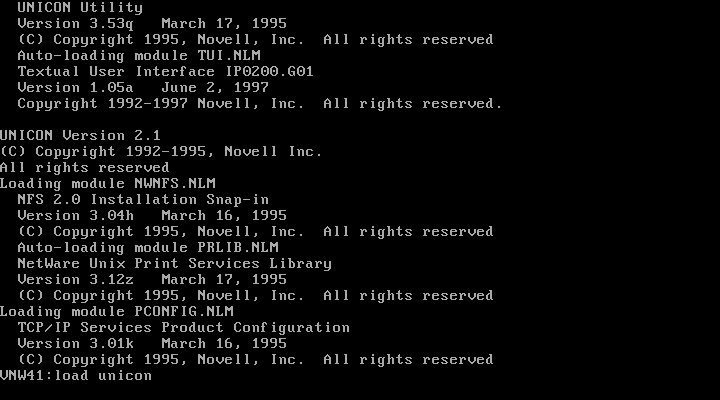
At the NetWare Server Console, run load unicon
Login to NDS as the admin user
Wait a few moments while you're logged in...

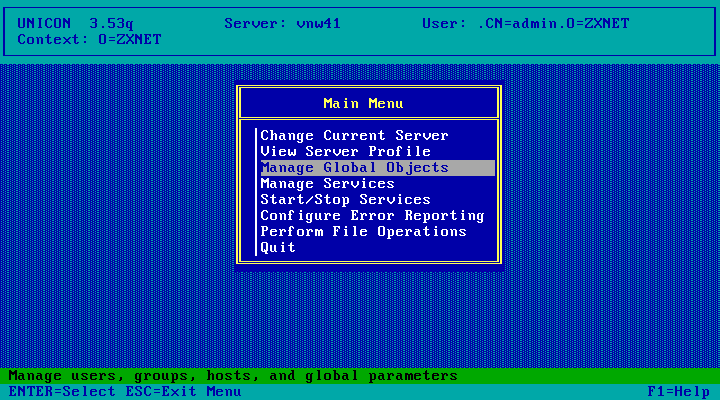
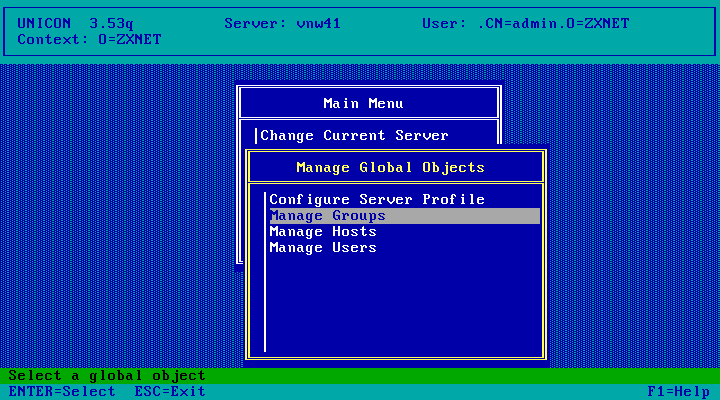
Choose Manage Global Objects
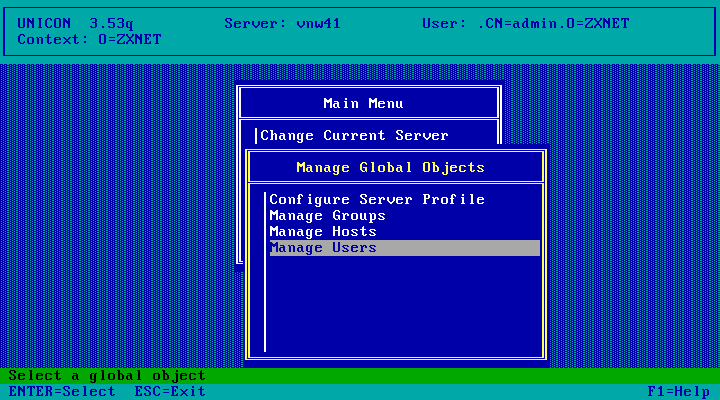
Choose Manage Users
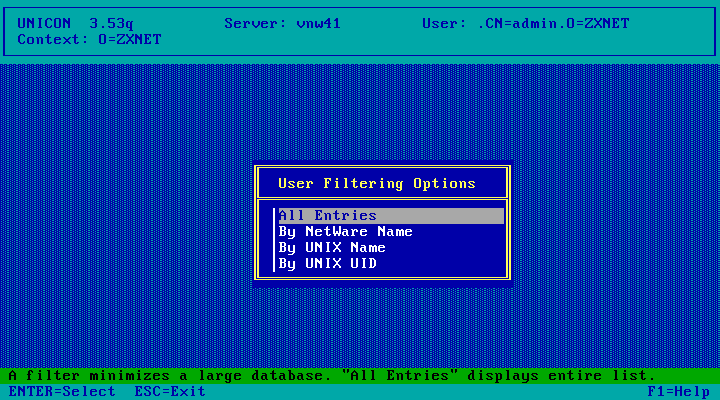
Choose All Entries<
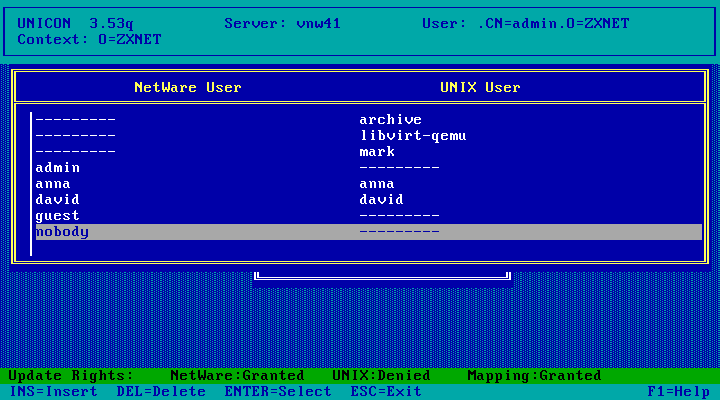
Here we've got to map UNIX users to NetWare users. An asterisk next to a UNIX user account means that user has been
matched to a NetWare user account. If you have users with different user account names on NetWare and the NIS server,
see the NetWare NFS Services Concepts Guide for instructions on how to map these users.
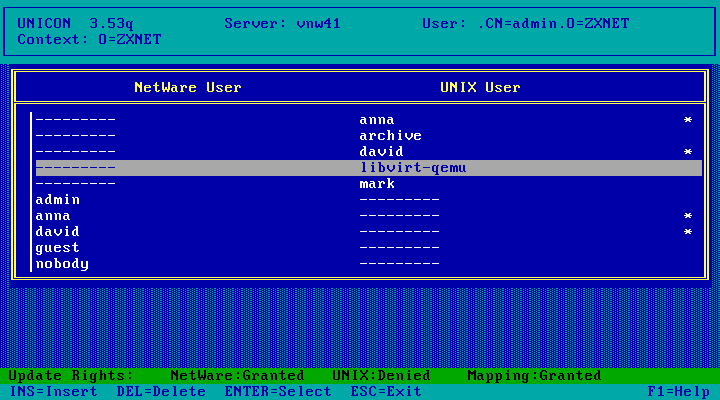
Mark all accounts using Shift+F7 then unmark NetWare accounts (users with entries only in the left column) with the F5 key along with any UNIX users (in the right column)
you don't want to import into NetWare. Yellow=marked, white=not marked. Below I've only got the UNIX users "david" and "anna" marked for conversion and all NetWare users
are unmarked (any that are marked will result in an error according to the manual). When done, hit enter.
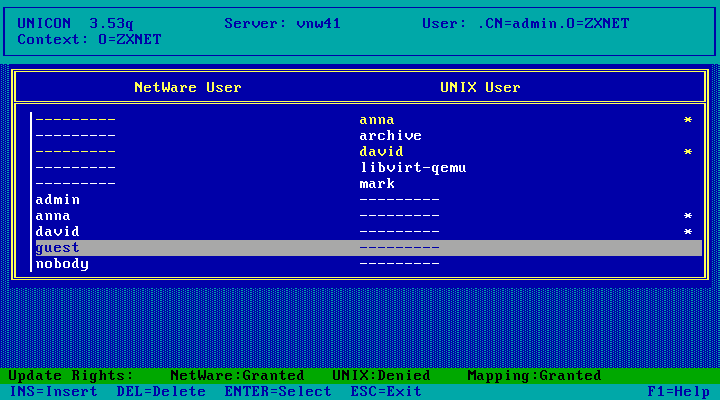
Choose Yes to convert UNIX user information to NetWare
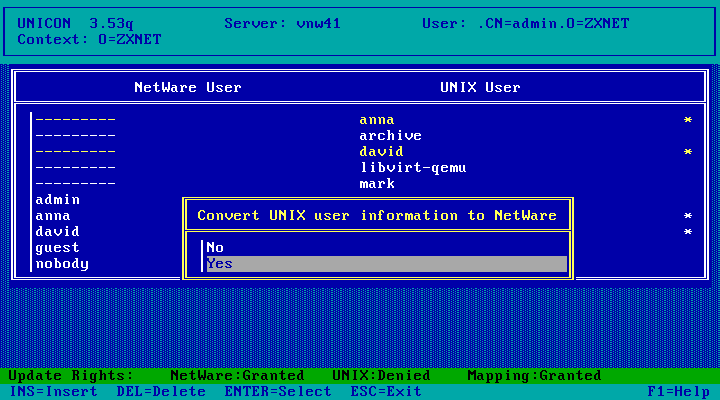
Choose Yes

Choose Yes unless you want to enter a unique password for each user account imported. You'll then be prompted twice for a default password to give any new user accounts that get created.
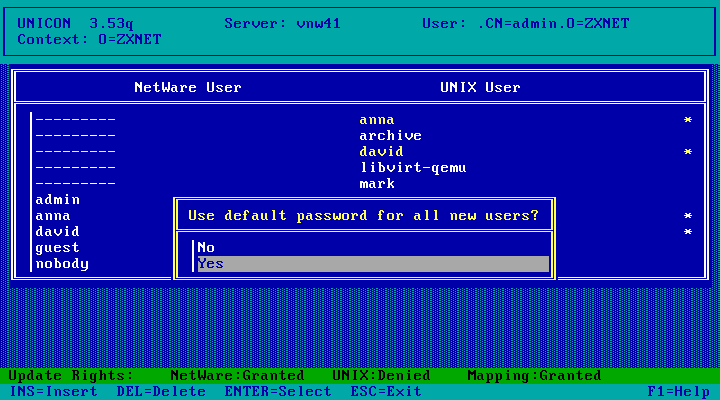
We get a list of users it had successfully mapped - the two we had selected from earlier

Users mapped! Hit Esc twice to exit.
Now choose Manage Groups to import/map UNIX groups.
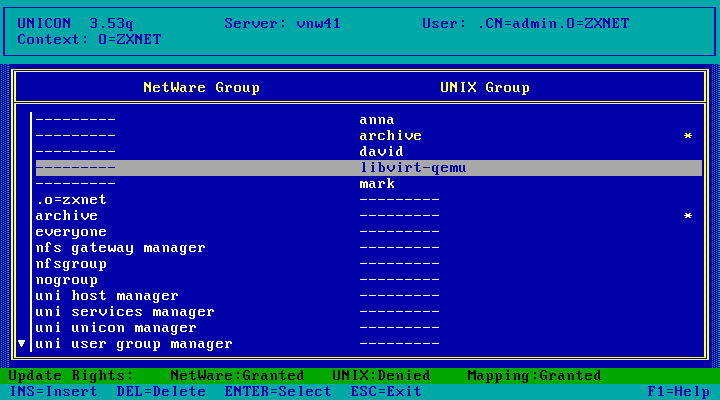
Choose All Entries

And the situation here is much the same as for mapping Users. Press Shift+F7 to mark everything, then use F5 to unmark
all the NetWare groups (entries with values only on the left) plus any UNIX groups (entries with values only on the right)
that you don't want to import. Selected UNIX groups with an asterisk will be matched up with an existing NetWare group of
the same name while new NetWare groups will be created for UNIX groups without an asterisk.
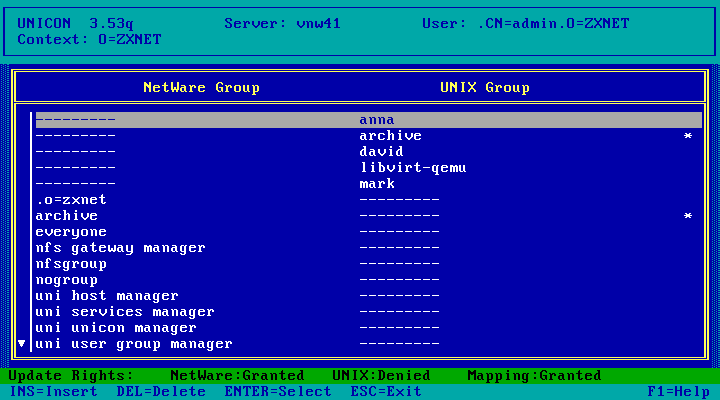
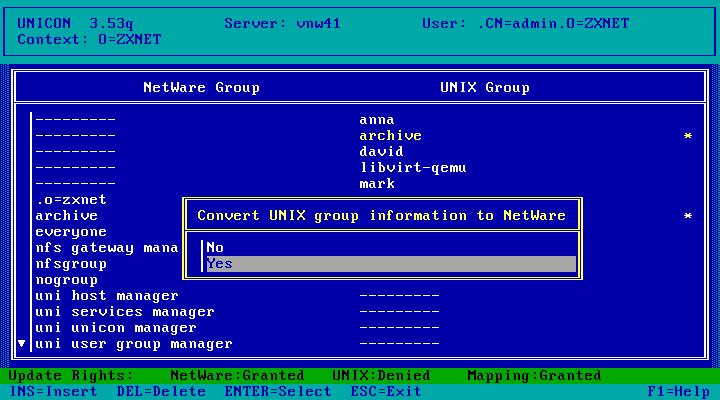
When done making selections, hit enter. I'm only mapping the "archive" group which already has a matching NetWare group.
Choose Yes to convert UNIX groups.
Done! Hit Esc.
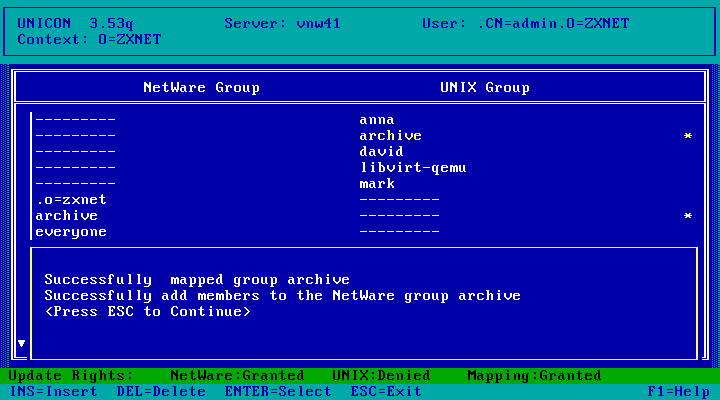
Groups mapped and/or created! Hit Esc three times to get back to the Main Menu, then
exit UNICON.
Configuration: NFS Server
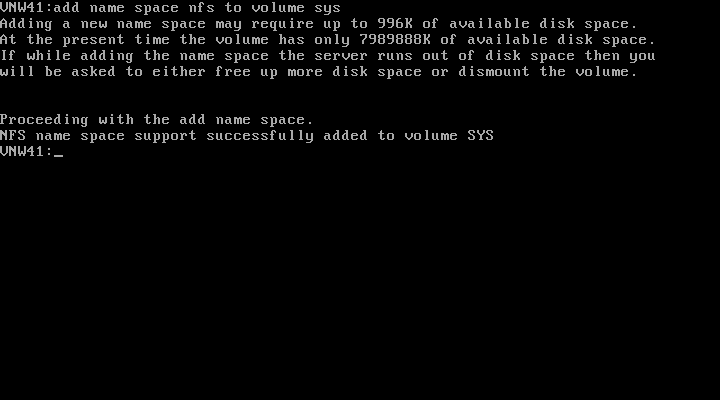
At the server console, run add name space nfs to volume SYS
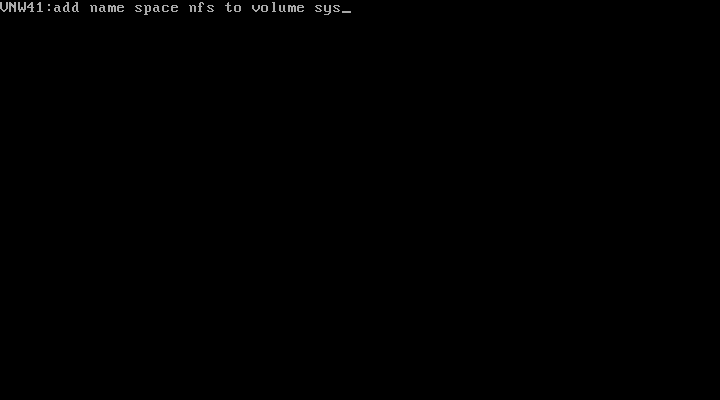
And the NFS namespace will be added! It may take a little while. Repeat this
process for any other volumes you want to export via NFS.
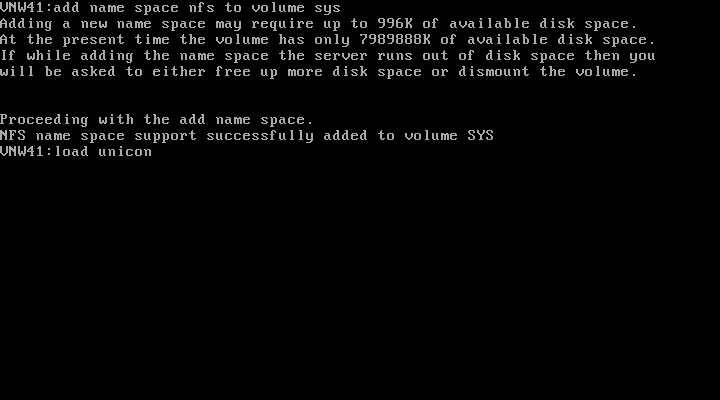
At the server console, run load unicon
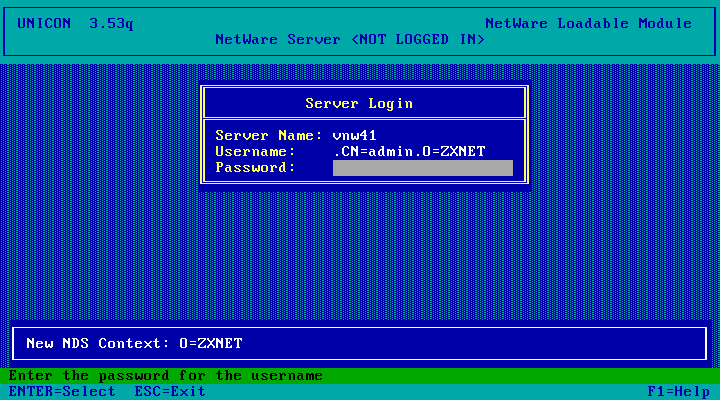
Login to NDS as the admin user
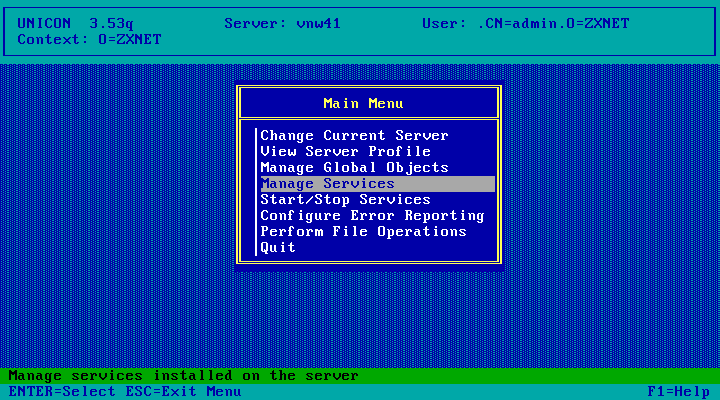
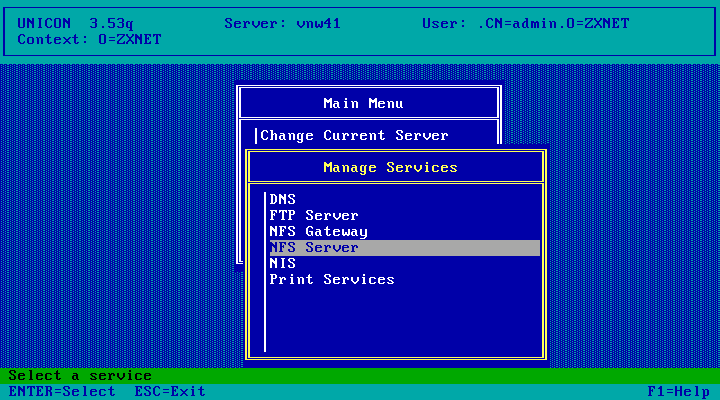
Select Manage Services
Choose NFS Server
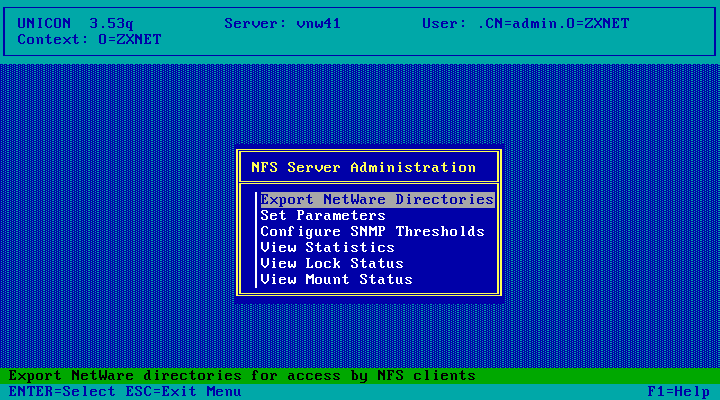
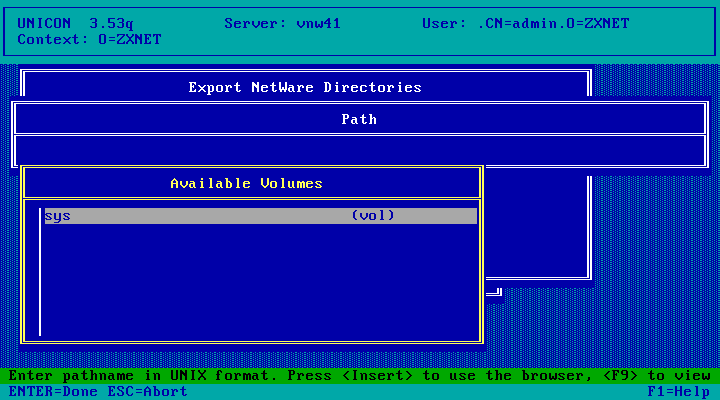
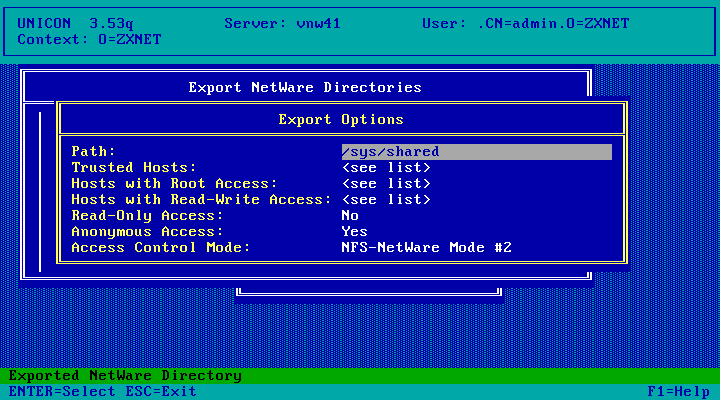
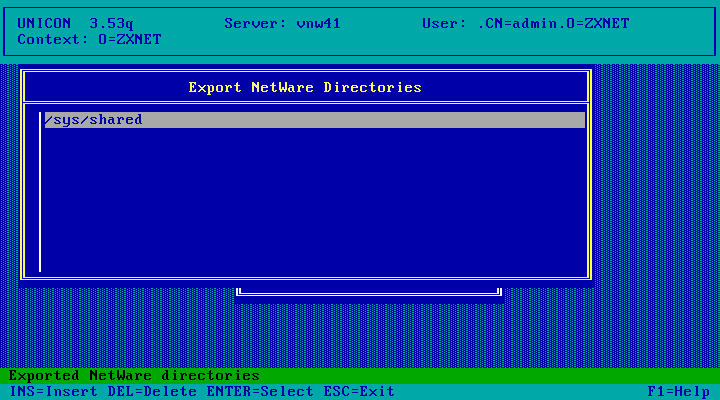
Choose Export NetWare Directories
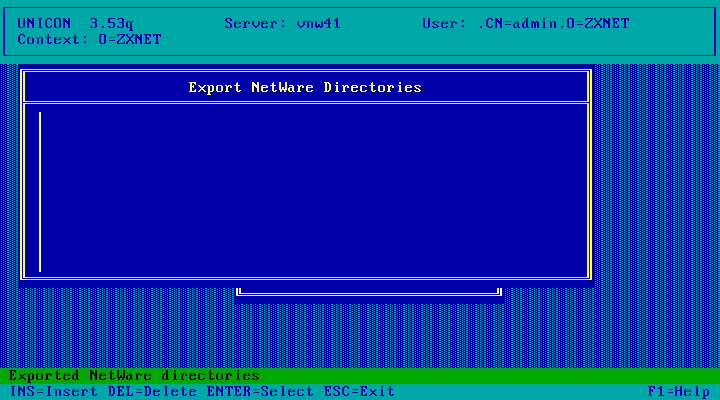
Press the Insert key to add a directory to export.
Press the Insert key again to get a browser.
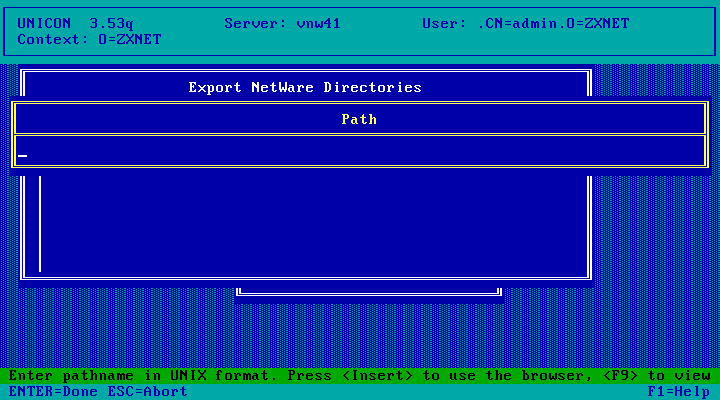
Select a volume. Only volumes with the NFS namespace added will be shown.
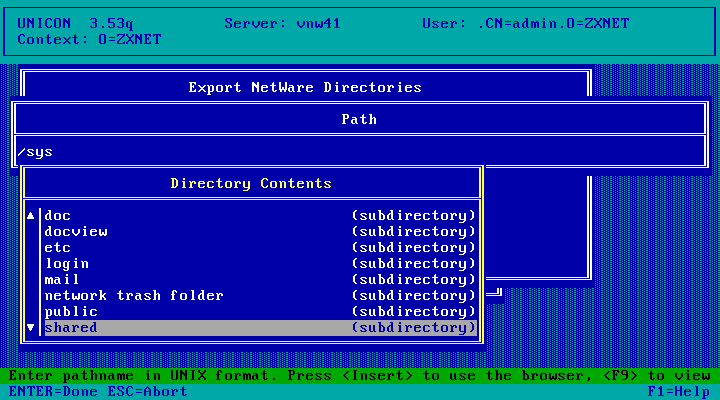
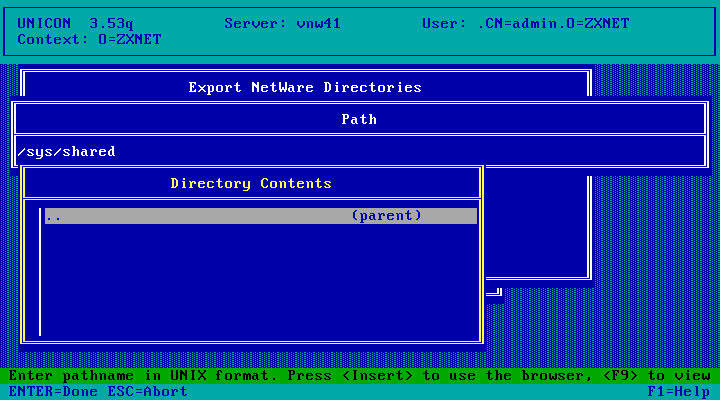
Then navigate into the directory you want to export
Then hit Esc.
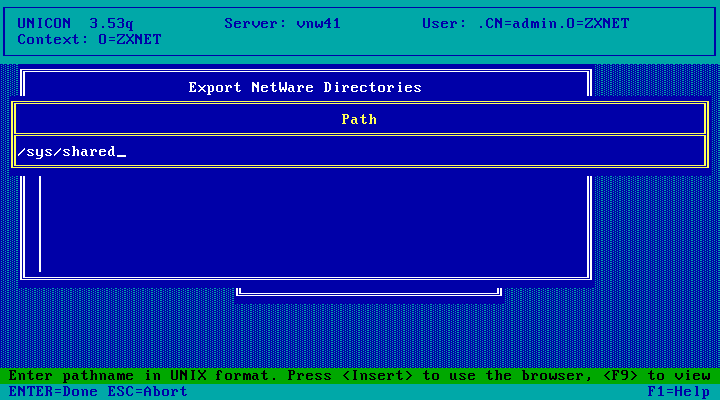
And you'll see the directory you selected as a UNIX-style path. Hit Enter to export it.
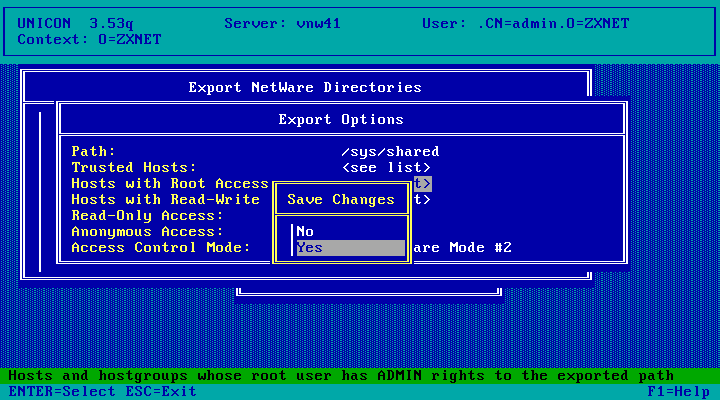
Here you can configure the security settings for the export. Chapter 6 of the
Administrators Guide ("Export Options Form") provided in electronic form (dynatext)
covers all of these options. At a minimum you'll need to add some hosts to the various hosts
lists here. The manual says leaving these blank should at least give read-only access to all
hosts but it didn't work for me.
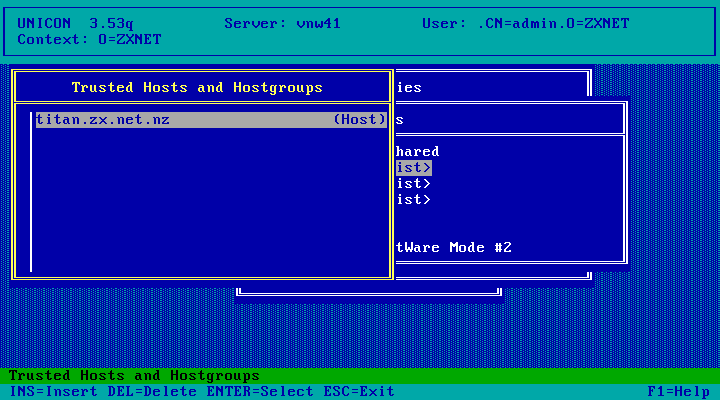
Select the Trusted Hosts entry and hit enter
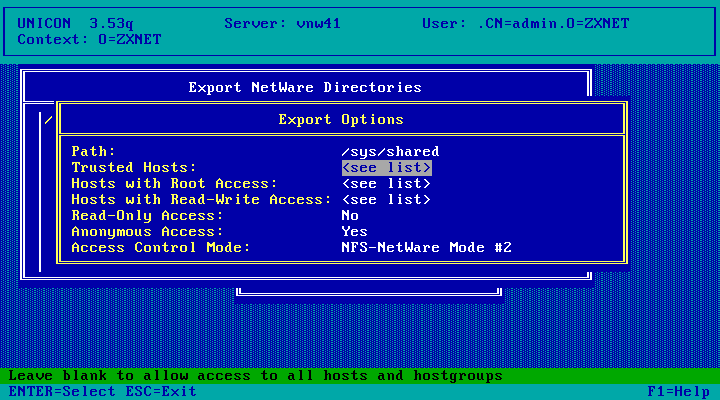
Hit the insert key to add an entry
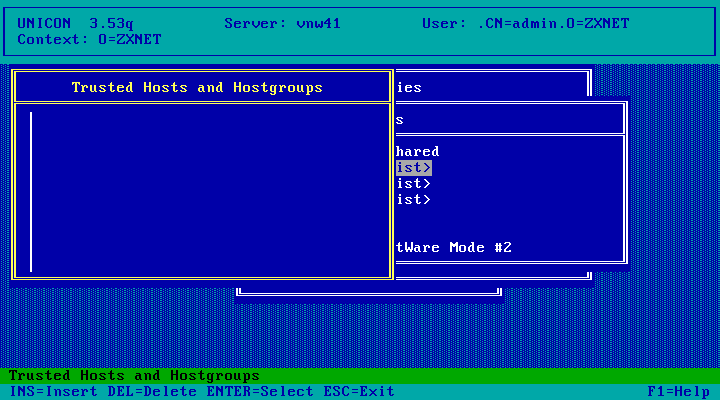
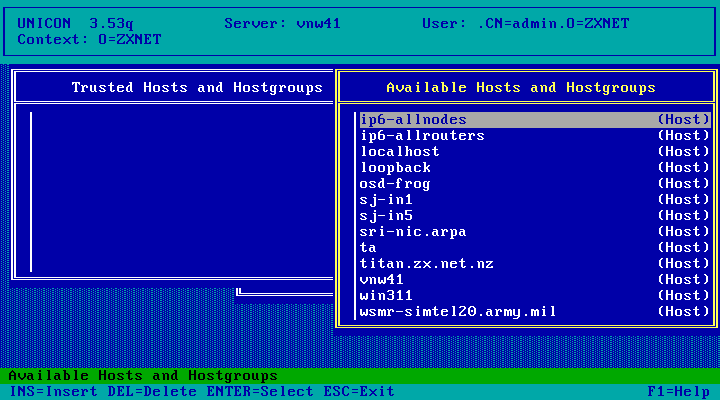
And pick a host. The list is populated with hosts from the local NetWare hosts file (SYS:\ETC\hosts),
as well as the list of hosts known to the configured NIS server (likely from that servers
hosts file).
Host added, hit Insert to add more and Esc when done. Do the same with the Hosts with Root Access
and Hosts with Read-Write Access as necessary. These two lists will only show hosts perviously
added to the Trusted Hosts list.
Choose Yes to save changes.
One directory exported! Hit Esc to exit.
Hit Esc twice more to get back to the Main Menu.
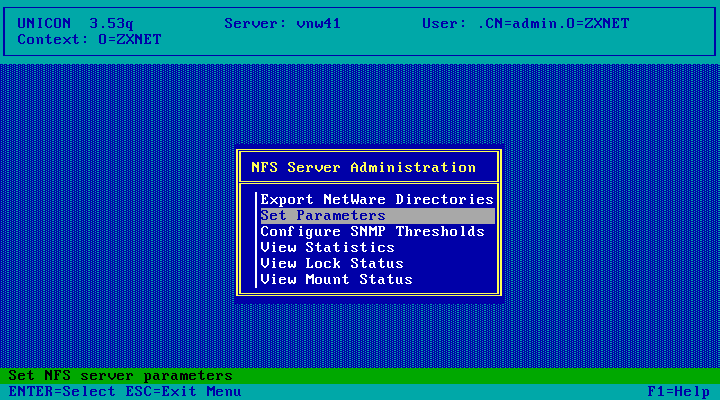
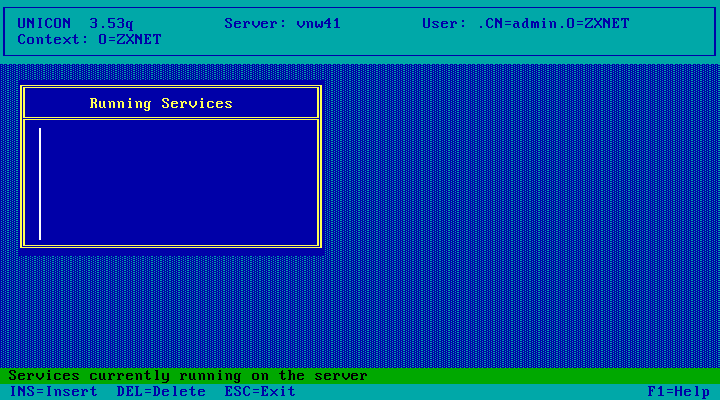
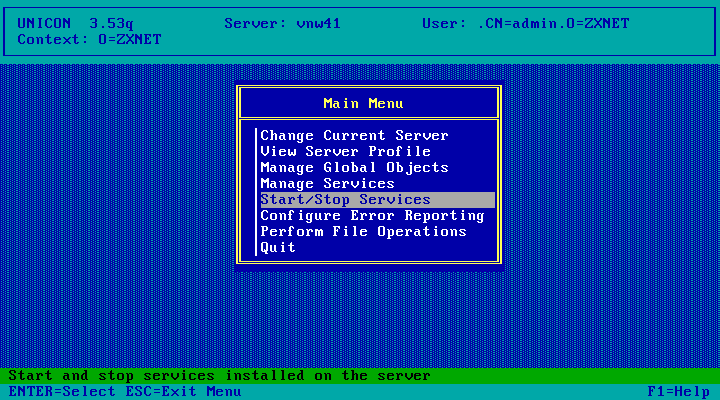
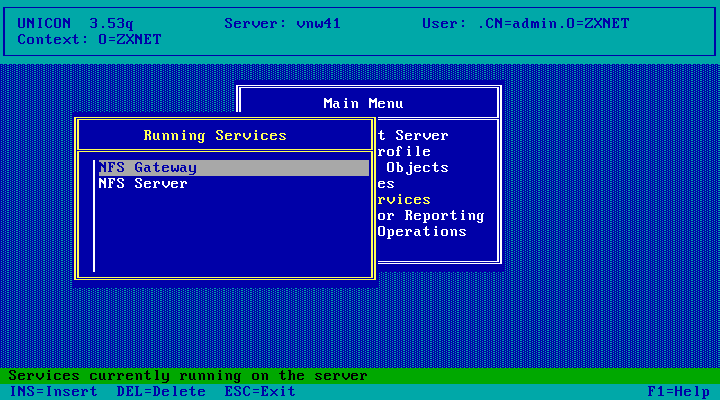
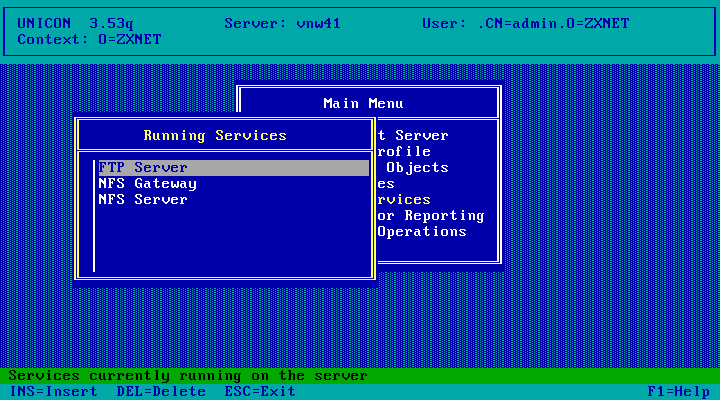
Choose Start/Stop Services

Press the insert key
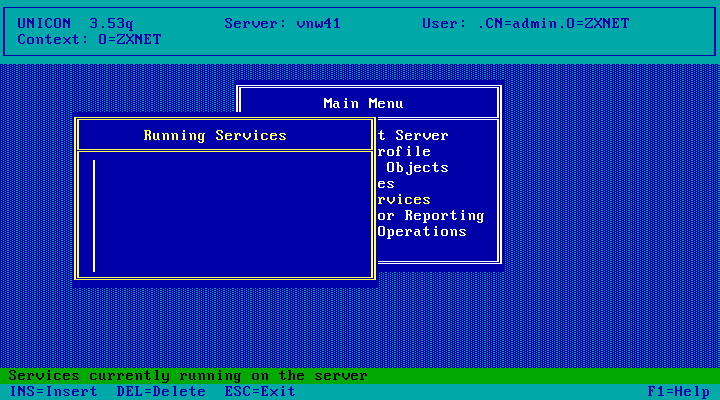
Choose NFS Server
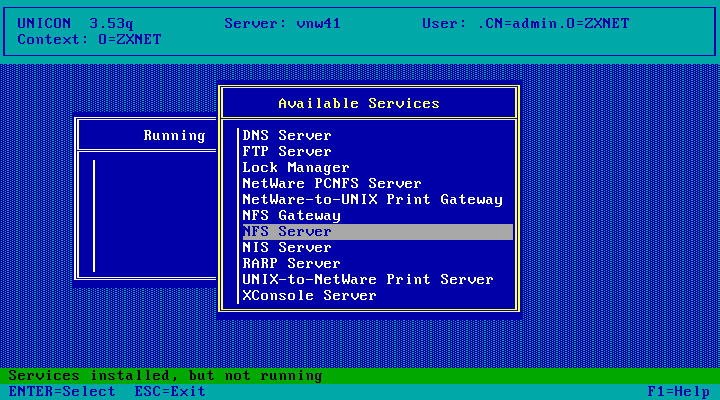
NFS Server started! Hit escape to go back to the Main Menu

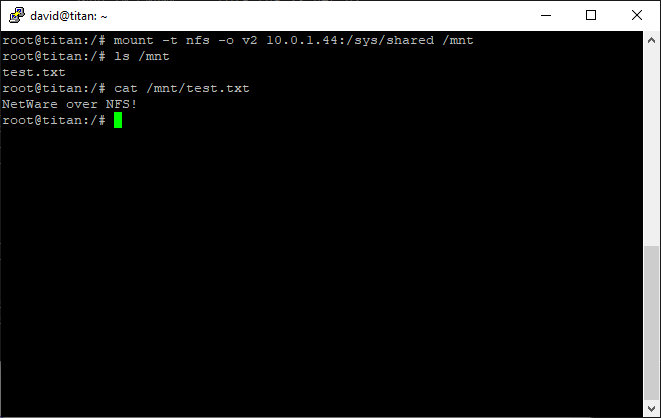
And it works! NetWare NFS only implements NFSv2 though.
Configuration: NFS Gateway
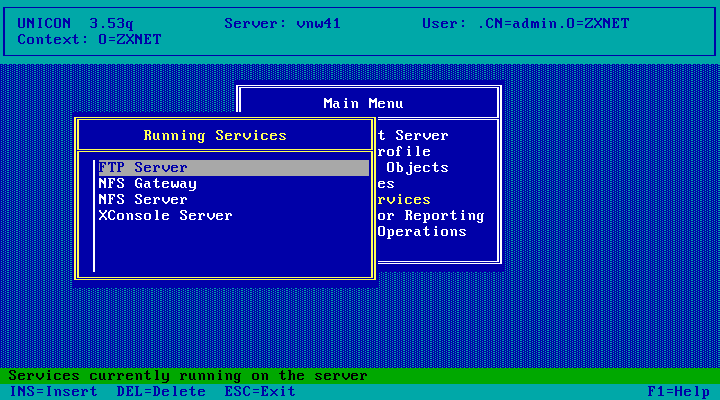
From the Unicon Main Menu, choose Start/Stop Services
Hit the Insert key

Choose NFS Gateway

NFS Gateway is now running! Hit Esc to go back to the Main Menu.

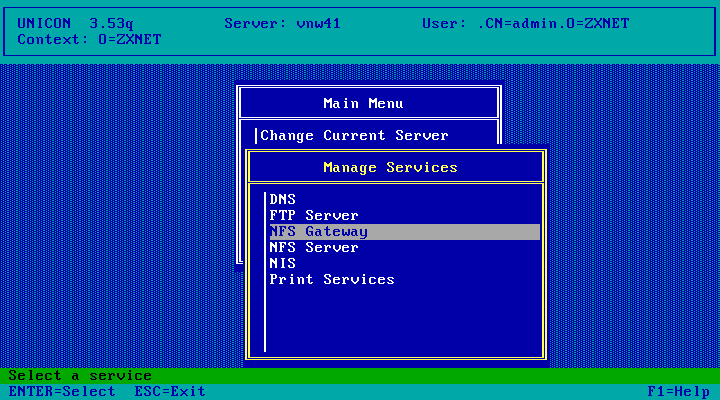
Choose Manage Services

Choose NFS Gateway
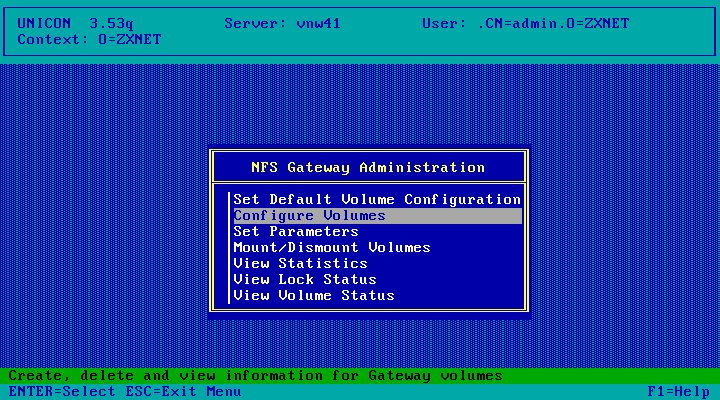
Choose Configure Volumes
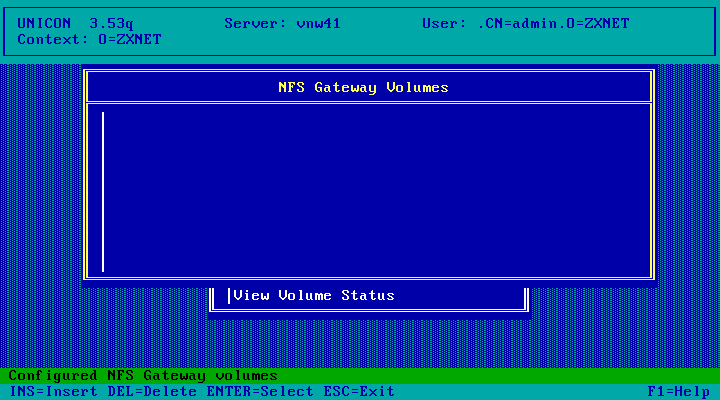
Hit the Insert key to add a volume
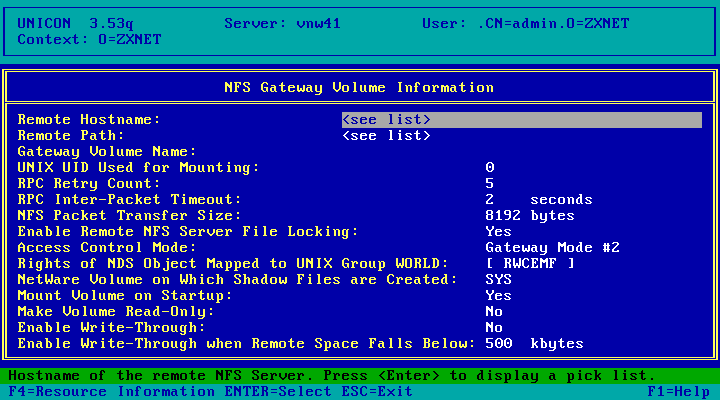
Hit enter on the Remote Hostname field
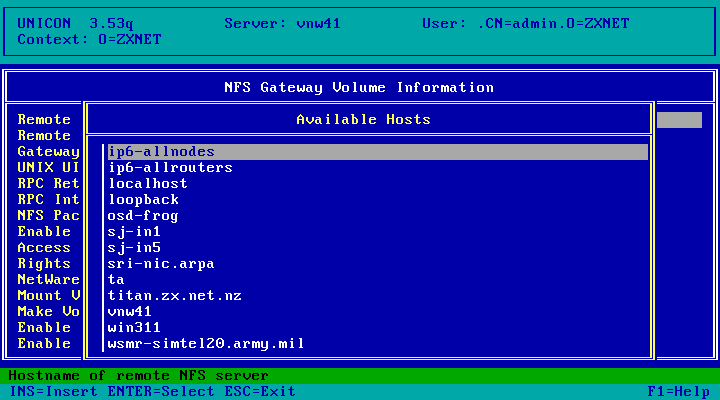
Pick a host. This list only shows hosts known either to your NIS server or included in
your NetWare Servers hosts file (SYS:\ETC\hosts). The hostname I want isn't listed so
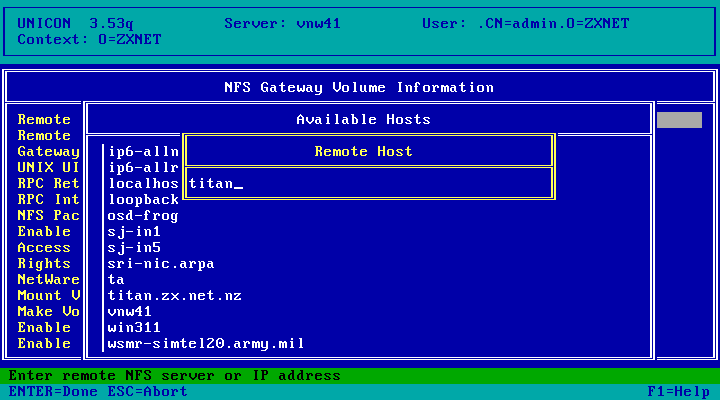
hit the Insert key to type one in.
Enter hostname. This can be a fully qualified name or an IP address and won't get added to
the NetWare hosts file.
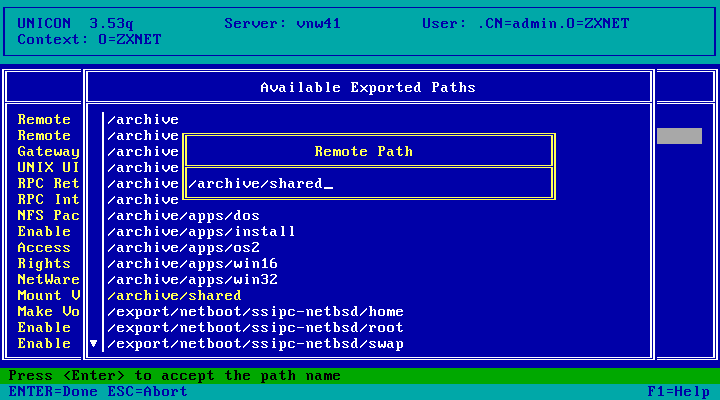
Select the Remote Path field and hit enter.

And pick an exported path.
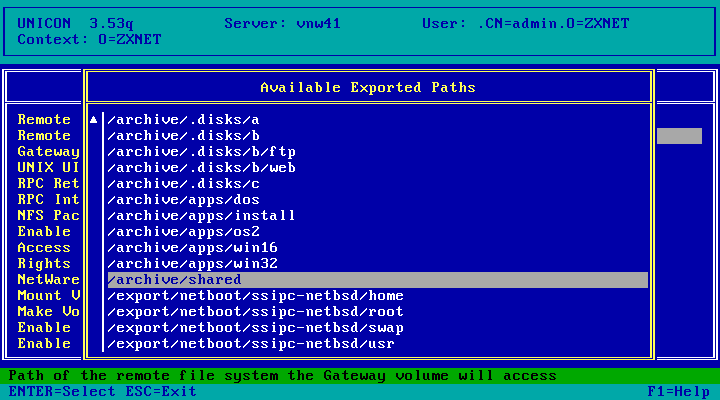
Hit enter to confirm
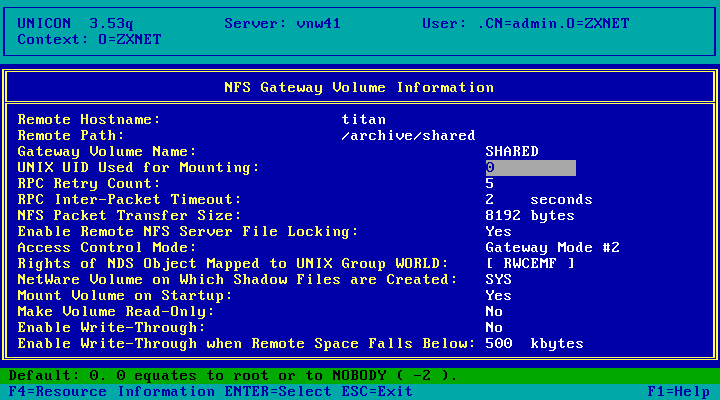
Select the Gateway Volume Name field and enter a name for the volume

Adjust any other options as desired (like Make Volume Read-Only) then hit Esc.
You may find you need to turn off Remote NFS Server File Locking (my server has lockd
running but for some reason its not working with NetWare). Press F1 for a description
of any of these fields or see Chapter 7 of the Administrator's Guide.
Choose Yes to save.
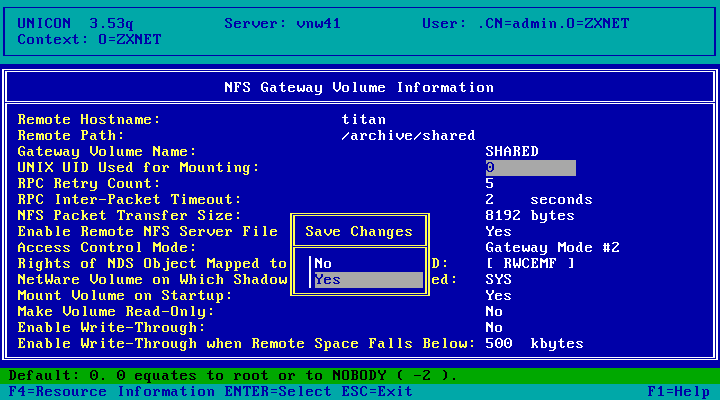
Choose Yes to mount the volume
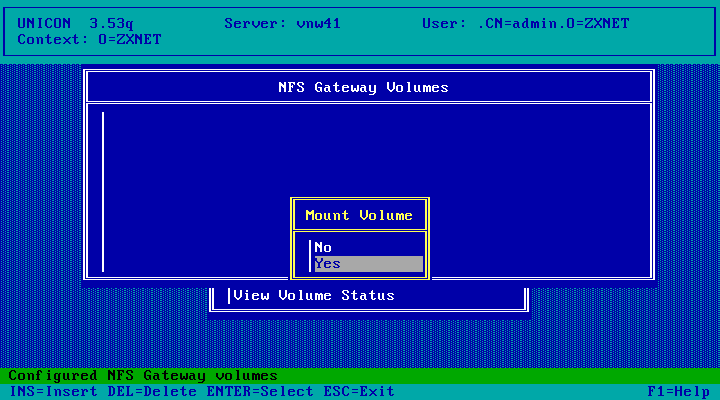
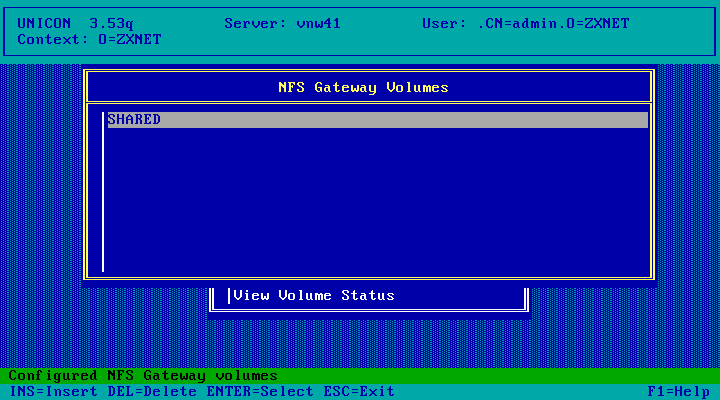
One volume mounted! Hit Esc three times to go back to the UNICON Main Menu.
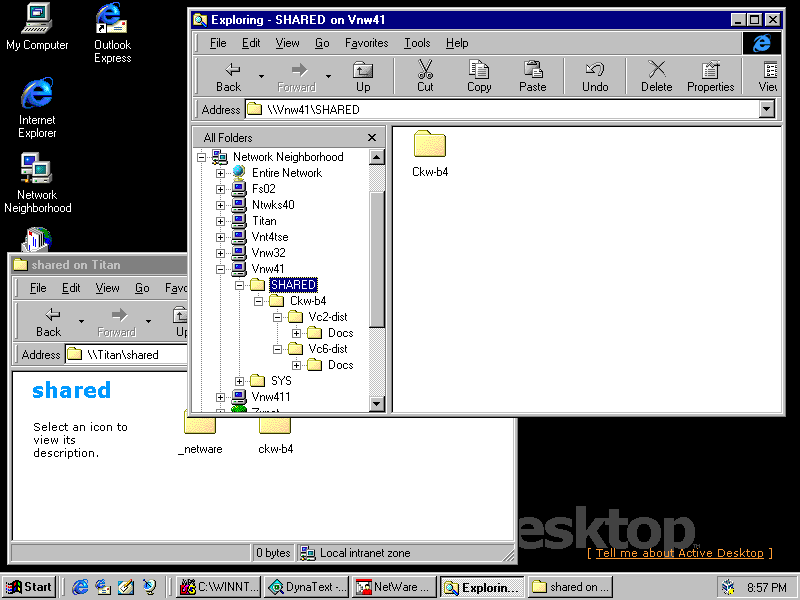
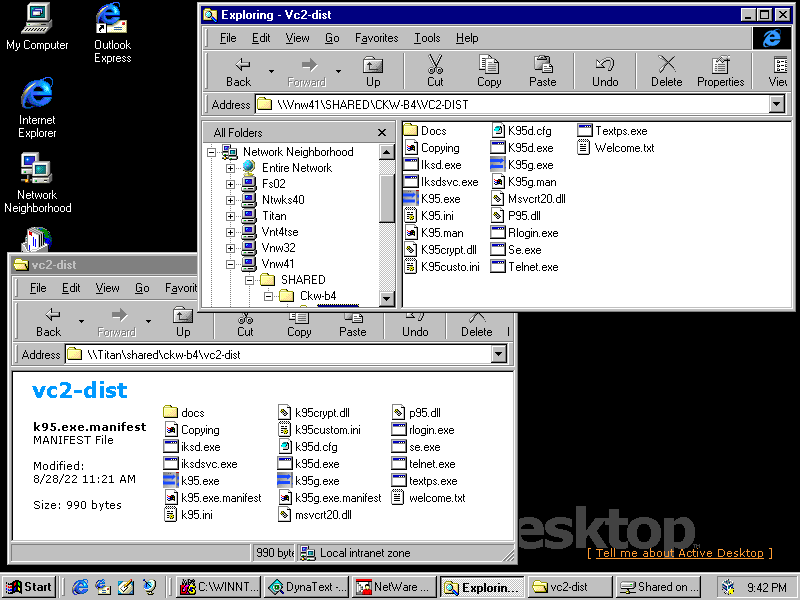
Here is whats currently in the Shared folder on my NFS server

The volume now shows as VNW41_SHARED in NetWare Administrator complete with contents

And here is the contents via both Samba and the NetWare server! Taking this screenshot
with the NetWare 3.x version of the NFS Gateway product would have ABENDed the server!
(there are bugs which render NFS Gateway 1.x incompatible with Windows NT and Client32)
And here we discover a significant limitation with NFS Gateway 2.1: Its limited to DOS
filenames. There is no way to get long filenames on an NFS Gateway volume under Windows 9x
or NT - that feature is new to NFS Services version 2.3. Still, it does at least work which
is something.
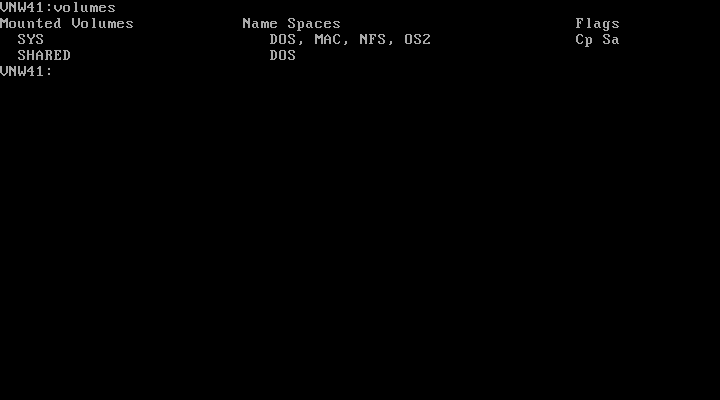
The volumes command at the server console confirms it: the NFS Gateway volume only has the
DOS namespace. Attempting to add more namespaces just gives an error.
Configuration: FTP Server
At the UNICON Main Menu, select Start/Stop Services

Hit the Insert key to add a service
Choose FTP Server
And the FTP server is now running. Hit Esc to go back to the Main Menu. By default the FTP
server has Anonymous access disabled - if you'd like to change that or any other settings,
from the UNICON Main Menu choose Manage Services, then FTP Server followed
by Set Parameters.

And here is what FileZilla sees of the FTP server. NetWares non-standard directory listings
confuse it somewhat making it fairly unusable

Configuration: X Console
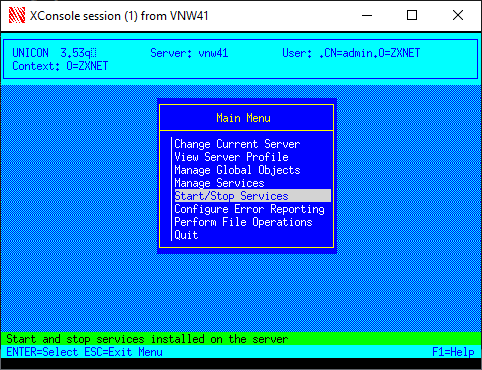
At the UNICON Main Menu, select Start/Stop Services
Press the Insert key
Choose XConsole Server

Done! Hit Esc to go back to the menu.
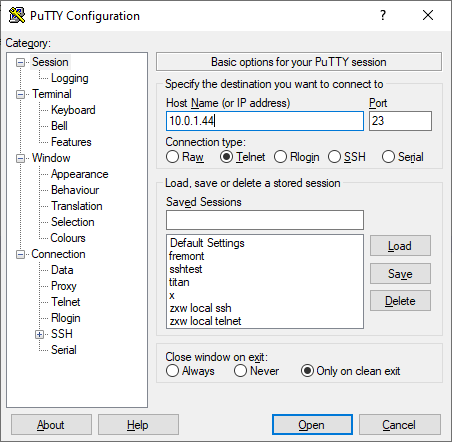
Point a telnet client at the NetWare server
Enter the RConsole password
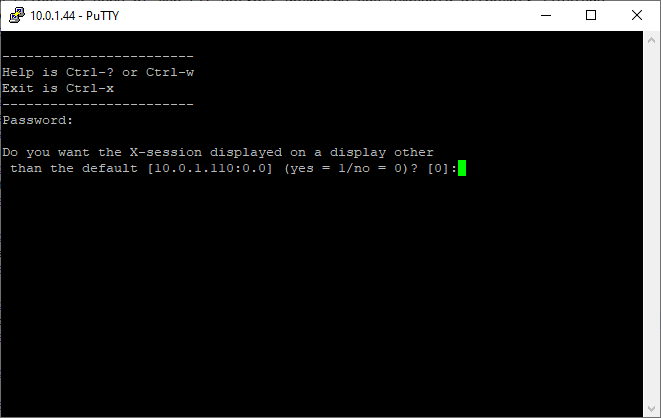
And hit Enter to accept the default if you've got an X server running on the machine you're
telnetting from.
And we get a window pop-up mirroring the NetWare Server display just like RConsole.
Patching
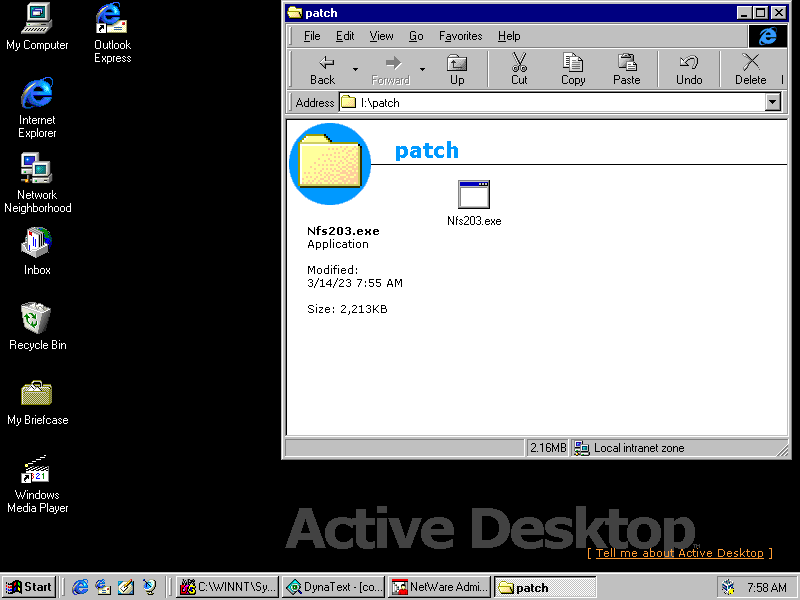
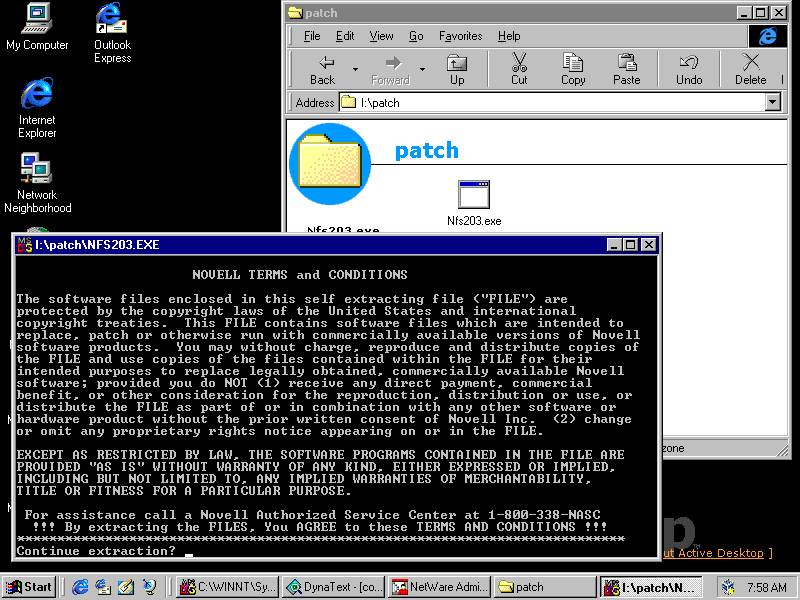
Download NFS203.EXE
and place it in a folder on the SYS: volume of the server (in this case, I:\ is mapped to VNW41_SYS:\)
Run NFS203.EXE to extract its contents
Files are extracted...
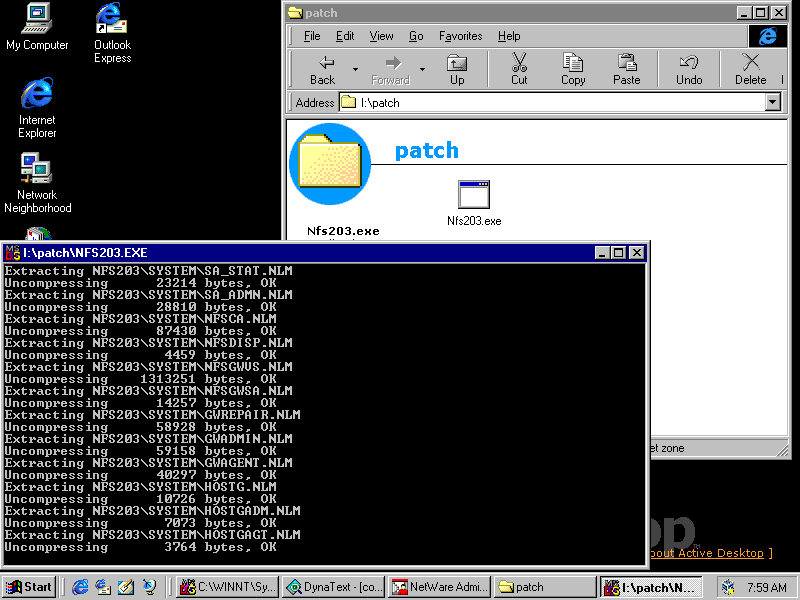
Done!

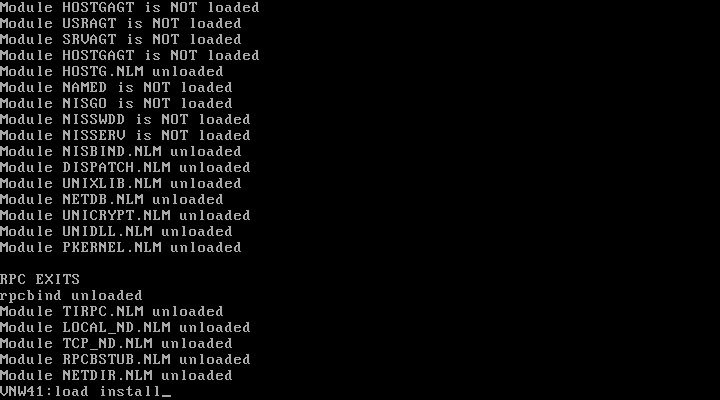
At the server console, run UNISTOP.NCF top stop NFS Services

Then run LOAD INSTALL
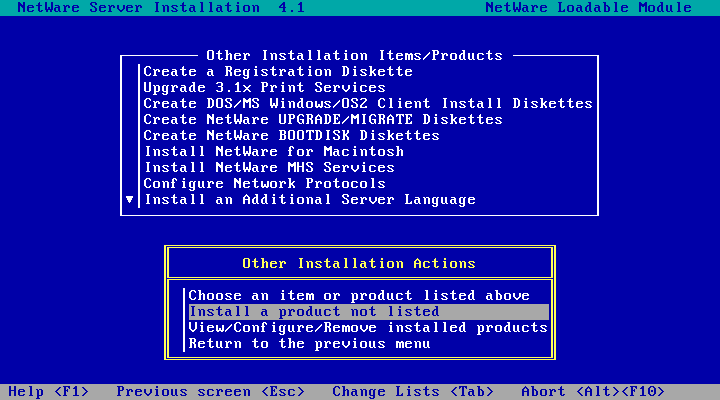
Choose Product Options

Choose Install a product not listed
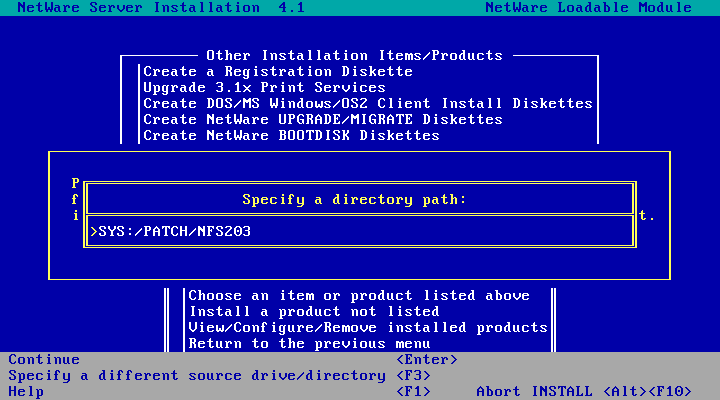
Press F3 to specify a different path
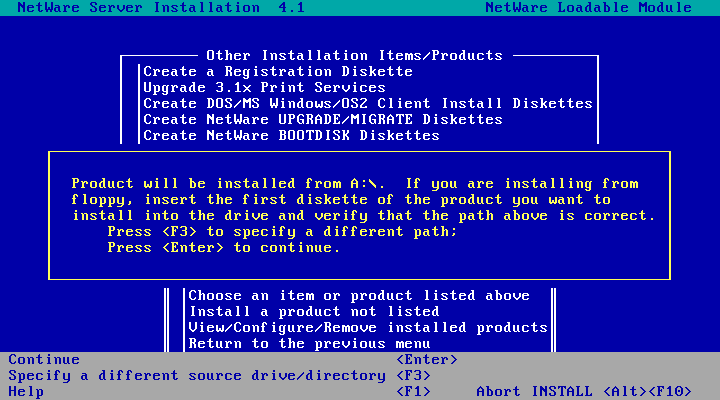
And enter SYS:/PATCH/NFS203 as the path. Press enter when done.
Press escape.
Choose No
Enter the path where SERVER.EXE lives. The prompt defaults to C: but normally SERVER.EXE is
installed to C:\NWSERVER\
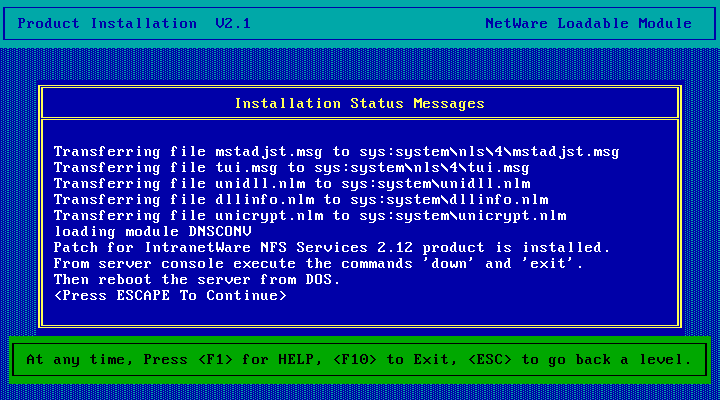
The patch is installed...
And done! Interesting that its talking about NFS 2.12 but the TID clearly says
the patch supports NFS 2.1 so we should be fine. Hit Escape to continue.
Back at INSTALL

The View/Confgure/Remove installed products option show it as installed.
Hit Escape 2-3 times and exit INSTALL, then DOWN the server
Then exit to DOS and reboot.
All done! NFS Services is installed and patched, and the NFS Server and Gateway have been configured and tested. Unlike the previous version NFS Gateway actually appears to be usable though its lack of long filename support is a little disappointing. I've not bothered to configure UNIX printing as I've already done that on NetWare 4.11 - the process for NFS Services v2.1 should be pretty much the same.
Back to NetWare 4.10 on KVM/QEMU Next Steps
Disclaimer & Comments
I'm not a netware expert, don't have any of those fancy novell certifications and have never administred a netware network; I've just played with it at home occasionally since 2004 or so. Email me if you've got any suggestions or corrections for this page or any extra information you think is worth including here. My address is david at this websites domain name (without the www bit of course).